
The complete guide
How to Choose a 1080p Webcam for Calls, Classes and Streaming
The problem with the camera you already have
Almost every laptop has a camera, and almost nobody likes how they look on it. The sensor is tiny because it has to fit inside a thin lid. The lens sits behind a plastic window that scratches. There is usually no real low light handling, so the moment your room dips below bright daylight the picture turns grainy and your face goes soft.
Then there is the angle. A laptop camera points up at you from below desk height, which is the least flattering view there is. If you prop the laptop on books to fix the angle, the keyboard is suddenly unusable. If you use an external monitor, the laptop camera is pointing somewhere off to the side entirely.
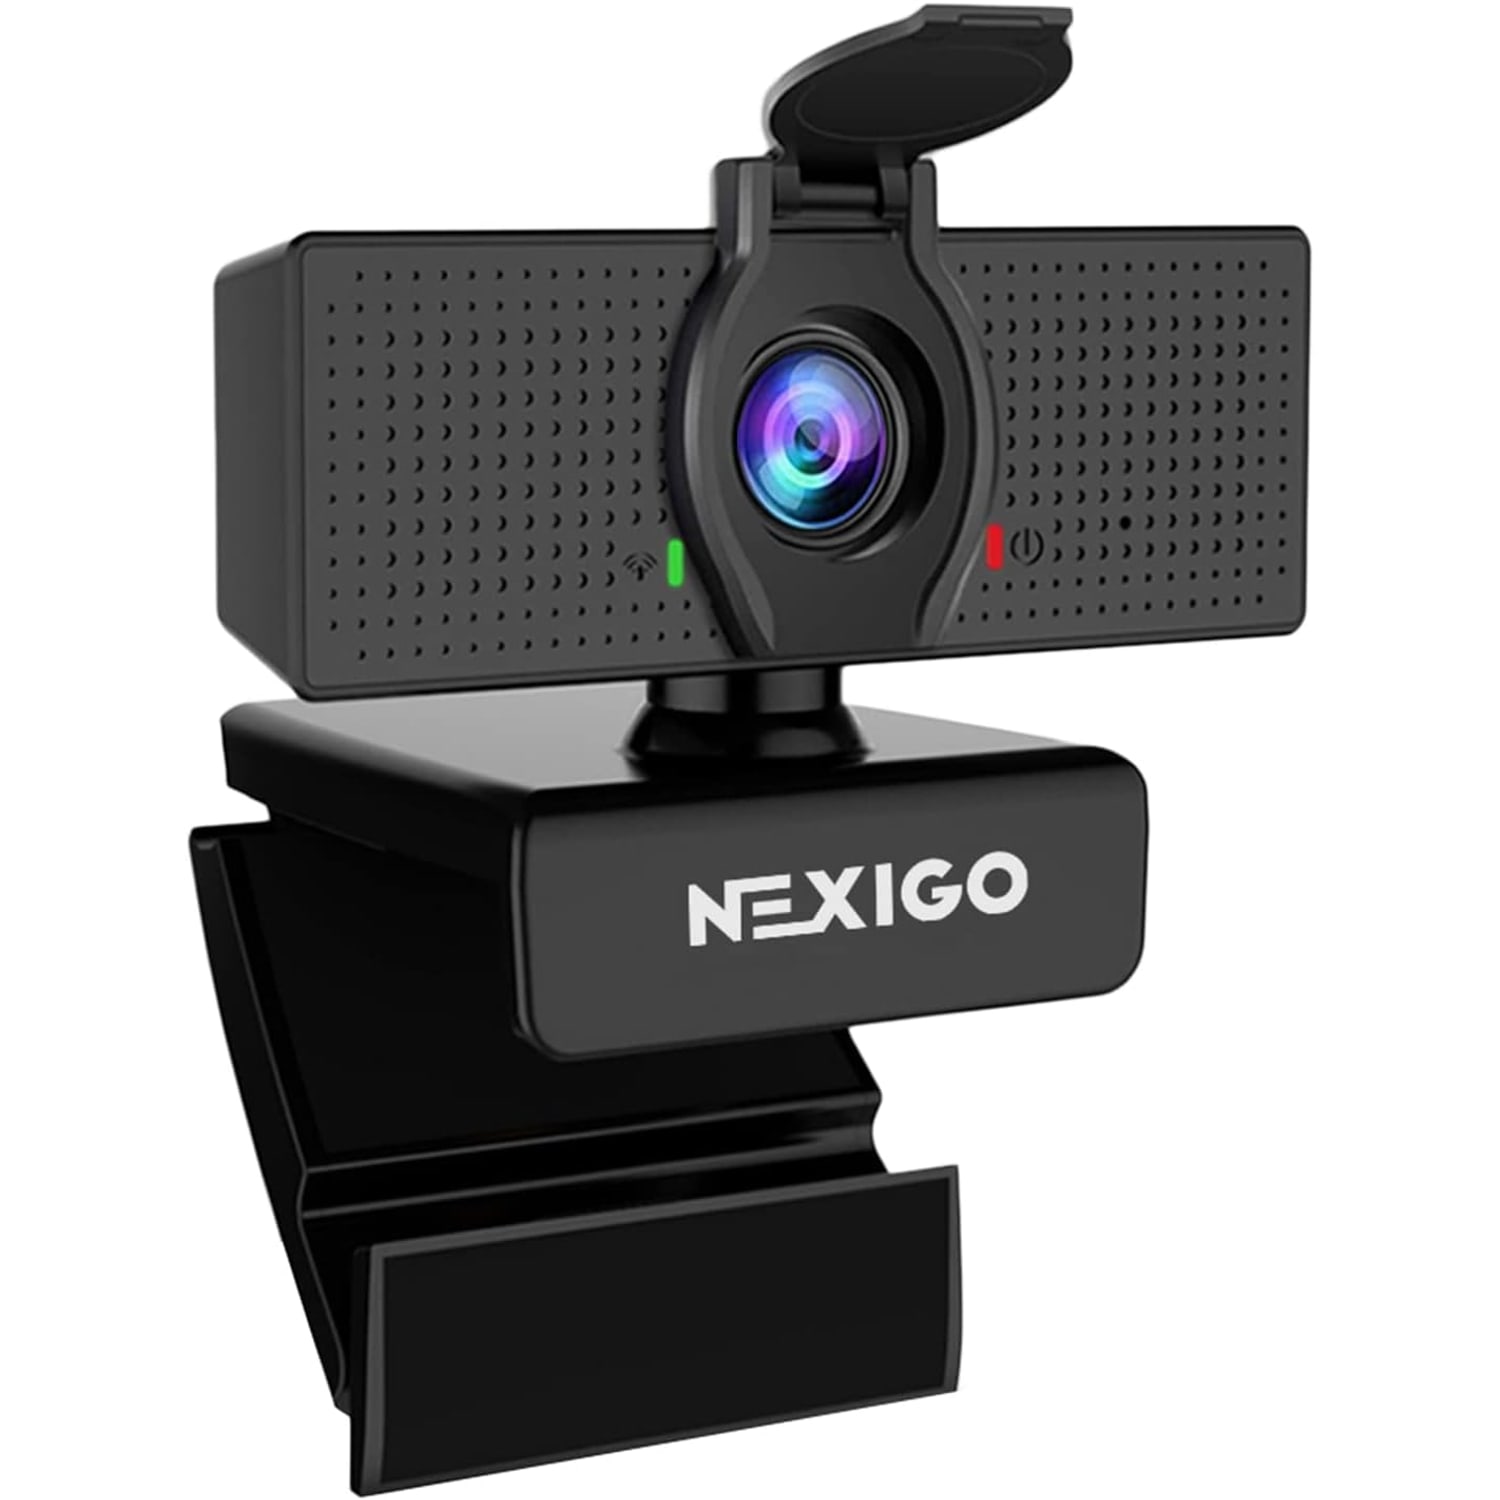
A separate USB camera solves all of that at once. It sits where you want it, at the height you want, with a bigger sensor and a proper lens in front of it. That is really the whole argument for a 1080p webcam with microphone, and it holds whether you are in three meetings a day or just want to look present at a weekly check-in.
What 1080p actually buys you
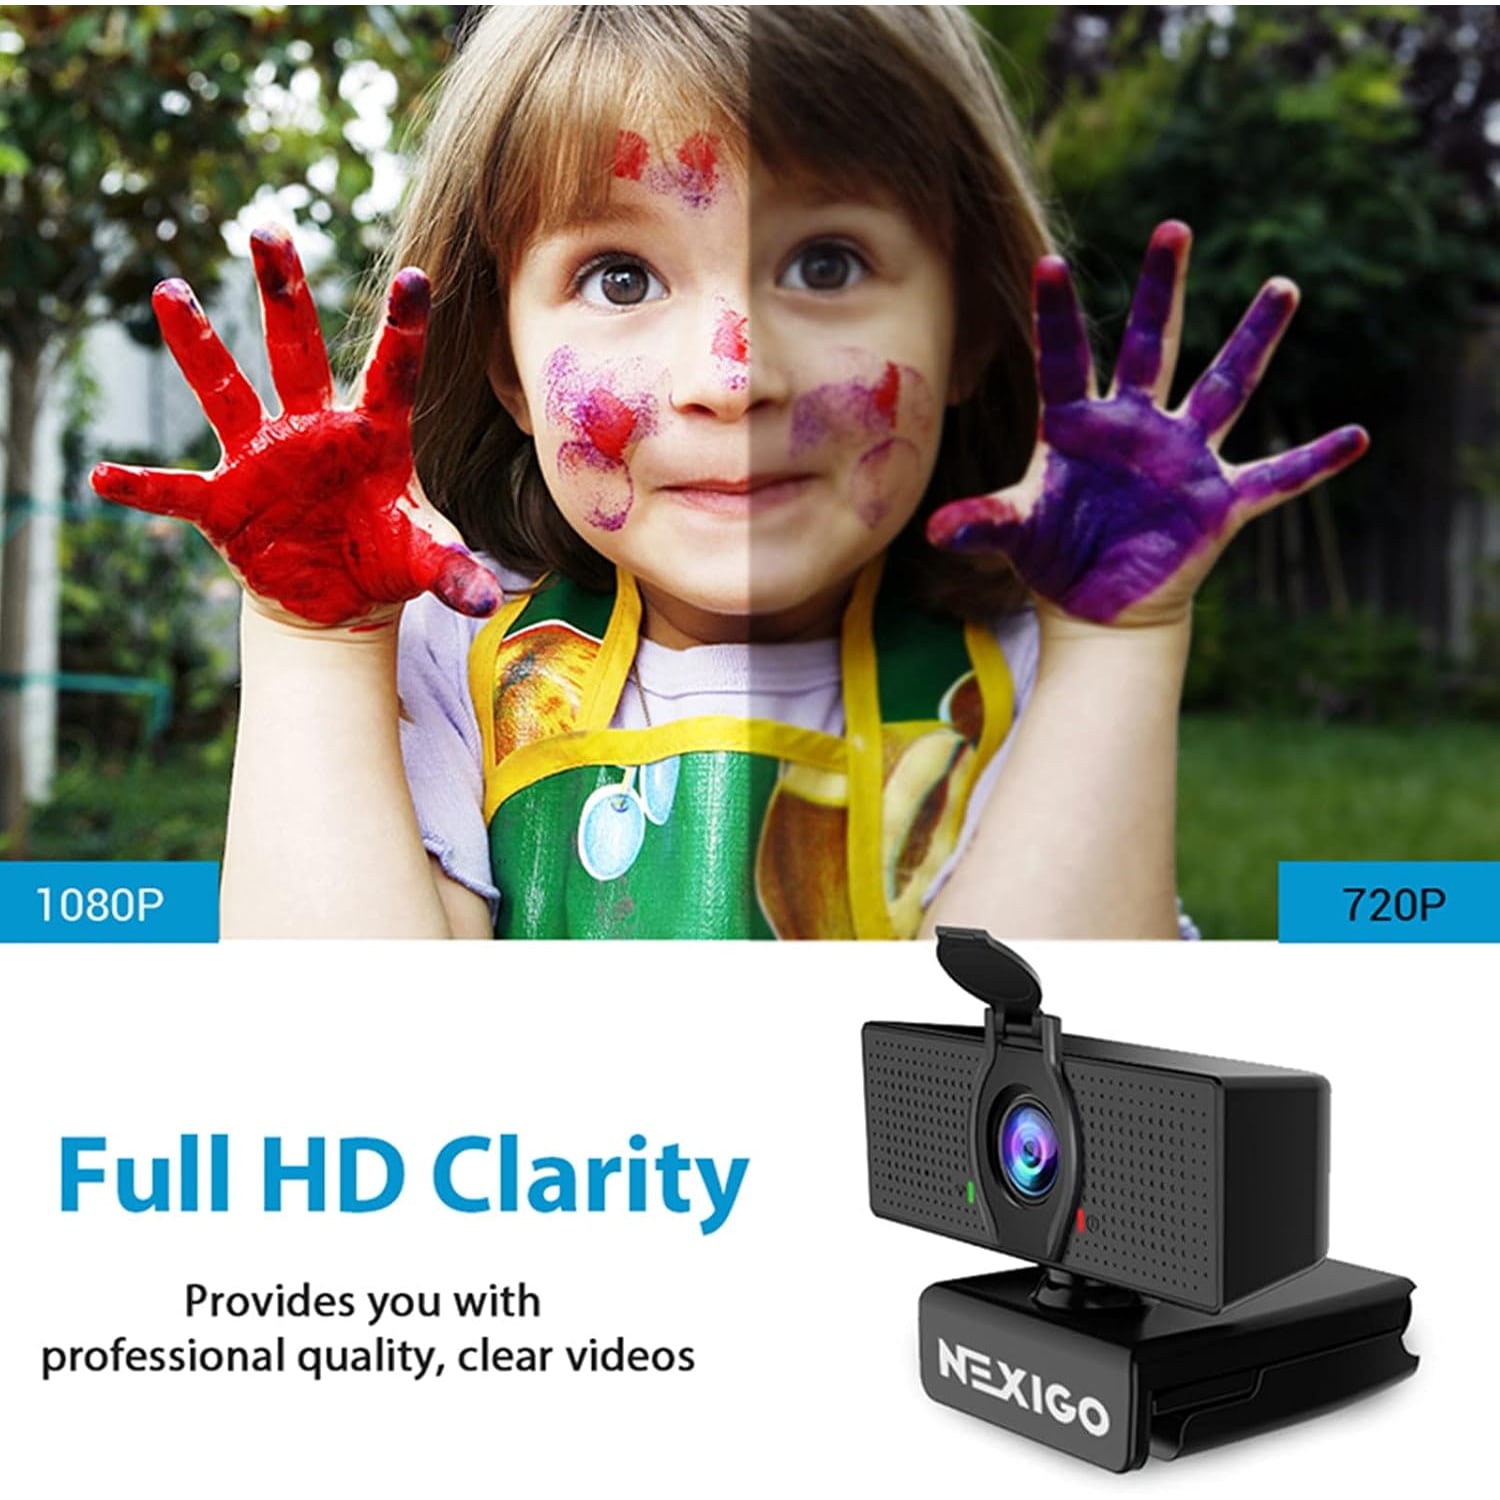
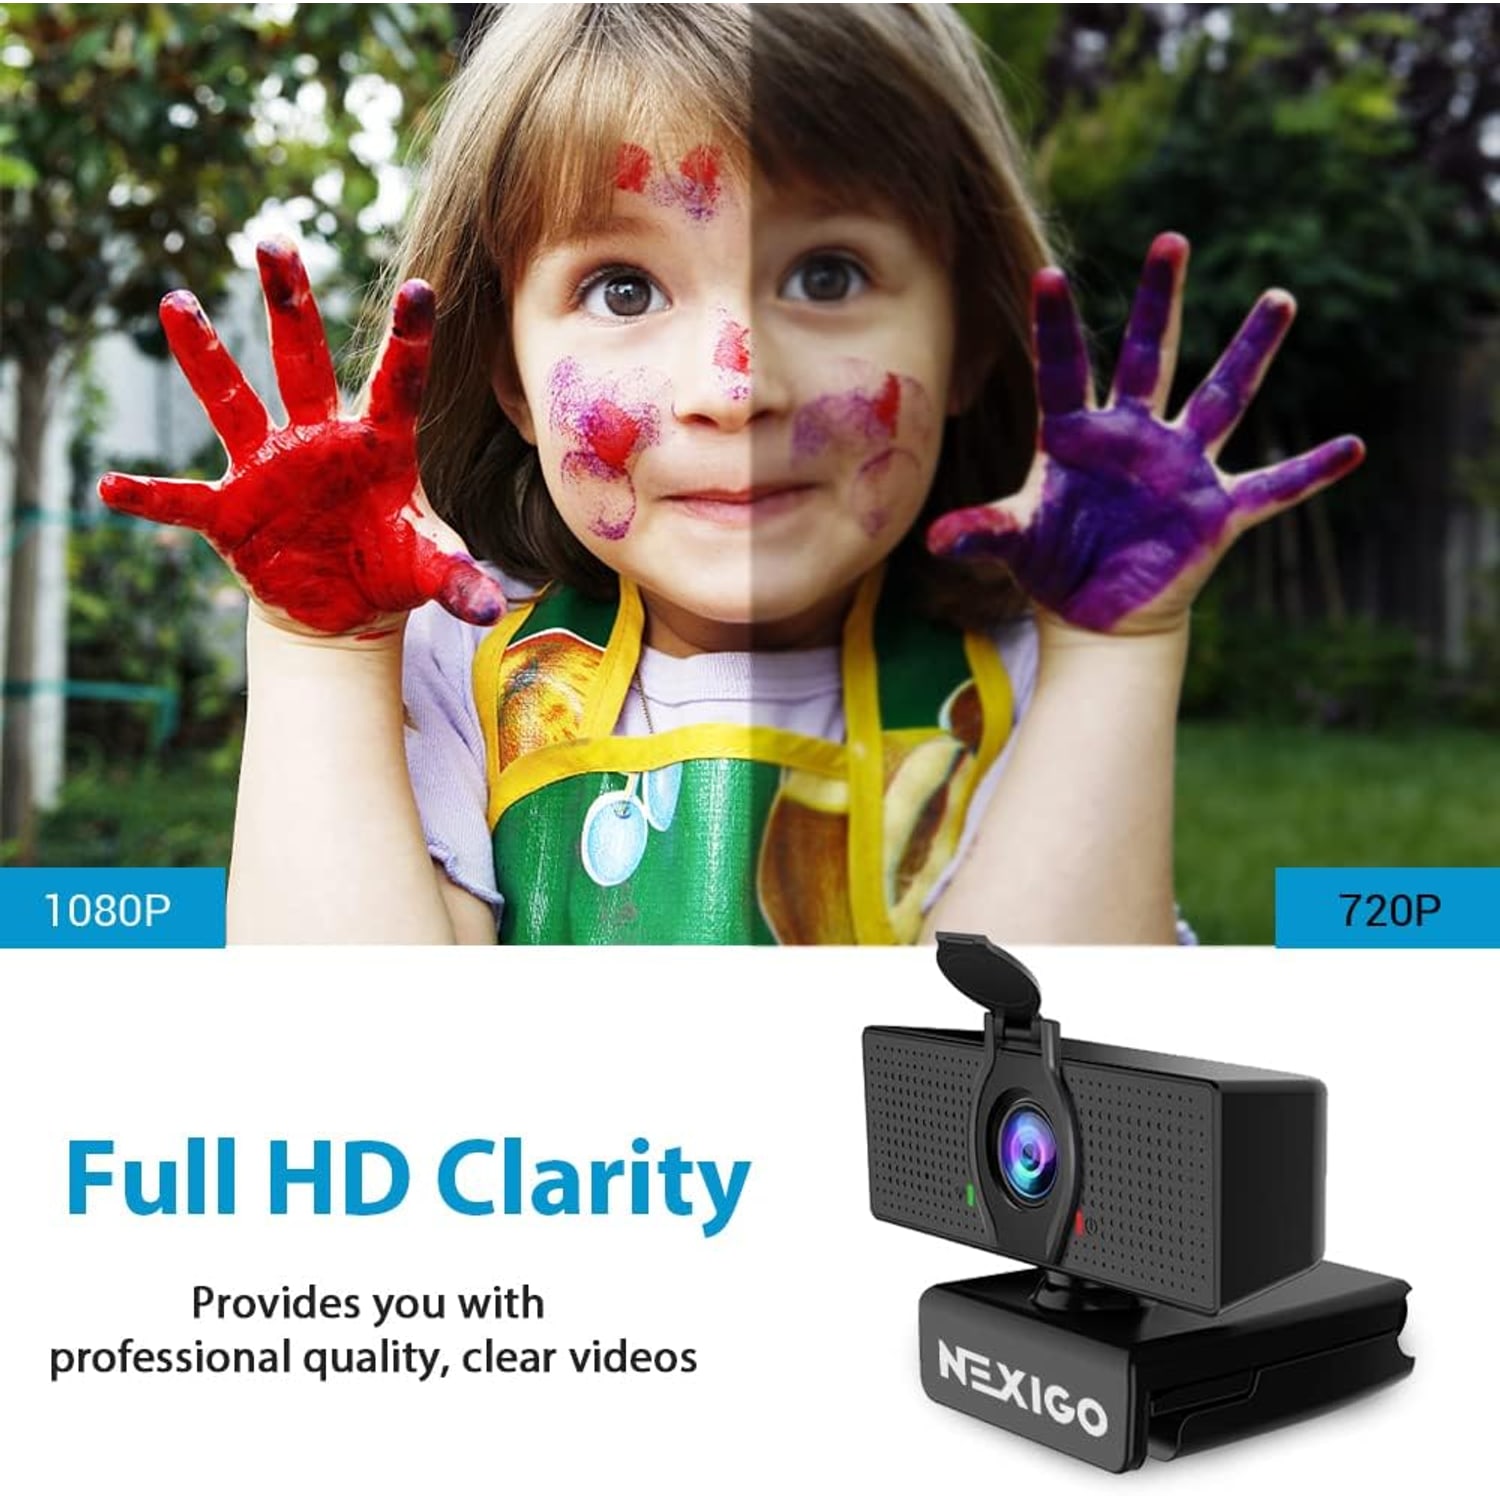
Resolution gets quoted a lot and understood very little. 1080p means 1920 x 1080 pixels, and at 30 frames per second that is a smooth, detailed picture for anything happening at a desk. Faces hold their edges. Text on a whiteboard behind you stays legible. Movement looks natural instead of stuttering.
Here is the part people miss. Most conferencing platforms compress what you send, sometimes heavily, depending on bandwidth and how many people are in the call. Starting with a clean 1080p signal means that after compression you still look fine. Starting with a poor signal means the compression has nothing good to work with, and you end up as a blurry rectangle.
The sensor matters just as much as the number. This one uses a 1/3-inch CMOS sensor with an effective still resolution of 2.07 megapixels. That size lets in considerably more light than a laptop lid sensor, which is the real reason the picture looks better in an ordinary room.
Field of view, and why adjustable matters
Field of view decides how much of your world ends up on screen. Narrow puts you in a tight head-and-shoulders frame with the background mostly cropped out. Wide shows the room.
This camera opens out to 110 degrees, and the field of view is adjustable. That flexibility is worth more than a fixed wide angle. On a solo call from a home office, wide means everyone sees your laundry pile and your bookshelf. Narrow in and the shot is just you. Then when two colleagues join you at the same desk, open it back out so everyone fits.
There is zoom on top of that. The maker gives the zoom type as digital at 4x, and also shows a 2x optical figure. Digital zoom crops into the image, which gets you closer at the cost of some sharpness. Treat it as the extra nudge when you are slightly too far back.
Light is the thing nobody tells you about
If you only change one thing about your setup, change your lighting. No camera, at any price, can invent light that is not there.
This model includes low light correction, which lifts the exposure when the room is dim. It genuinely helps on gray afternoons and evening calls. But it is working with what it has, and the easiest win is still free. Put a light source in front of you, not behind you. A desk lamp bounced off a wall near your screen does more for your image than any setting in your software.
The classic mistake is sitting with a bright window behind you. The camera reads all that light, drops the exposure to cope, and turns you into a silhouette. Turn your desk ninety degrees so the window is to one side and the difference is immediate.
Auto exposure and auto white balance handle the rest. You do not need to fiddle with manual settings for a standard call.
The microphone question
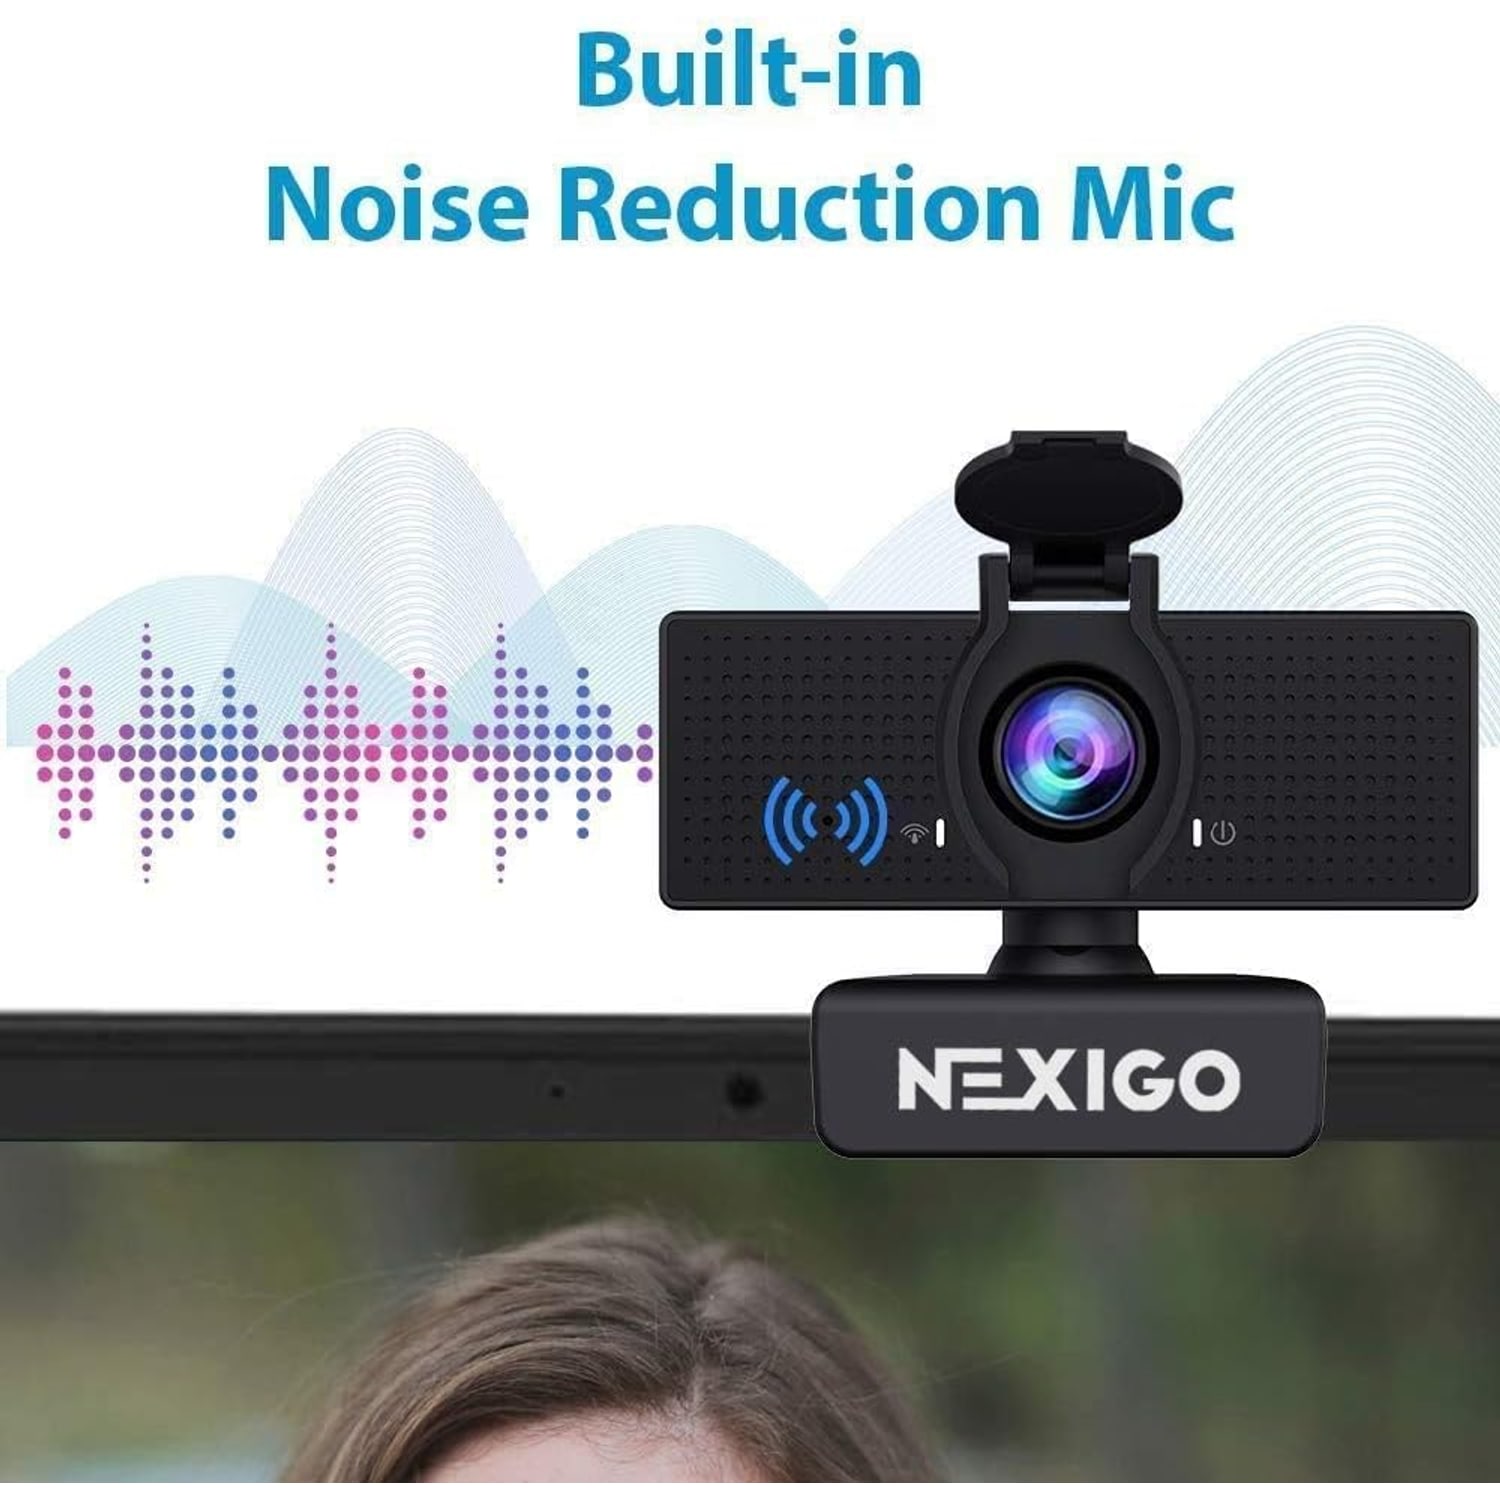
A built-in noise-canceling microphone covers most everyday needs. It picks up your voice, knocks down room hum and keyboard noise, and means you can join a call without digging a headset out of a drawer. For meetings, classes and casual recording, that is plenty.
If you are recording a podcast, narrating a tutorial or streaming regularly, a dedicated microphone will always sound better than one built into a camera. That is not a flaw in the camera, it is physics. A mic a few inches from your mouth beats one three feet away.
The good news is that you can mix and match. Pick the webcam as your video source and a separate mic as your audio source in the same app. Nothing stops you doing that, and plenty of people do.
The privacy cover is not a gimmick
People stick tape over laptop cameras for a reason. An indicator light is software. A cover is physics.
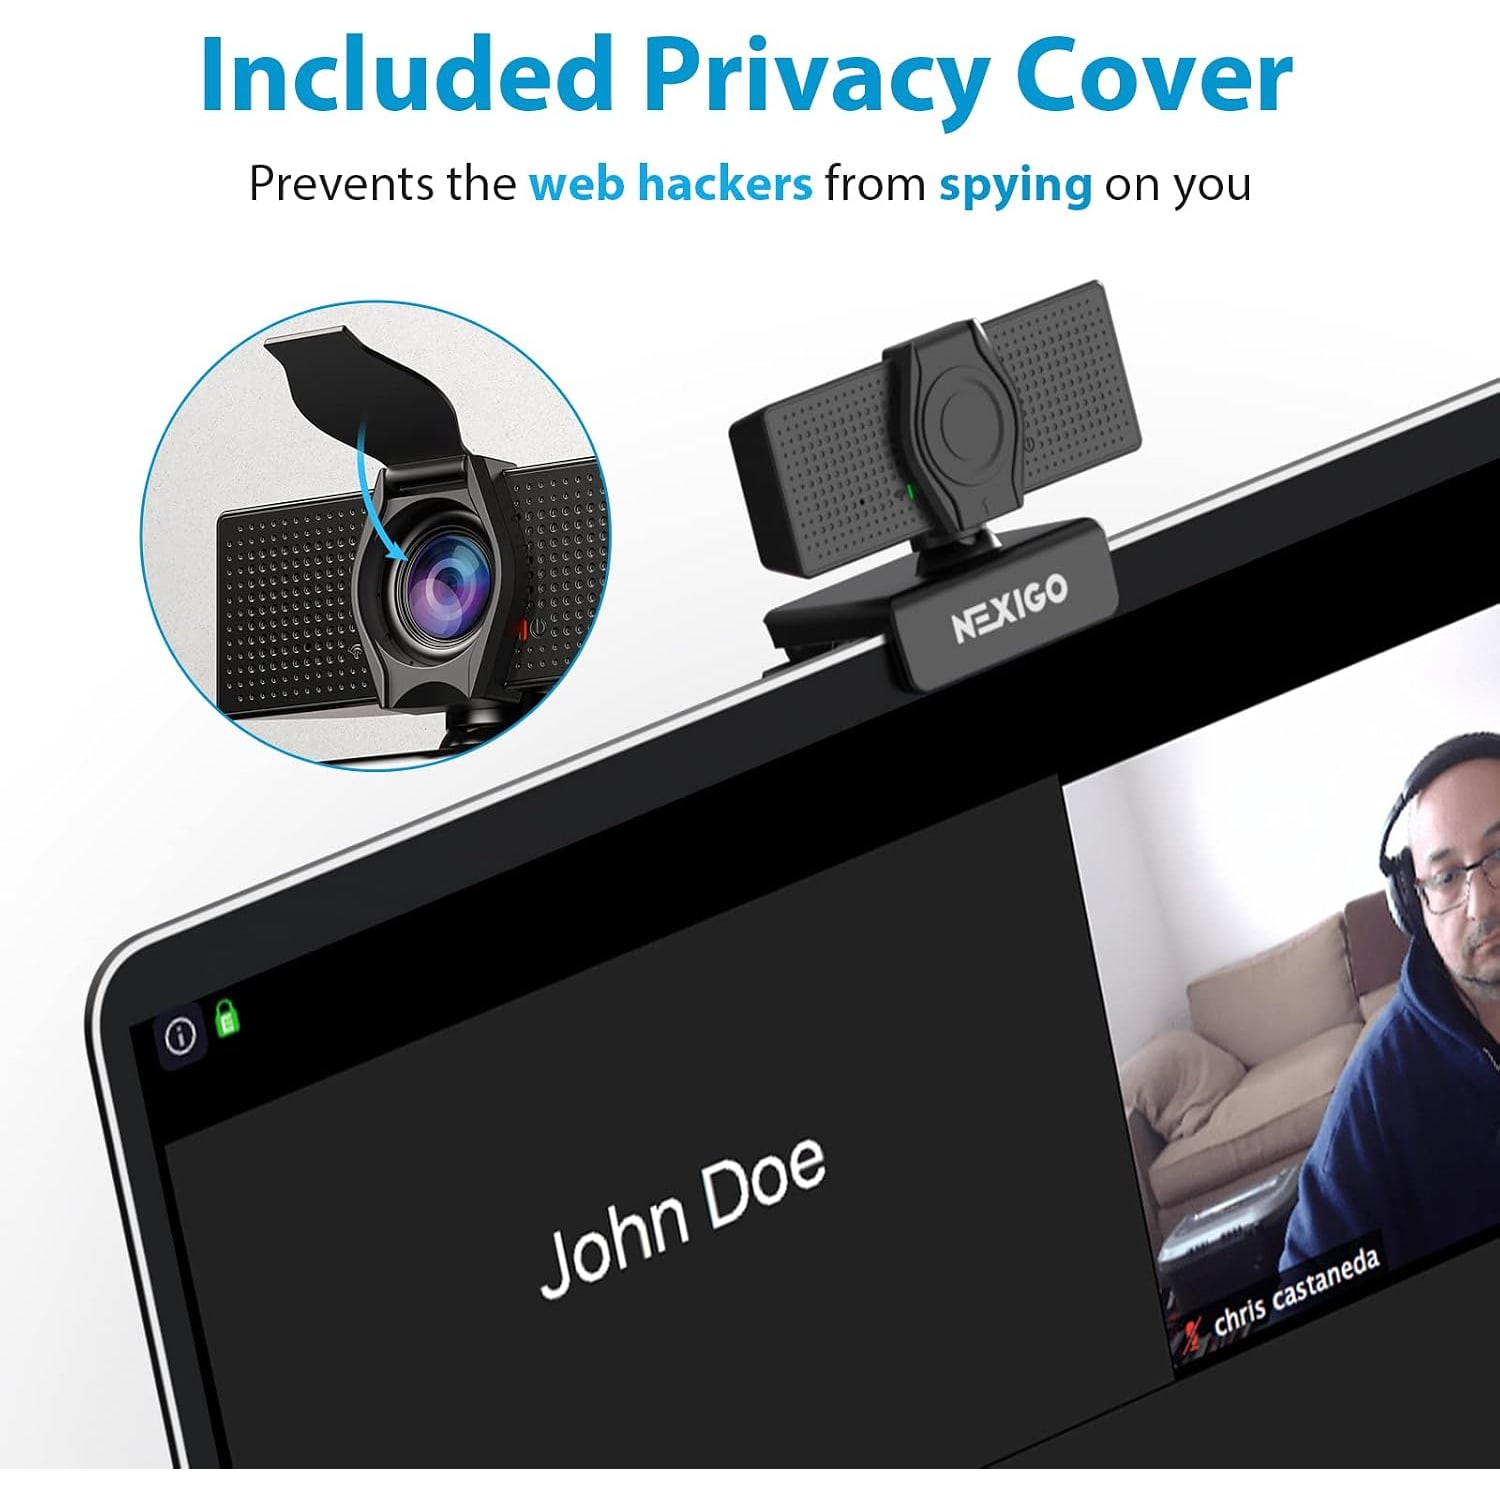
The hinged cover on this model flips down over the lens and stays there until you move it. When it is closed, the lens is blocked no matter what is running in the background. That is why a USB webcam with privacy cover is an easy recommendation for shared offices, family computers and anyone who likes the camera left plugged in permanently.
One point worth knowing: the cover blocks the lens, not the microphone. If you want audio silenced as well, mute it in your app or your system sound settings. Most conferencing software shows a clear mute indicator once you do.
Setting it up
This is the straightforward part. It connects over USB 2.0 or USB 3.0 and needs no driver download. Windows, macOS, Linux, Android and Chrome OS all recognize it through their standard camera support. Most people are up and running in about a minute.
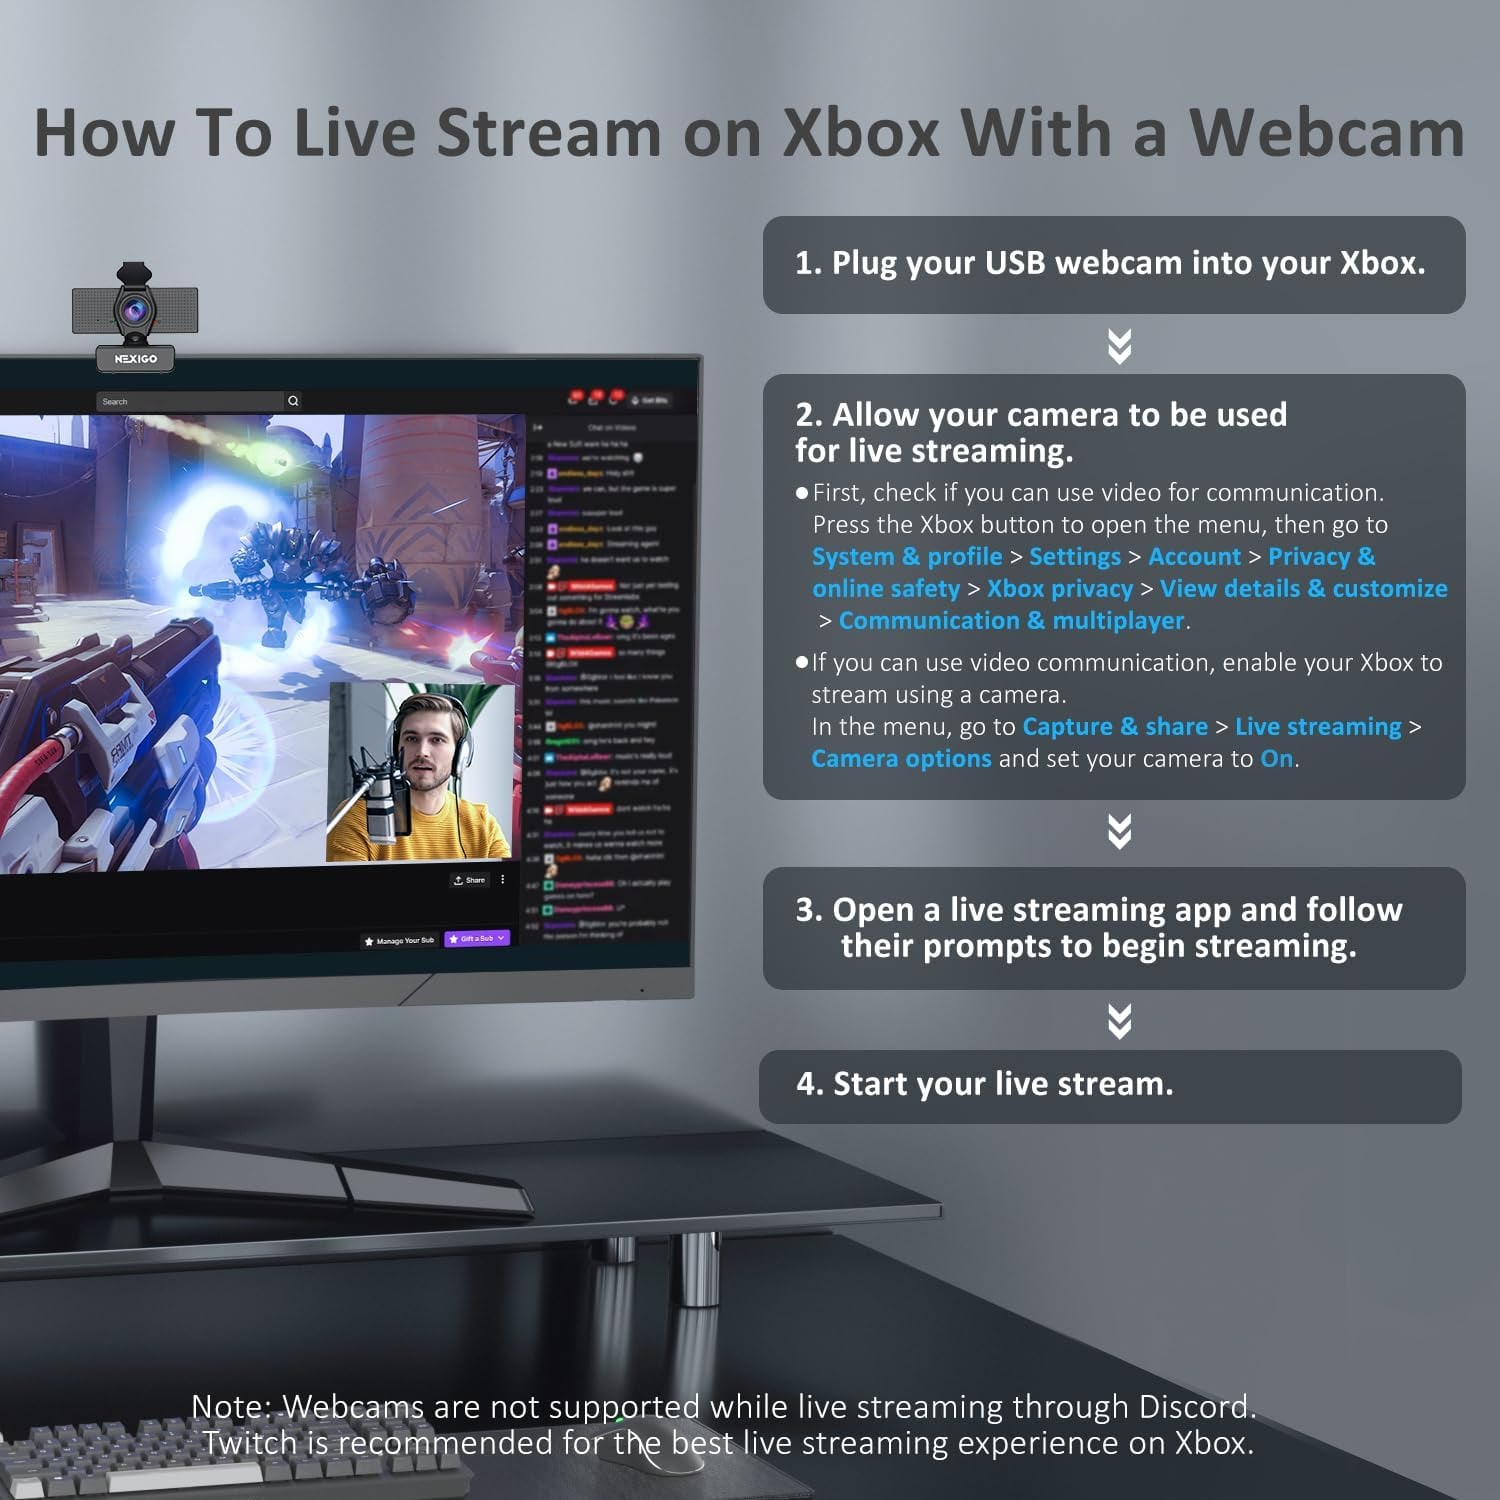
A few practical notes. Plug directly into your computer where you can, because unpowered USB hubs are the usual cause of flaky camera connections. If you must use a hub, pick one with its own power supply. And the maker's compatibility notes list Xbox, PS4 and PS5 as not compatible.
In your app, you may have to select the camera manually the first time. Open settings, find the camera dropdown, pick it. Do the same in the microphone dropdown if you want to use the built-in mic. After that it should be remembered.
Where to put it
Monitor top edge, centered, is the standard answer and it is standard for a reason. It puts the lens close to where your eyes naturally go, so you appear to be looking at the person you are speaking to.
If your monitor sits low, the camera will shoot slightly down at you, which is more flattering than shooting up. If your monitor sits high, consider lowering it. Eye level with the lens is the sweet spot.
Watch what is behind you. A plain wall is fine. A doorway into a busy kitchen is not. Since the field of view is adjustable, you can narrow the frame to crop out a distracting background rather than rearranging the furniture.
Looking after it
There is very little to do. Dust the body with a dry soft cloth. Clean the lens with a dry microfiber cloth and light pressure, never with sprays, alcohol wipes or anything abrasive.
It is not water resistant, so keep drinks away from it and do not leave it on a damp window ledge. When you unplug the USB cable, pull the connector rather than the cord. And when you are finished for the day, flip the privacy cover closed. It keeps dust off the lens as well as doing its main job.
The short version
If you are on video calls regularly and still using whatever came in your laptop lid, a dedicated camera is one of the cheapest upgrades to how you come across at work. This one gives you Full HD 1080p at 30fps from a 1/3-inch CMOS sensor, an adjustable field of view up to 110 degrees, 4x digital zoom, low light correction, a noise-canceling mic and a flip-down privacy cover.
It plugs in over USB, needs no drivers, and works across Windows, macOS, Linux, Android and Chrome OS. The maker's notes rule out Xbox, PS4 and PS5, and it is not a replacement for a studio microphone if you record professionally. For meetings, classes, streams and everyday video calls, it covers the job without asking anything of you beyond picking it from a dropdown.