


The complete guide
How to Choose a Solar Powered Outdoor Security Camera
The outlet problem
Almost everyone who buys an outdoor camera hits the same snag at the same moment. You pick the perfect spot, hold the camera up, picture the view, and then look down and realize there is no power anywhere near it. The nearest outlet is inside the garage, on the wrong wall, behind a shelving unit.
From there the options get worse. Drill through the wall and seal it. Run conduit along the soffit. Pay someone to put in an exterior outlet. Or give up and mount the camera where the power is, which usually means a view of half the driveway and none of the gate.
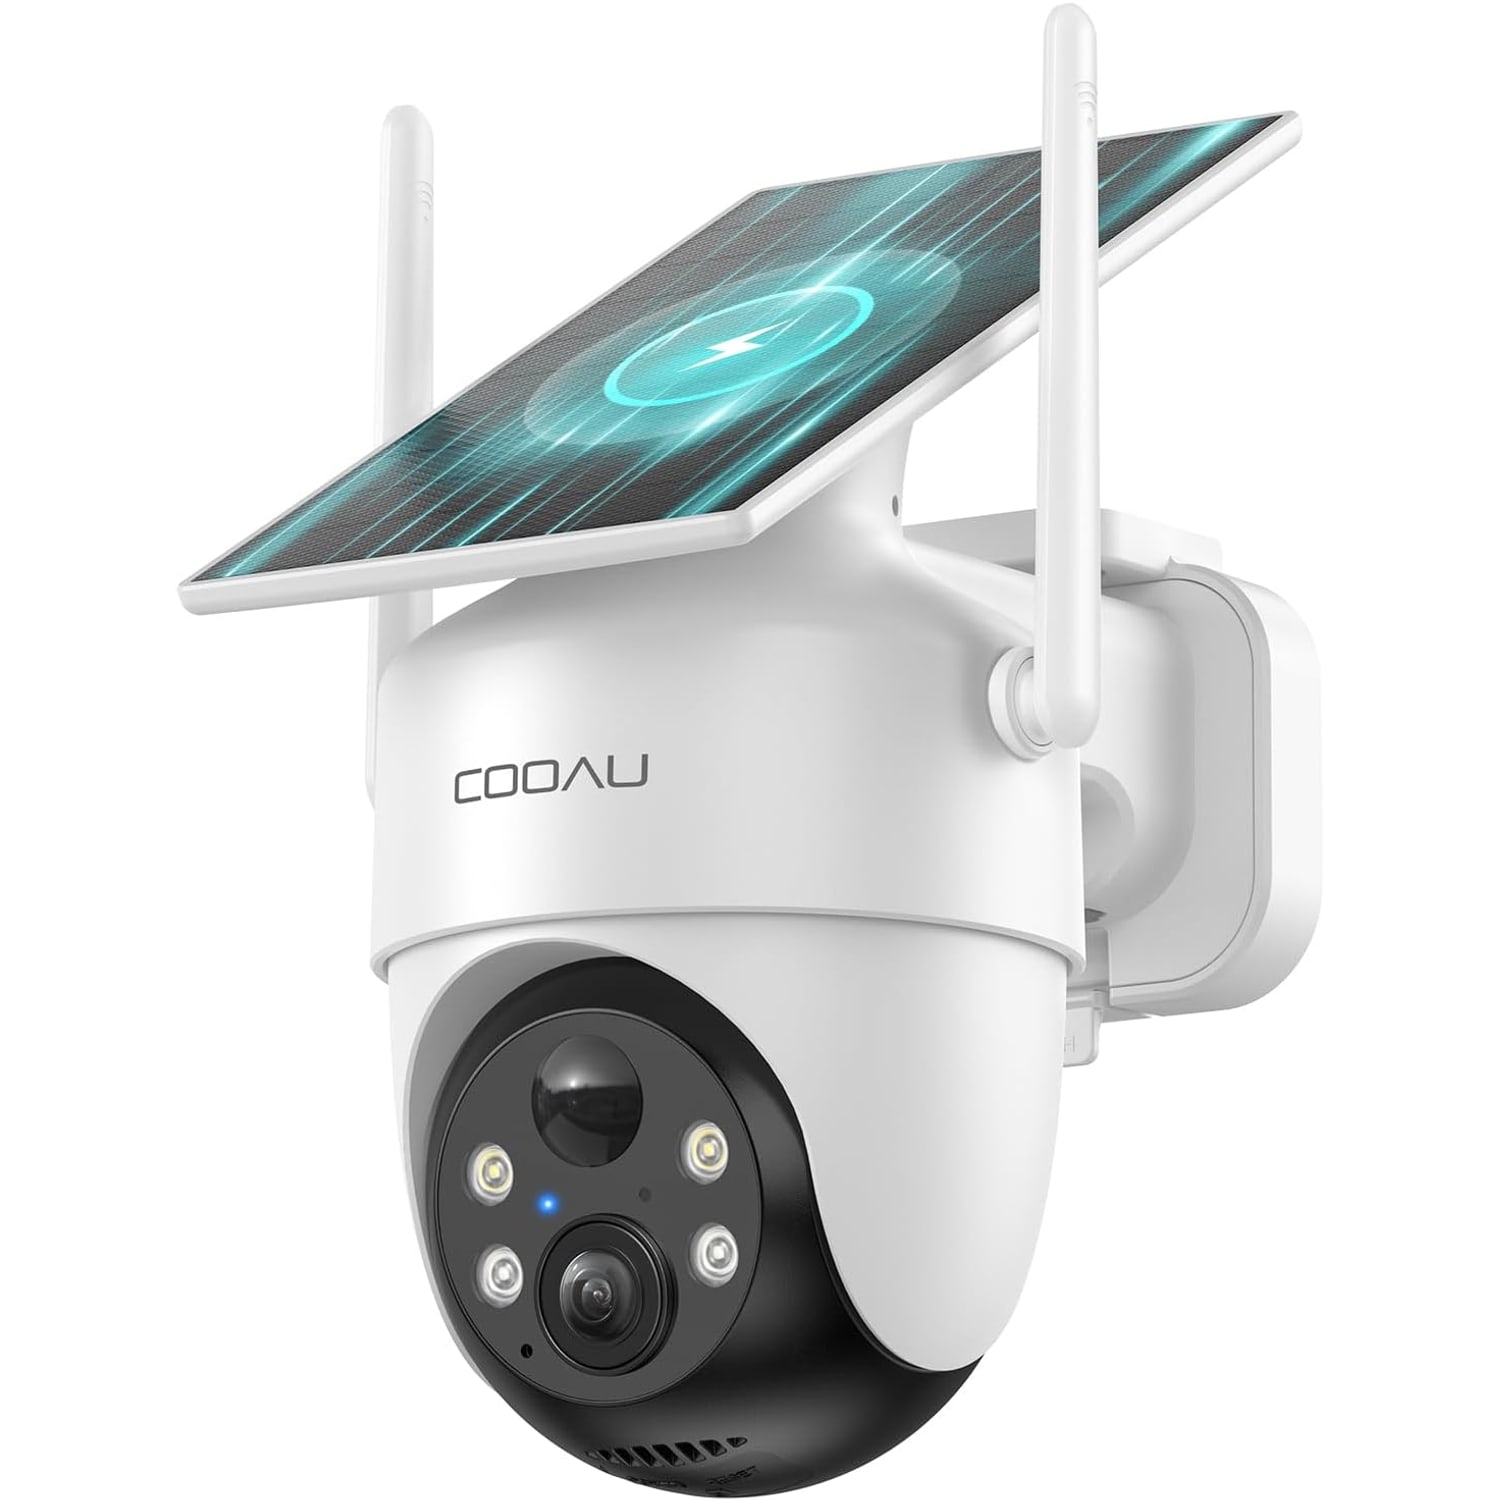
A solar powered WiFi camera removes that whole chain of compromises. The panel sits on the camera, the battery sits inside it, and the only thing you need in the chosen spot is daylight and a Wi-Fi signal. That shifts the decision from "where can I get power" to "where do I actually want to see", which is the question that should have been first all along.
How a solar camera actually works
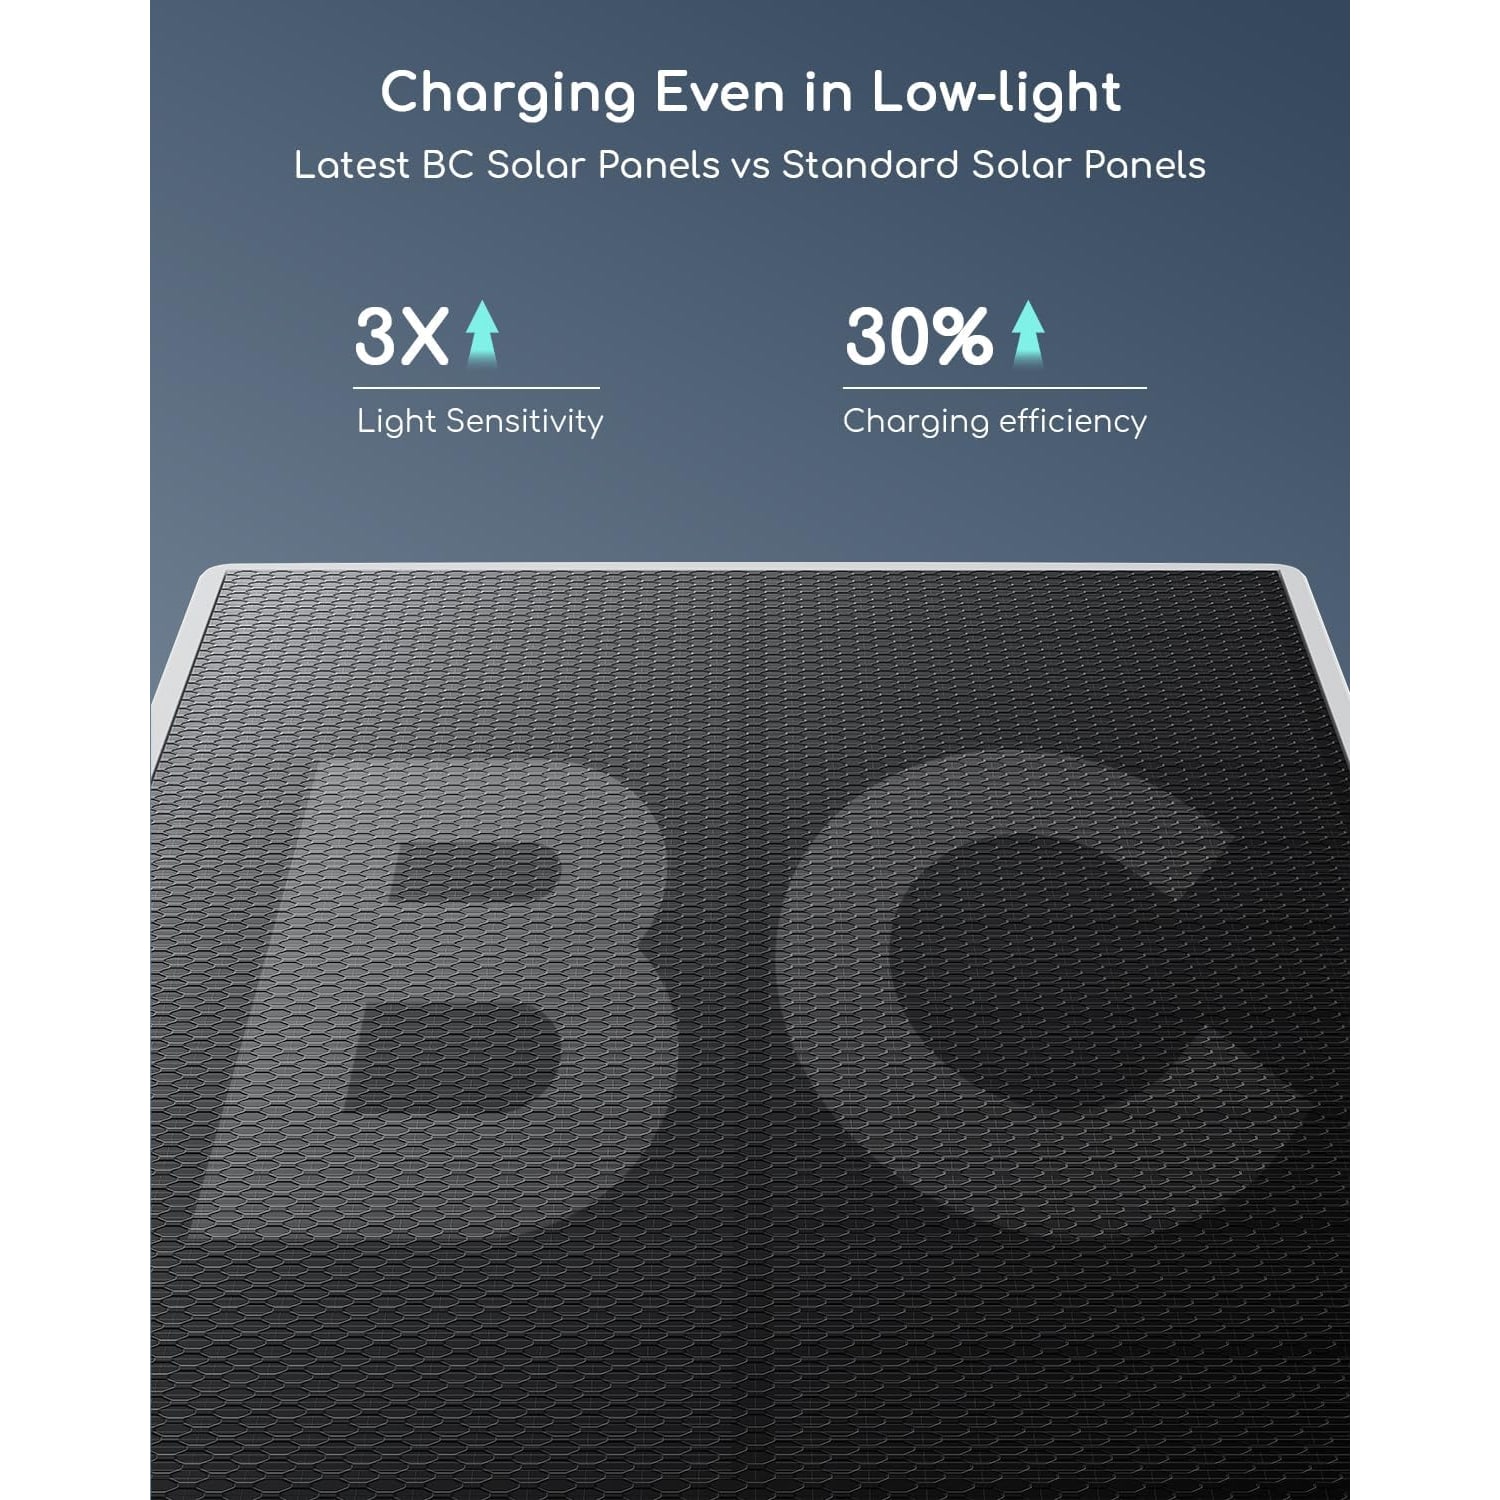
There are two parts worth understanding. The panel converts daylight into a trickle of charge. The battery stores it. During the day the panel usually produces more than the camera uses, so the battery gains ground. Overnight the camera draws from the battery. Over a week, as long as the panel gets reasonable light, the battery stays topped up and you never think about it again.
Where this goes wrong is placement. A panel in deep shade behind a tree will not keep up, no matter how good the panel is. Neither will one mounted flat under a wide eave where it can only see a strip of sky. The maker lists 5 volts and 5 watts for this model and says it is designed to keep charging through overcast weather, but physics still applies. More sky, more charge.
Power draw matters too. A camera that wakes up two hundred times a day for every passing cat burns through battery far faster than one that only wakes for people. That is why detection quality is really a battery feature as well as a convenience feature.
What 2K buys you
Video resolution sounds like a spec-sheet argument until the day you need to read something small in a clip. At 1080p, zooming in on a license plate or a face usually ends in a soft, blocky mess. There simply is not enough information in the frame.
This camera records at 2560 x 1440, which is 2K, at 15 frames per second. That extra resolution does not make the picture look dramatically different on your phone at a glance. What it does is survive zooming. Combined with the 4x digital zoom, you can crop in on a detail and still have something recognizable. For anyone comparing the best wireless outdoor camera options, this is the spec that quietly matters most.
The sensor is a 3 MP CMOS unit with auto focus. At night the camera switches to color night vision out to about 33 feet, using two infrared LEDs. Color at night is genuinely useful. Black and white infrared tells you a person was there. Color tells you they were wearing a red jacket and carrying a blue bag, and that is the kind of thing that is worth something later.
Why pan and tilt changes the layout
A fixed camera sees one cone. You point it at the driveway and that is what you get. Anything that happens on the side path or by the back door happens off camera.
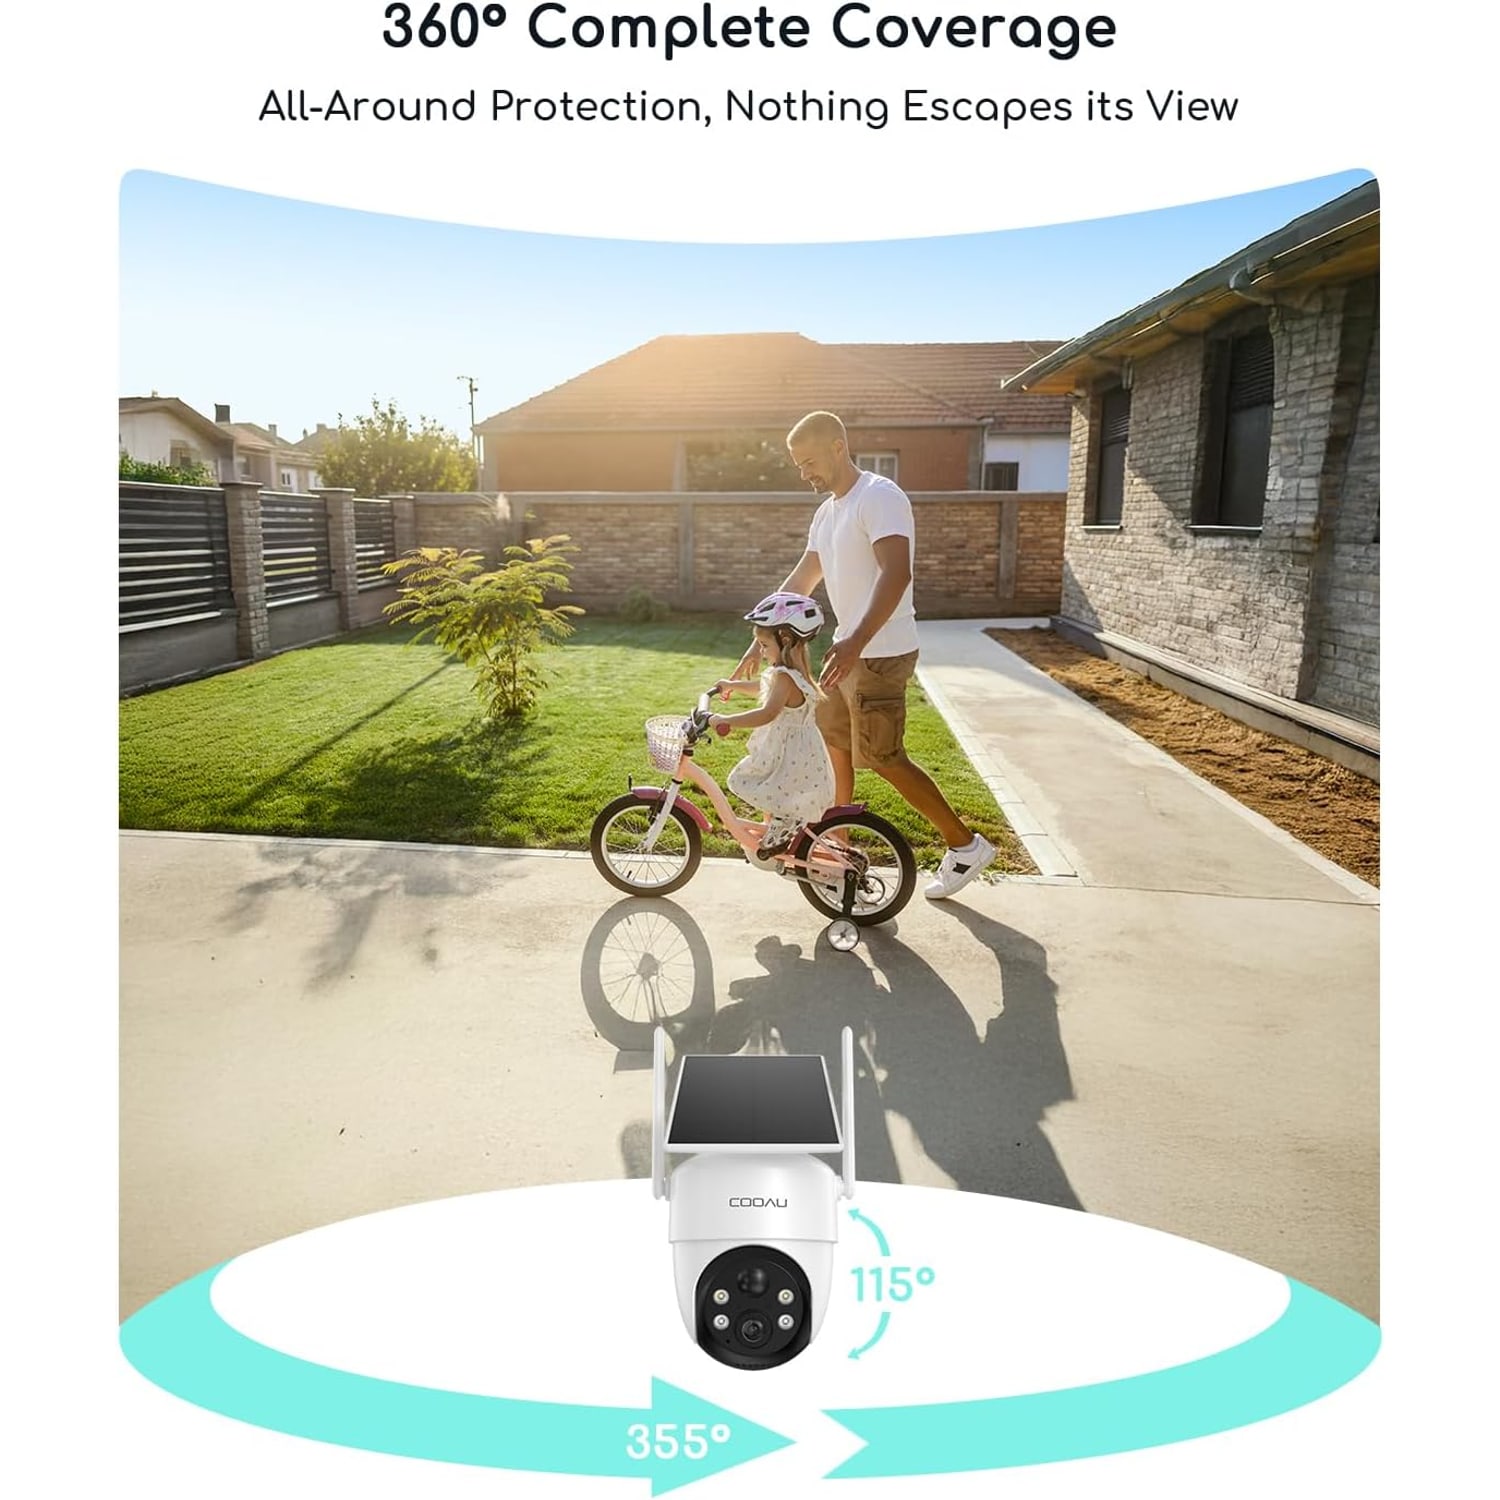
Pan and tilt lets the camera head rotate through a full 360 degrees under your control from the app. In practice people use it two ways. Day to day they park it on the view that matters most, usually the drive or the front path. Then when something comes up, the dog is out by the pool, a delivery is due at the side gate, they swing it over and watch live.
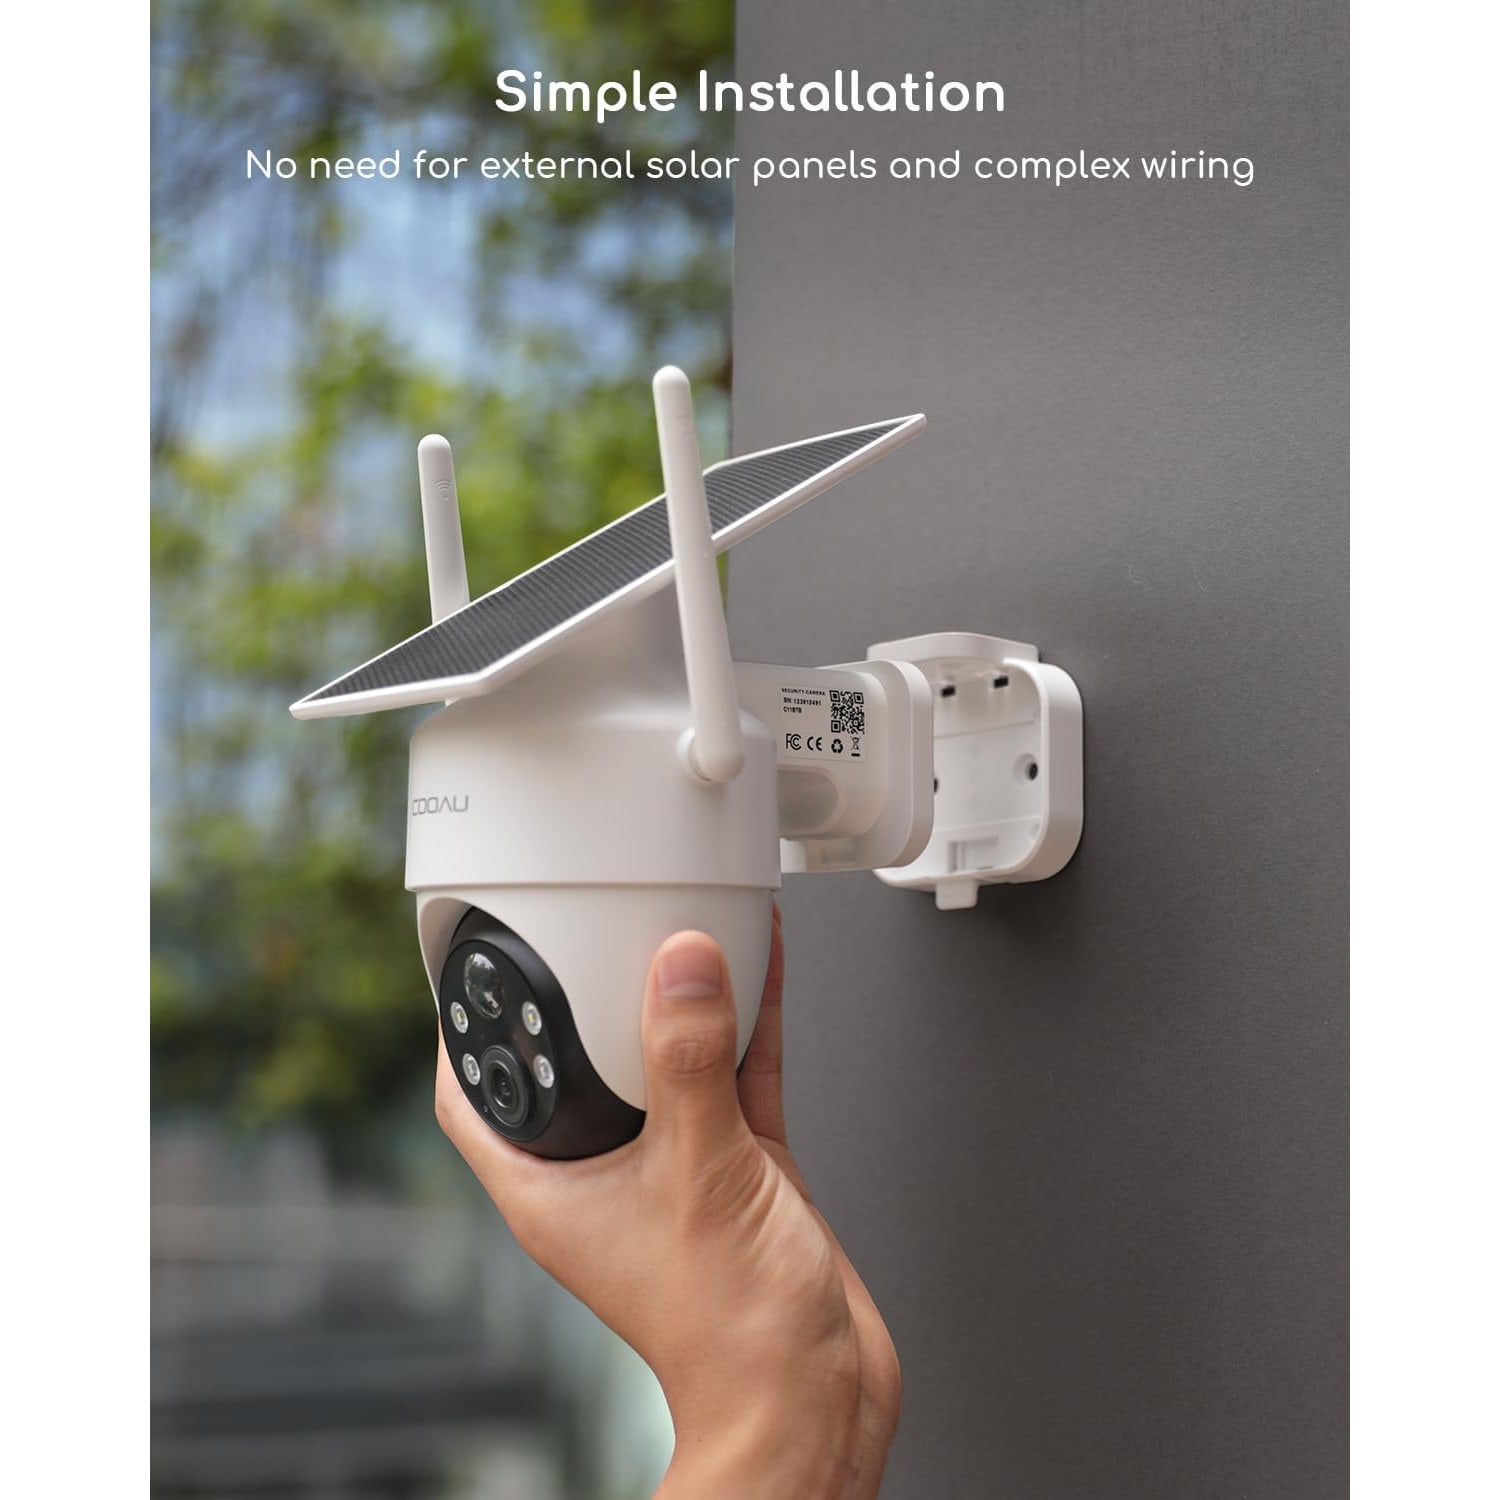
It also helps during setup. With a fixed camera, getting the angle right means going back up the ladder and nudging the bracket. With pan and tilt you mount it roughly level and fine-tune from the couch.
One honest caveat. A camera pointed at the back yard is not recording the front at that moment. Pan and tilt gives you flexibility, not simultaneous coverage. If you need both at once, you need two cameras.
Alerts you will actually read
The fastest way to end up ignoring a security camera is to let it shout at you all day. Headlights sweeping a wall, a branch in the wind, a neighbor's cat on the fence, each one a push notification. Within two weeks you swipe them away without looking, and then you miss the one that mattered.
This model uses AI human detection with adjustable sensitivity, built to tell a person apart from small animals and moving foliage. The sensitivity slider is the part people underuse. A camera facing a quiet side yard can sit on a high setting without ever bothering you. One facing a busy sidewalk needs to come down, or you will get an alert for every passing stroller.
Spend ten minutes tuning it in the first week. It makes the difference between a camera you trust and one you mute.
Storage, and who holds your footage
There are two paths here and they suit different people.
Cloud storage keeps short encrypted clips off-site. The advantage is that if someone takes the camera, the footage is still there. The limitation is clip length and reliance on your internet connection staying up.
Local storage uses a microSD card in the camera, up to 128GB. The card is not included, so budget for one. The advantage is privacy and capacity. Nothing leaves your property unless you send it. The trade-off is that the footage lives in the same box that is hanging on your wall.
You can run both. Cloud as the backup copy, card as the deep archive.
Mounting, weather and the long term
The housing is white ABS, IP66 rated, in a dome shape measuring 6.69 by 6.3 by 4.33 inches. It is an outdoor camera, made to be mounted outside.
For height, eight to ten feet is the usual sweet spot. High enough to be out of casual reach, low enough that faces are still recognizable rather than just the tops of heads. Angle it down across the area you care about, and try not to point it directly into a street light or the low morning sun, since strong backlight washes out exactly the detail you want.
The box has the bracket, screws, a charging cable and a manual. You supply a drill, the right bit for brick, siding or wood, and a microSD card if you want local recording.
Maintenance is about as simple as it gets. Wipe the solar panel and the dome with a soft damp cloth every few weeks. Dust, pollen and bird mess cut charging and soften the image more than most people expect. Check the bracket screws once or twice a year. Skip the pressure washer and the solvents.
A note on Wi-Fi
The camera runs on 2.4 GHz Wi-Fi only. That is a deliberate choice on outdoor gear, because 2.4 GHz carries further and passes through walls, fences and siding far better than 5 GHz. Before ordering, confirm your router is broadcasting a 2.4 GHz network. Some newer routers combine both bands under one name, which occasionally confuses the setup process and may need a temporary split.
Walk to your intended mounting spot with your phone and check the signal strength there. If it is marginal standing outside, it will be worse once the camera is fixed to a wall. A mesh node or a repeater in the garage usually fixes it.
The short version
If your sticking point is power, this solves it. The solar panel means you mount the camera where the view is good rather than where the cable reaches, and the 360 degree pan and tilt means one unit can watch several parts of the property instead of one narrow slice.
The 2K resolution is what makes zooming worthwhile, and the color night vision out to 33 feet keeps useful detail after dark. Set the detection sensitivity properly in the first week, give the panel a clear view of the sky, wipe it down now and then, and it should sit quietly on the wall doing its job.
Check your 2.4 GHz signal at the mounting spot before you drill, and add a microSD card to your order if you want recordings kept on your own property.