
The complete guide
How To Choose A Lightweight Camera Backpack That Actually Fits Your Kit
The problem with most camera bags
Camera gear is heavy and awkward. A body is dense, a lens is dense, and a laptop is a flat slab that wants its own space. Put all of that in a soft bag and things grind against each other. Put it in a heavily armored bag and you add two or three pounds before you have packed anything at all.
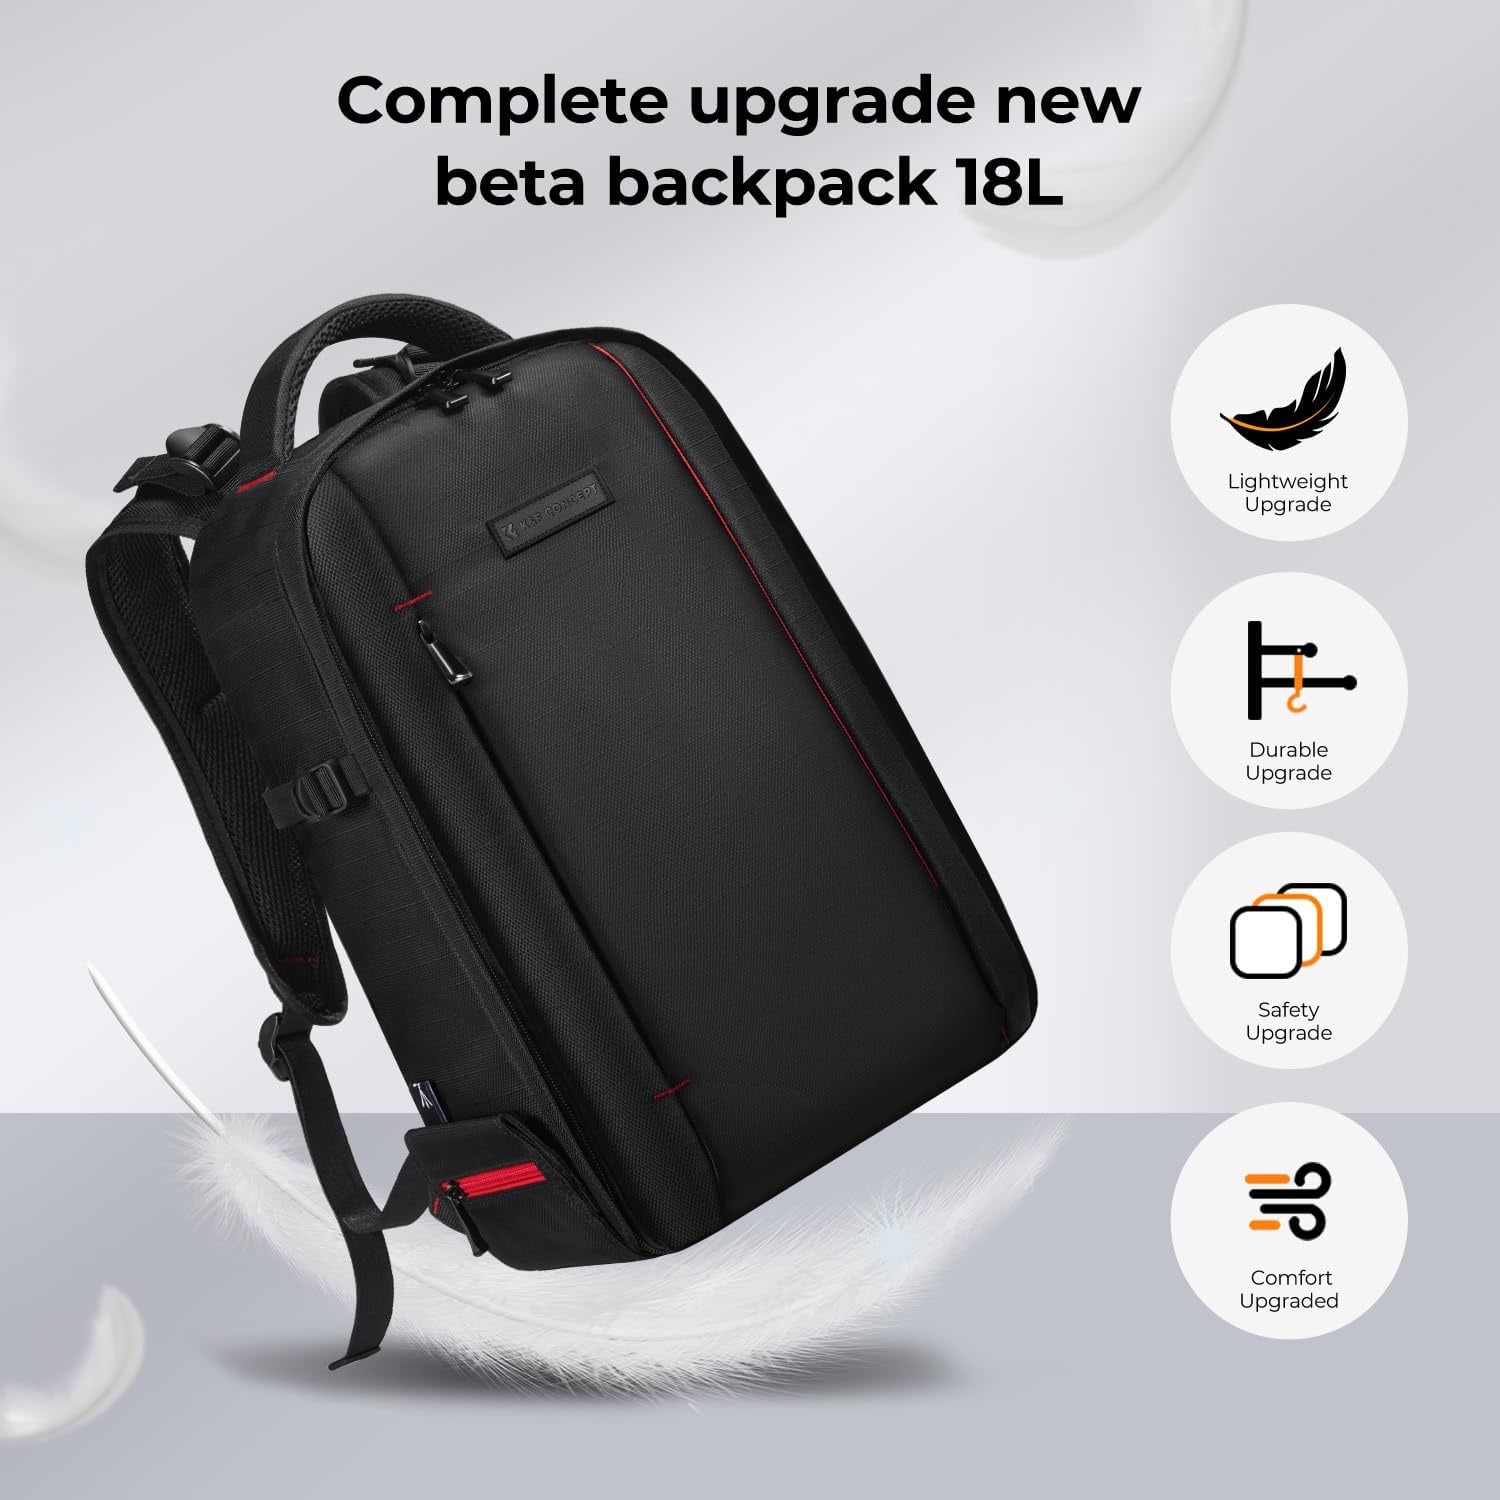
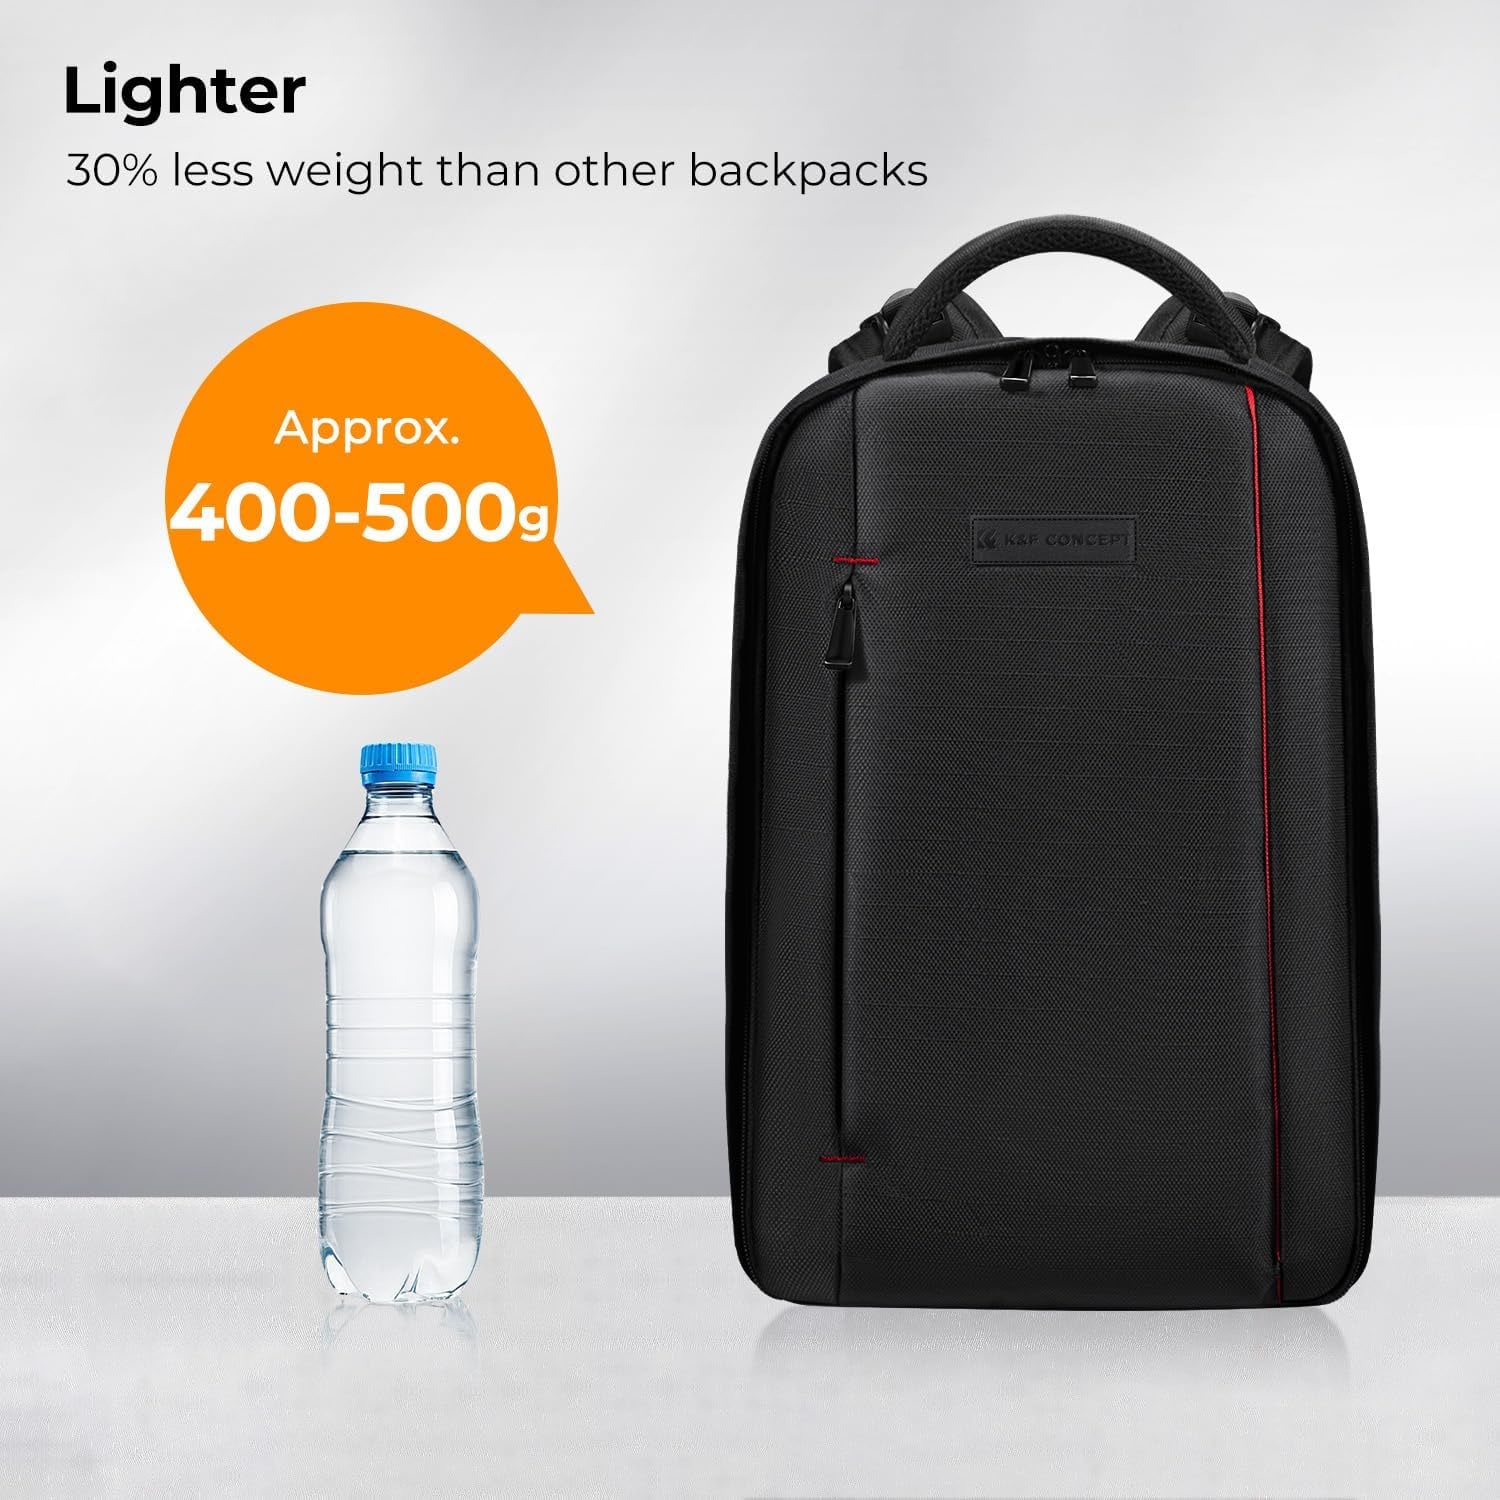
That second problem is the one people underestimate. You notice it around hour three. Your shoulders ache, you start shifting the straps, and you quietly decide to leave a lens at home next time. A pack the maker describes as weighing only 1 kg (1.41 kg in the specifications) gives you back some of that margin. The weight you carry becomes the weight you chose.
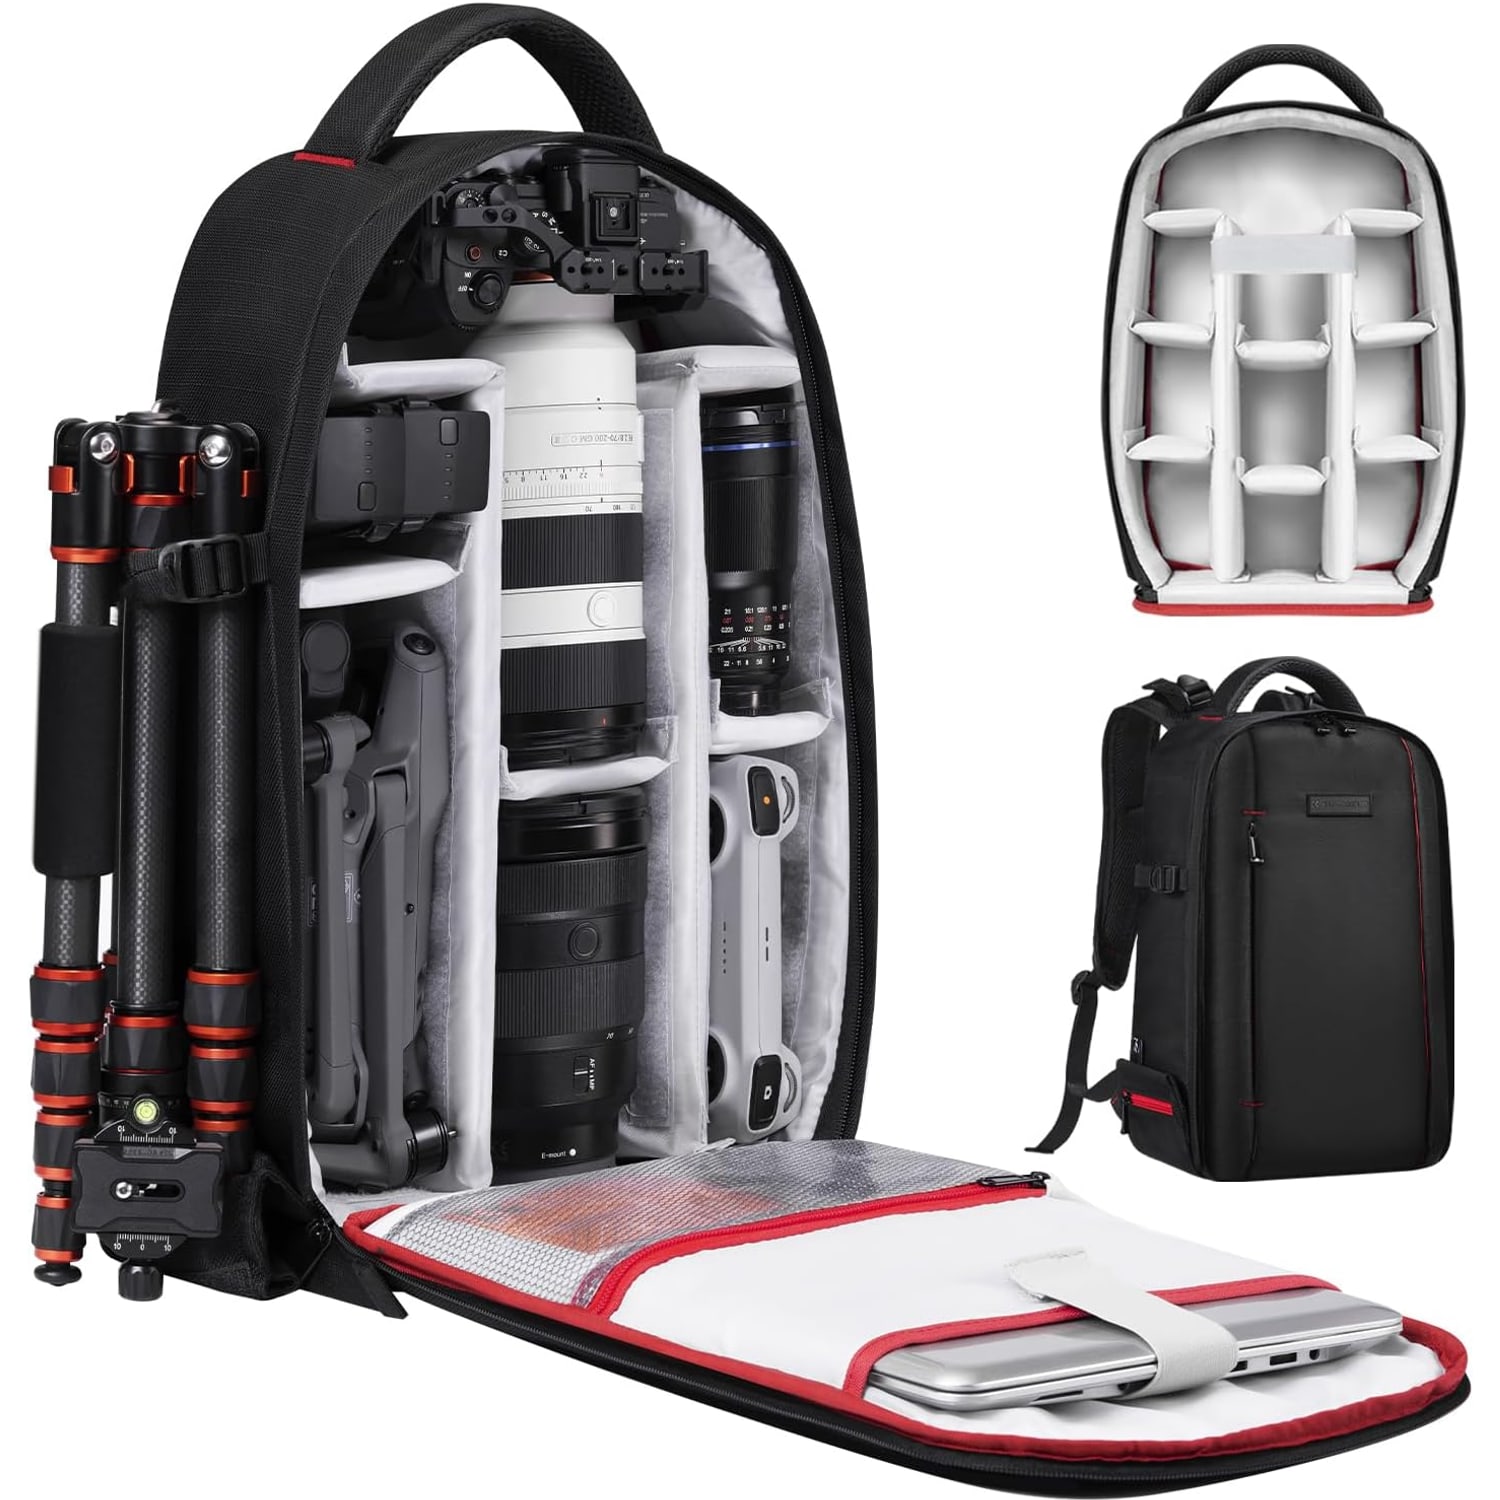
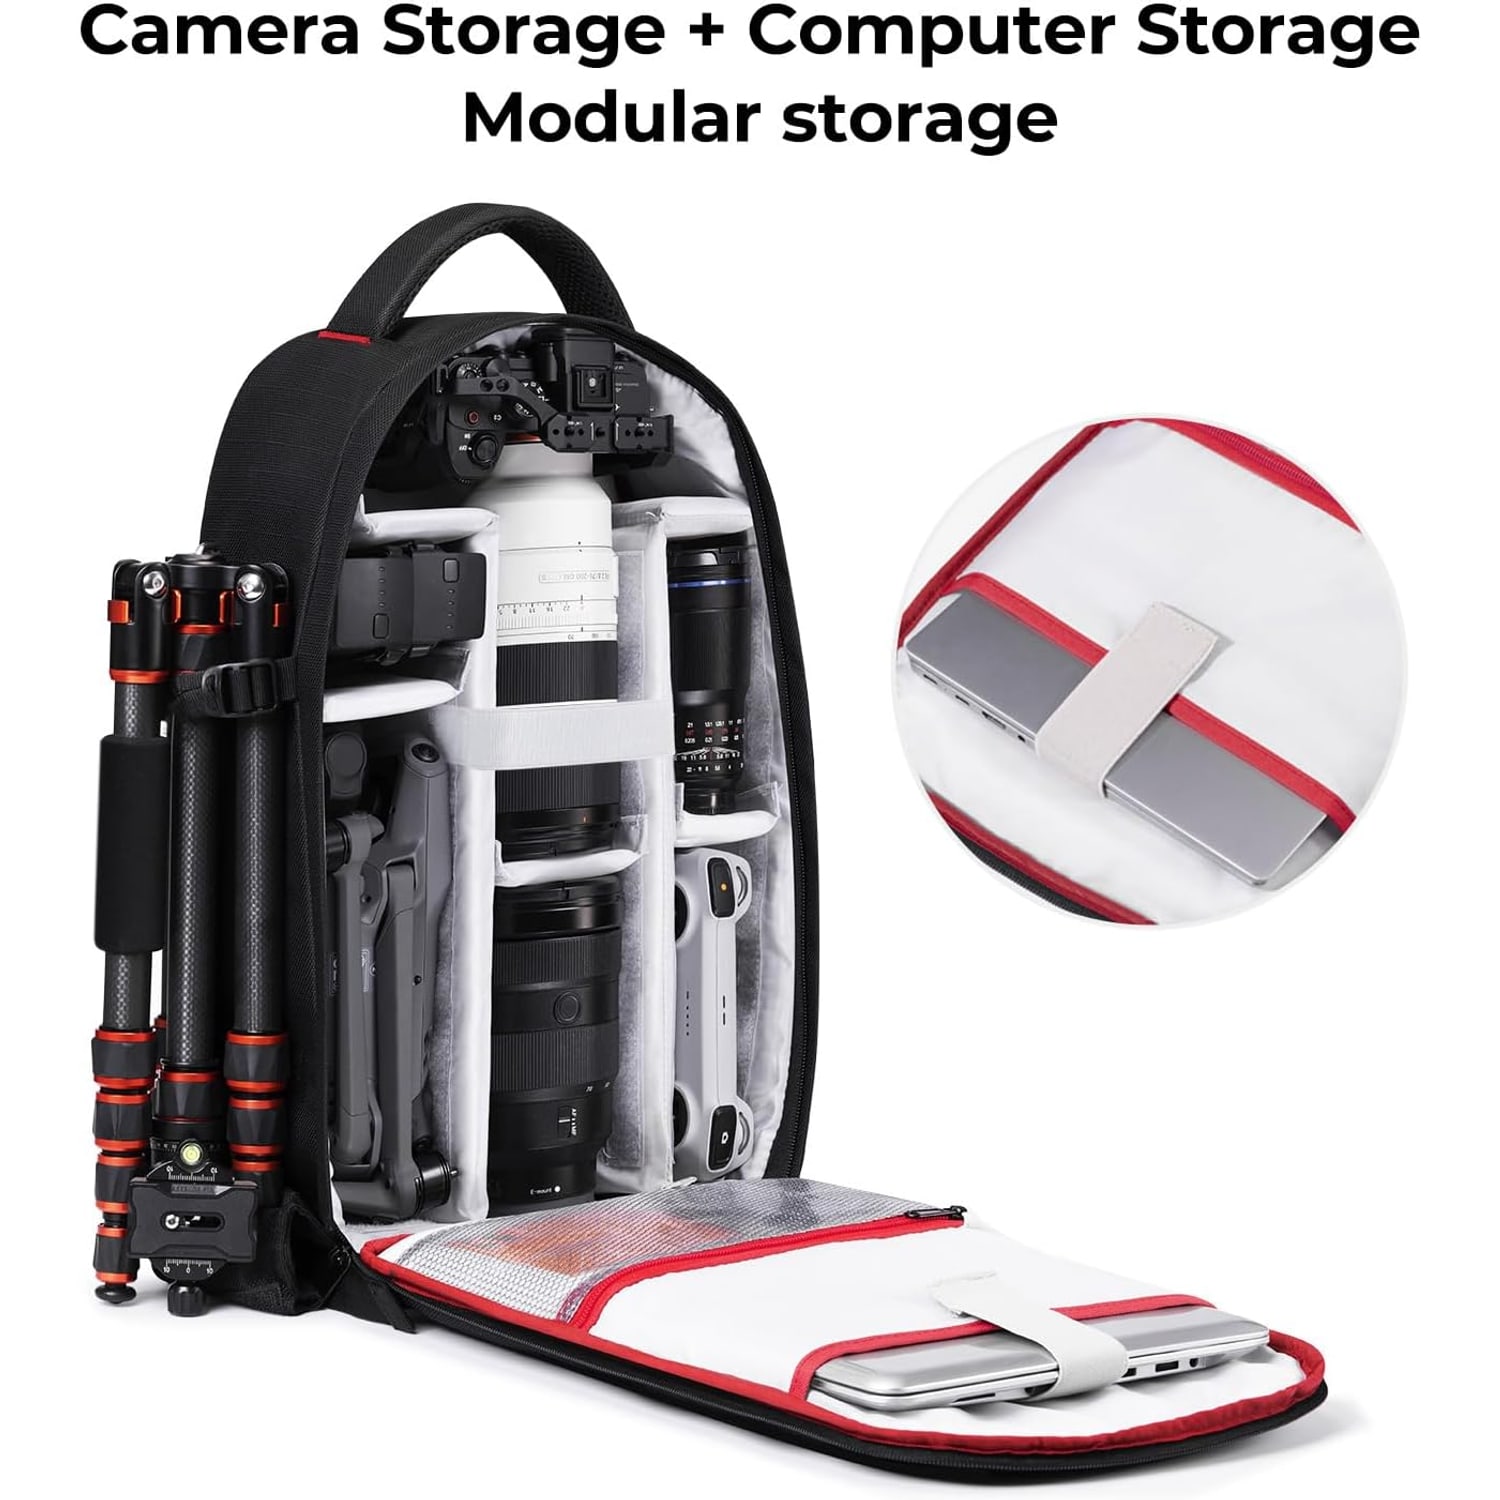
The other everyday annoyance is access. Plenty of bags load from the top only. To reach the lens at the bottom you take out the three things above it, and if you are crouched on a damp path, those three things end up on the ground. A front panel that opens wide fixes this quietly and permanently.
How a divider system works
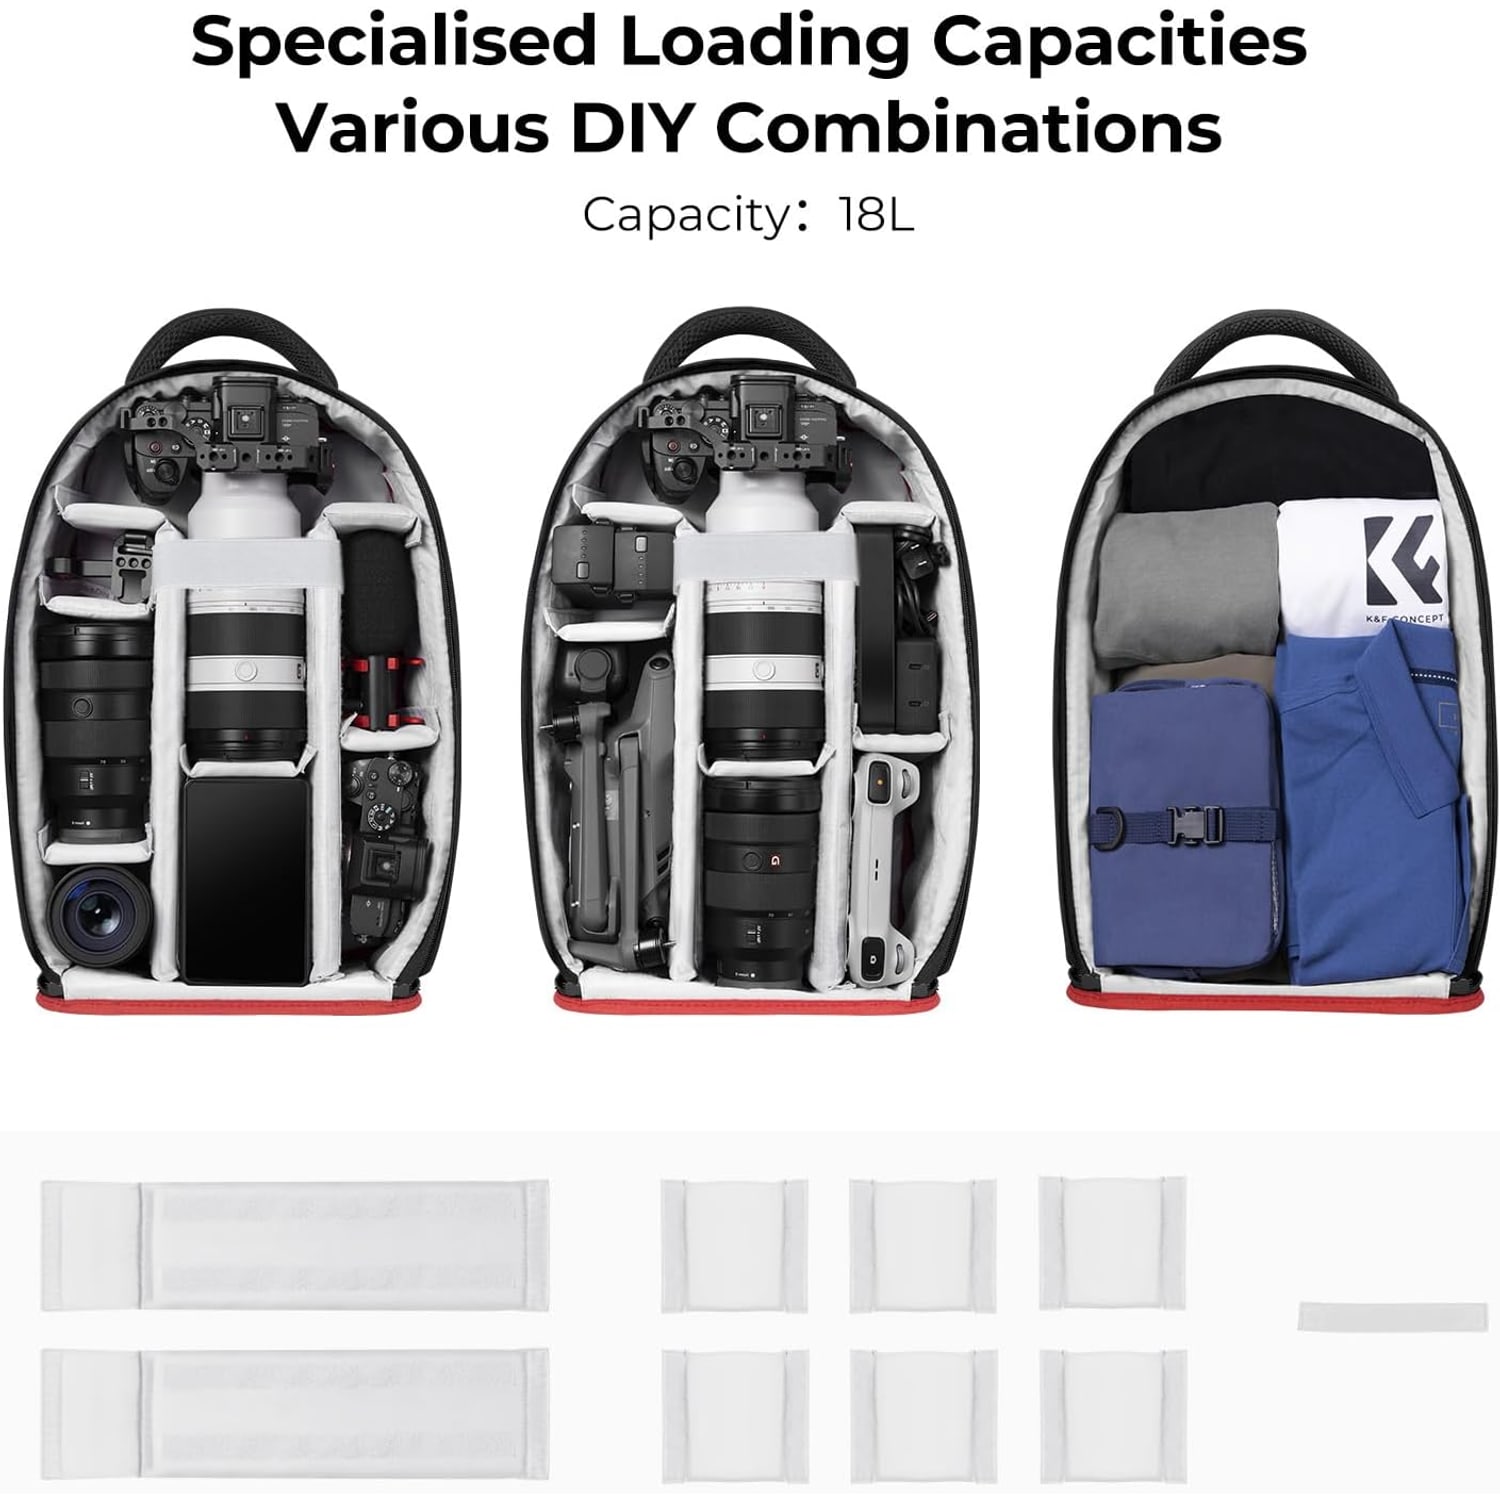
Inside this bag, the walls are not fixed. Padded dividers attach to the interior and move, so you decide where the walls go. It sounds like a small thing. In practice it is the difference between a bag that fits your kit and a bag you fight with.
Here is how most people set one up. Start by putting in your largest item, usually a body with a lens mounted. Build a tall channel around it, running vertically so the camera stands on its base. Then work outward with smaller cells for your other lenses, laid on their sides so you can grab them by the barrel. Leave one shallow shelf near the top for a flash, a battery pouch or a card wallet.
Leave slightly more room than you think you need in each cell. Gear that has to be forced into a slot gets scratched on the way out, and you will be doing that swap in a hurry at some point.
The 16-liter capacity sits in a useful spot. It is enough for two bodies and a few lenses, which covers most shooting days, without tempting you into carrying a studio on your back. If you regularly shoot with a large telephoto, measure it first. A long lens will take a big share of the interior and change what else fits.
Who this suits
A compact camera backpack like this one works best for a few kinds of shooter.
The traveler who wants one bag. You can fit a camera kit, a laptop or tablet, a bottle and a small tripod, and still have something that reads as a daypack rather than luggage. The external footprint of 27 x 14 x 43 cm keeps it manageable in a crowded train car.
The weekend walker. It is listed as a daypack with hiking among its uses, and the tripod pocket on one side plus the bottle pocket on the other is the right setup for a day out. If you are doing multi-day trekking with a heavy load, you want a proper hiking pack with a hip belt instead, and you carry the camera in a chest pouch.
The commuter who also shoots. Dividers come out, and the bag turns into a normal backpack with a padded device sleeve. That is a genuine advantage over a molded foam insert that cannot be removed.
Where it is less ideal is heavy professional work with multiple long lenses, lighting stands and a 16-inch laptop. That is a bigger-bag problem, and no 16-liter pack solves it.
Matching the bag to your laptop
The maker's two figures do not match. The description says the backpack can hold a MacBook Pro 14-inch laptop and an 11-inch iPad Pro, while the specifications give a maximum device size of 13 inches. Measure before you buy rather than assuming, because screen sizes and chassis sizes are not the same number.
If your laptop is larger than the sleeve allows, you have two sensible options. Carry the laptop in a separate slim sleeve in your other bag, or step up to a larger camera pack and accept the extra weight. Trying to force an oversized laptop into a sleeve that was not built for it stresses the seams and does not protect the screen.
Weather, materials and what water resistant really means
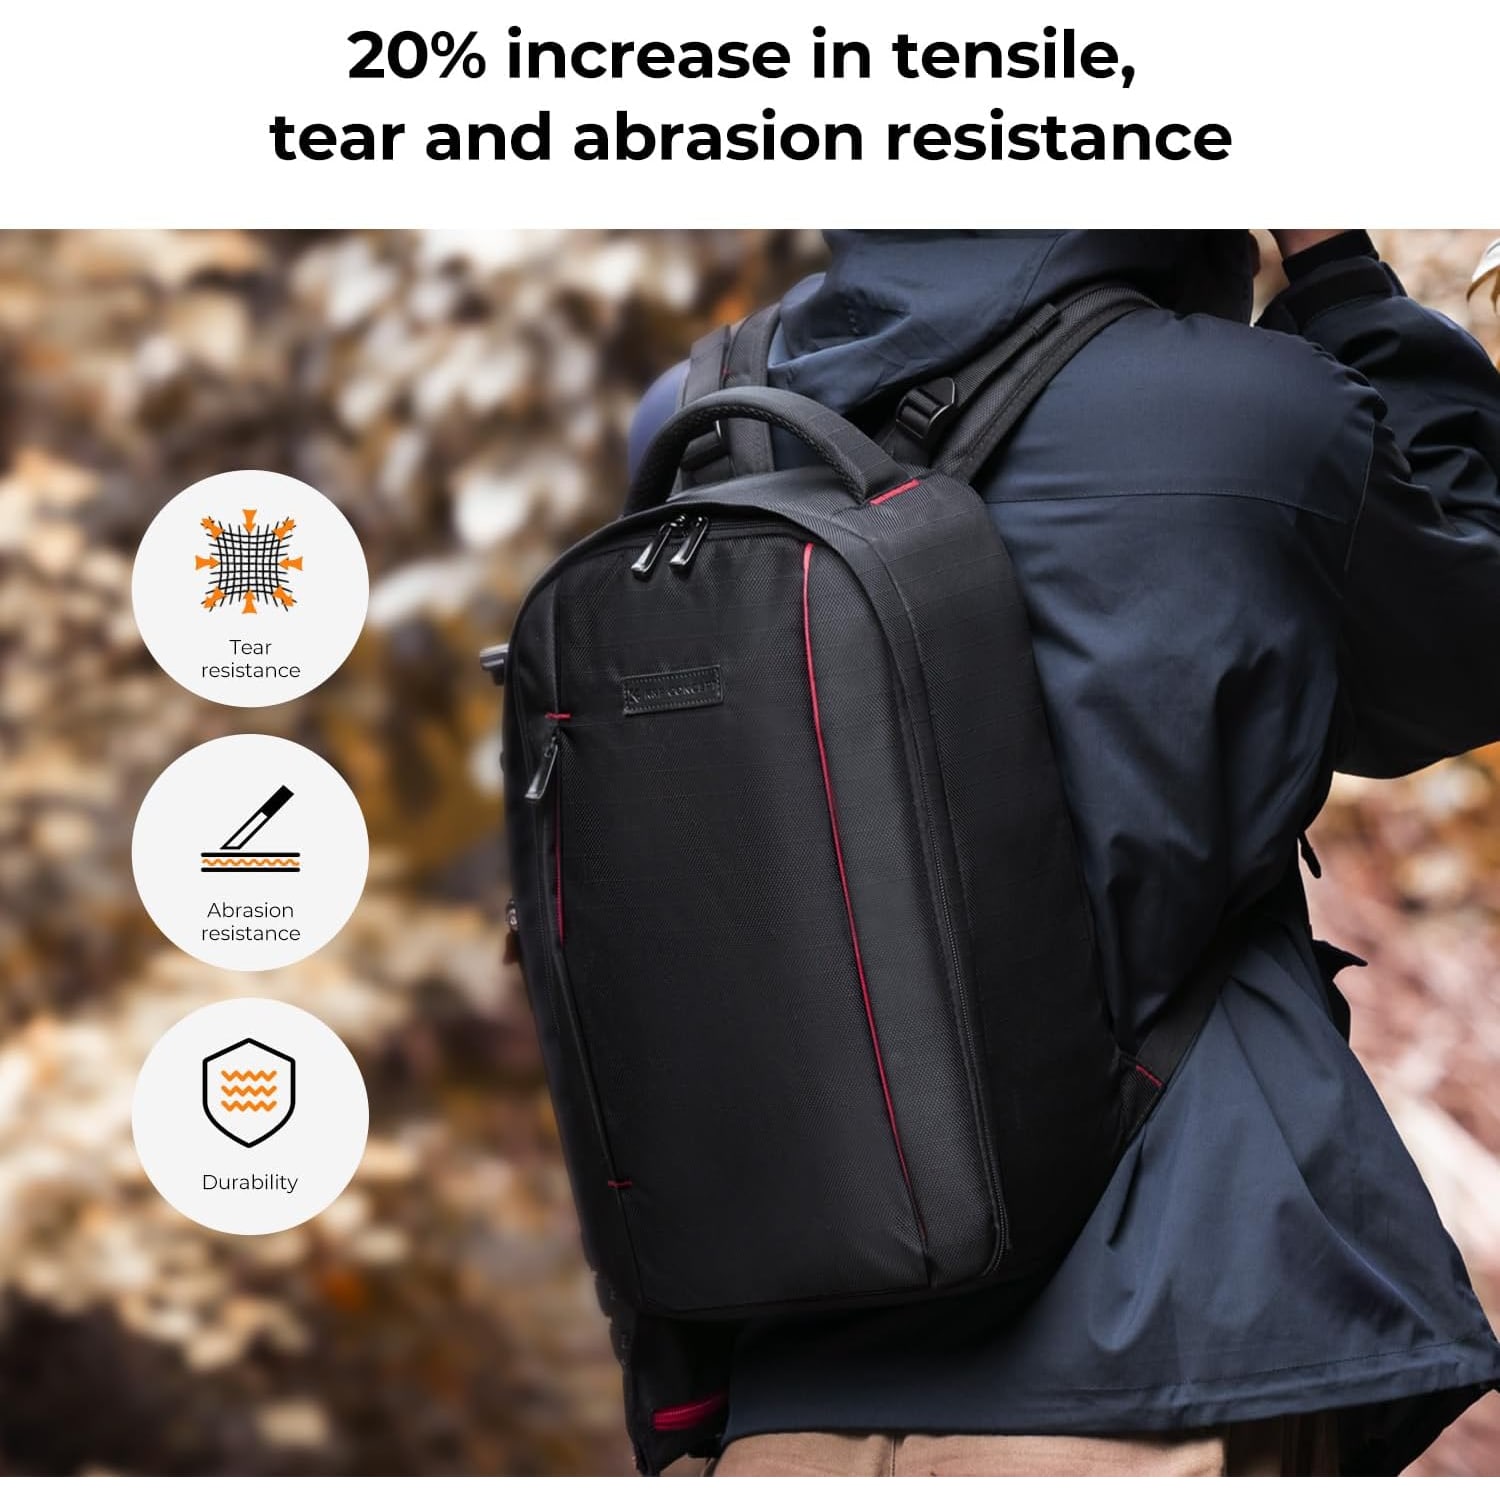
The shell and outer material are nylon, with a polyester lining. Nylon is popular in bag making because it handles scuffs well, stays light and dries quickly after a soaking.
The bag is listed as water resistant. Read that as "fine in drizzle and spray, not designed for a downpour." A water resistant shell buys you the walk from the parking lot to the cafe. It does not buy you two hours on an exposed ridge in driving rain. If you shoot in genuinely wet conditions, add a rain cover over the pack and keep bodies in dry bags inside it. Both are cheap and both work.
Dust is the other environmental factor people forget. Sand and grit in zipper tracks will wreck a zipper faster than any amount of rain. Brush the tracks out after a beach day and the bag will last a lot longer.
Packing it so it carries well
Weight distribution matters more than total weight. Load the heaviest items, usually your bodies, closest to your back and roughly at the middle of your spine. Lighter items go toward the outside of the pack. A bag packed that way feels noticeably lighter than the same weight packed carelessly.
Use the small pockets properly. There are internal spaces meant for filters, adapter rings and similar parts, plus elastic card holders. Giving every small item a permanent home means you stop searching and you stop losing things. Spare batteries deserve their own pocket, away from anything metal.
Set the adjustable straps so the bag sits high on your back. If it hangs low near your waist, the weight pulls backward and your shoulders take all of it.
Care that actually extends the life of the bag
The care instruction is hand wash only, and it is worth following. Wipe the nylon shell with a damp cloth and a little mild soap, concentrating on the base, which takes the most abuse from being set down. Rinse the cloth and go over it again, then let the bag air dry away from direct heat. Radiators and hot cars can distort padding and coatings.
Never put a camera bag through a washing machine. The agitation separates padding from the shell and the result is a bag with lumpy, useless walls. Avoid bleach and avoid ironing.
Store it empty and loosely open rather than compressed flat at the back of a closet. Padded dividers hold their shape better that way, and any residual moisture can escape instead of sitting in the lining.
The short version
You are looking for a bag that is light enough to carry all day, organized enough to protect your gear, and flexible enough to change as your kit changes. This one is described by the maker as weighing only 1 kg (1.41 kg in the specifications), holds 16 liters behind a wide-opening front panel, and uses padded dividers you reposition yourself. It has a laptop compartment, seven compartments and three pockets, and carries a tripod and a bottle on its sides.
Check two measurements before you order. The folded length of your largest lens, and the physical size of your laptop. If both clear, this is a straightforward, light, easy-to-live-with pack for travel, day hikes and ordinary shooting days.