
The complete guide
How to Clean an APS-C Sensor Without Losing Sleep
The spot that will not go away
You notice it in the sky first. A soft gray smudge, slightly out of focus, sitting in the upper left of a frame. Then you scroll through the rest of the shoot and there it is again, same place, same shape, in every single image. That is a sensor spot, and no amount of wiping the front of your lens will touch it.
Dust gets inside an interchangeable lens camera because, by design, the inside of the camera is open to the air every time you swap glass. A zoom lens that extends and retracts also breathes air in and out. The particles drift down and land on the sensor's cover glass, which sits a fraction of a millimeter from the imaging surface. At wide apertures they are invisible. Stop down to f/11 or f/16 and they sharpen into obvious blobs.
Most cameras have a built-in shake function that vibrates the sensor at startup. It helps. It does not catch everything, especially anything slightly sticky, like pollen or a speck of oil flung off the shutter mechanism. Sooner or later you need to clean it properly, and an APS-C sensor cleaning kit is how you do that at home instead of handing the camera over for a week.
What is in the kit and what each piece does
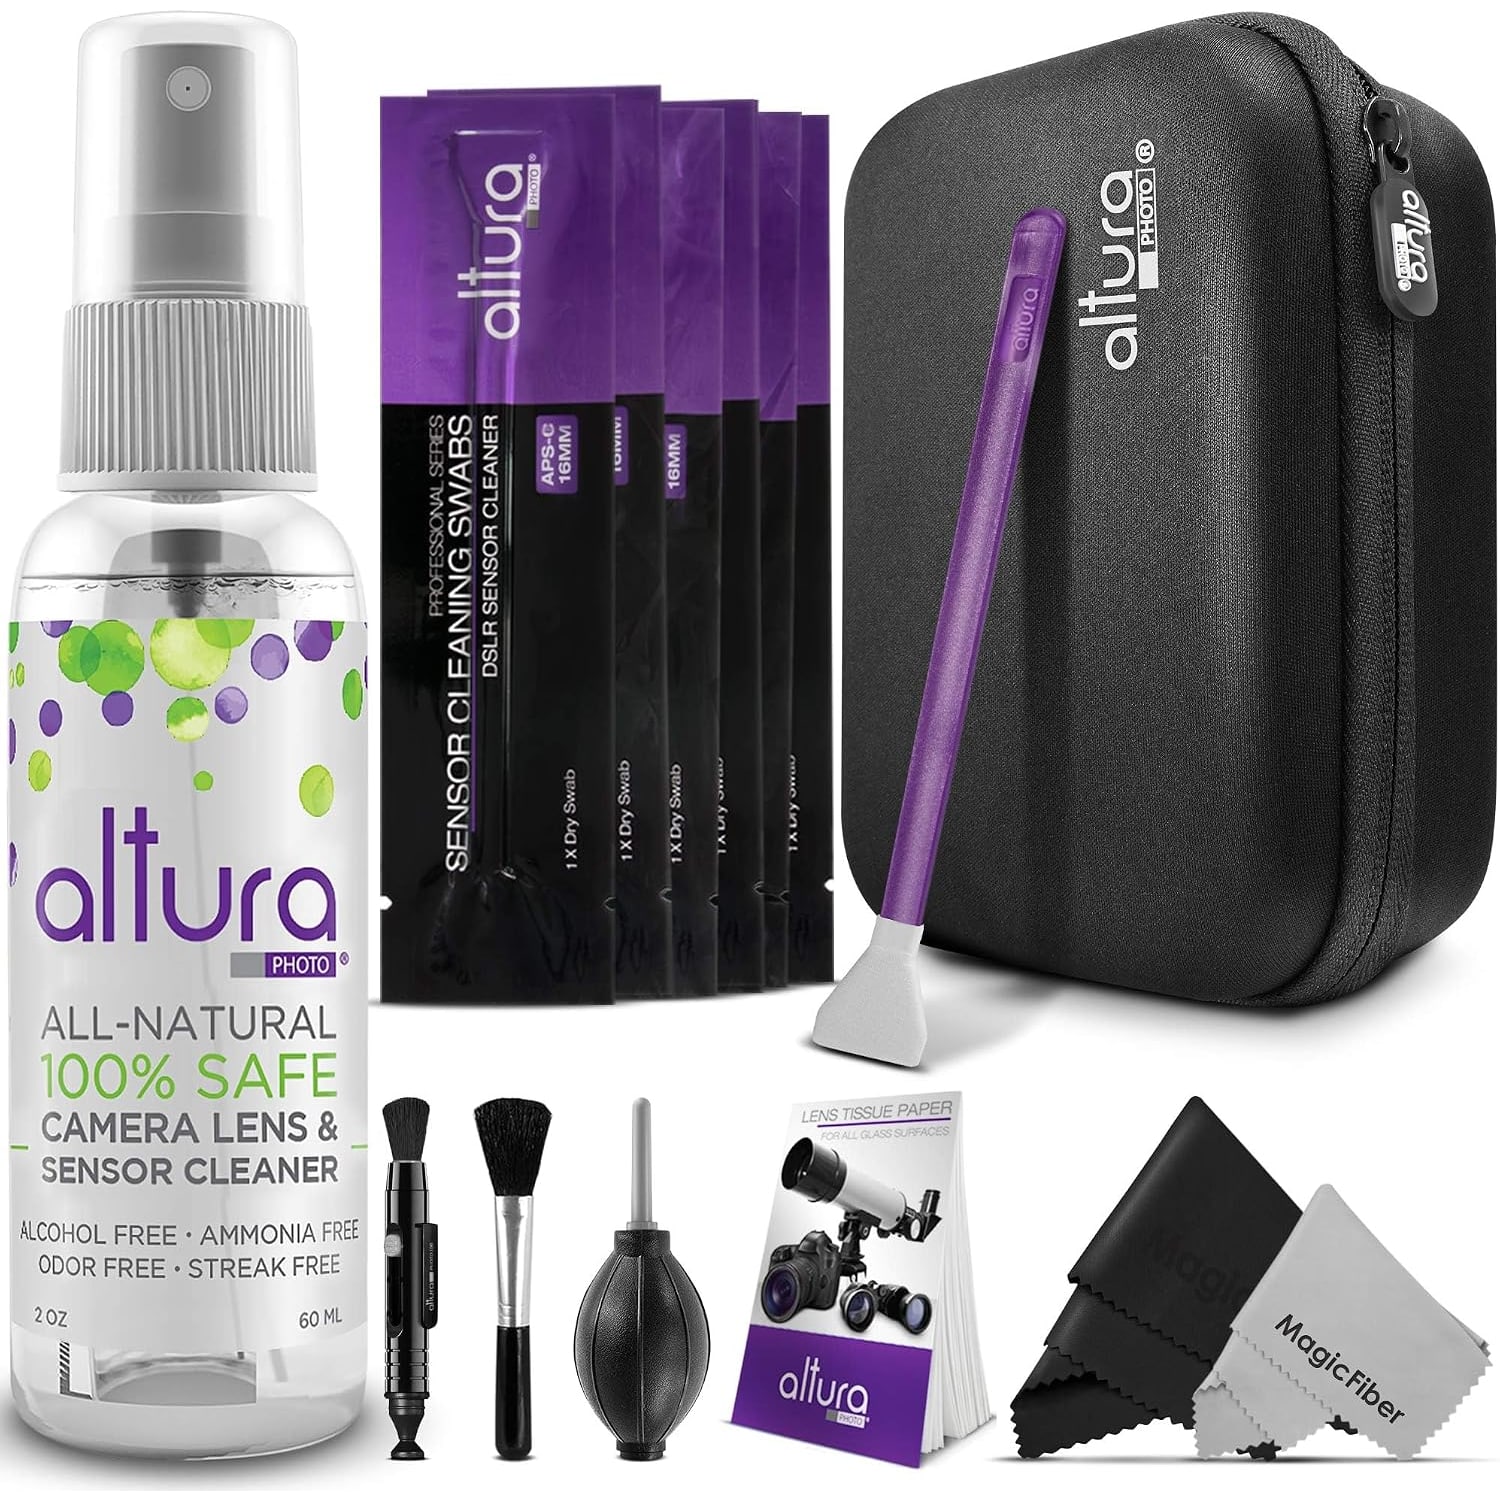
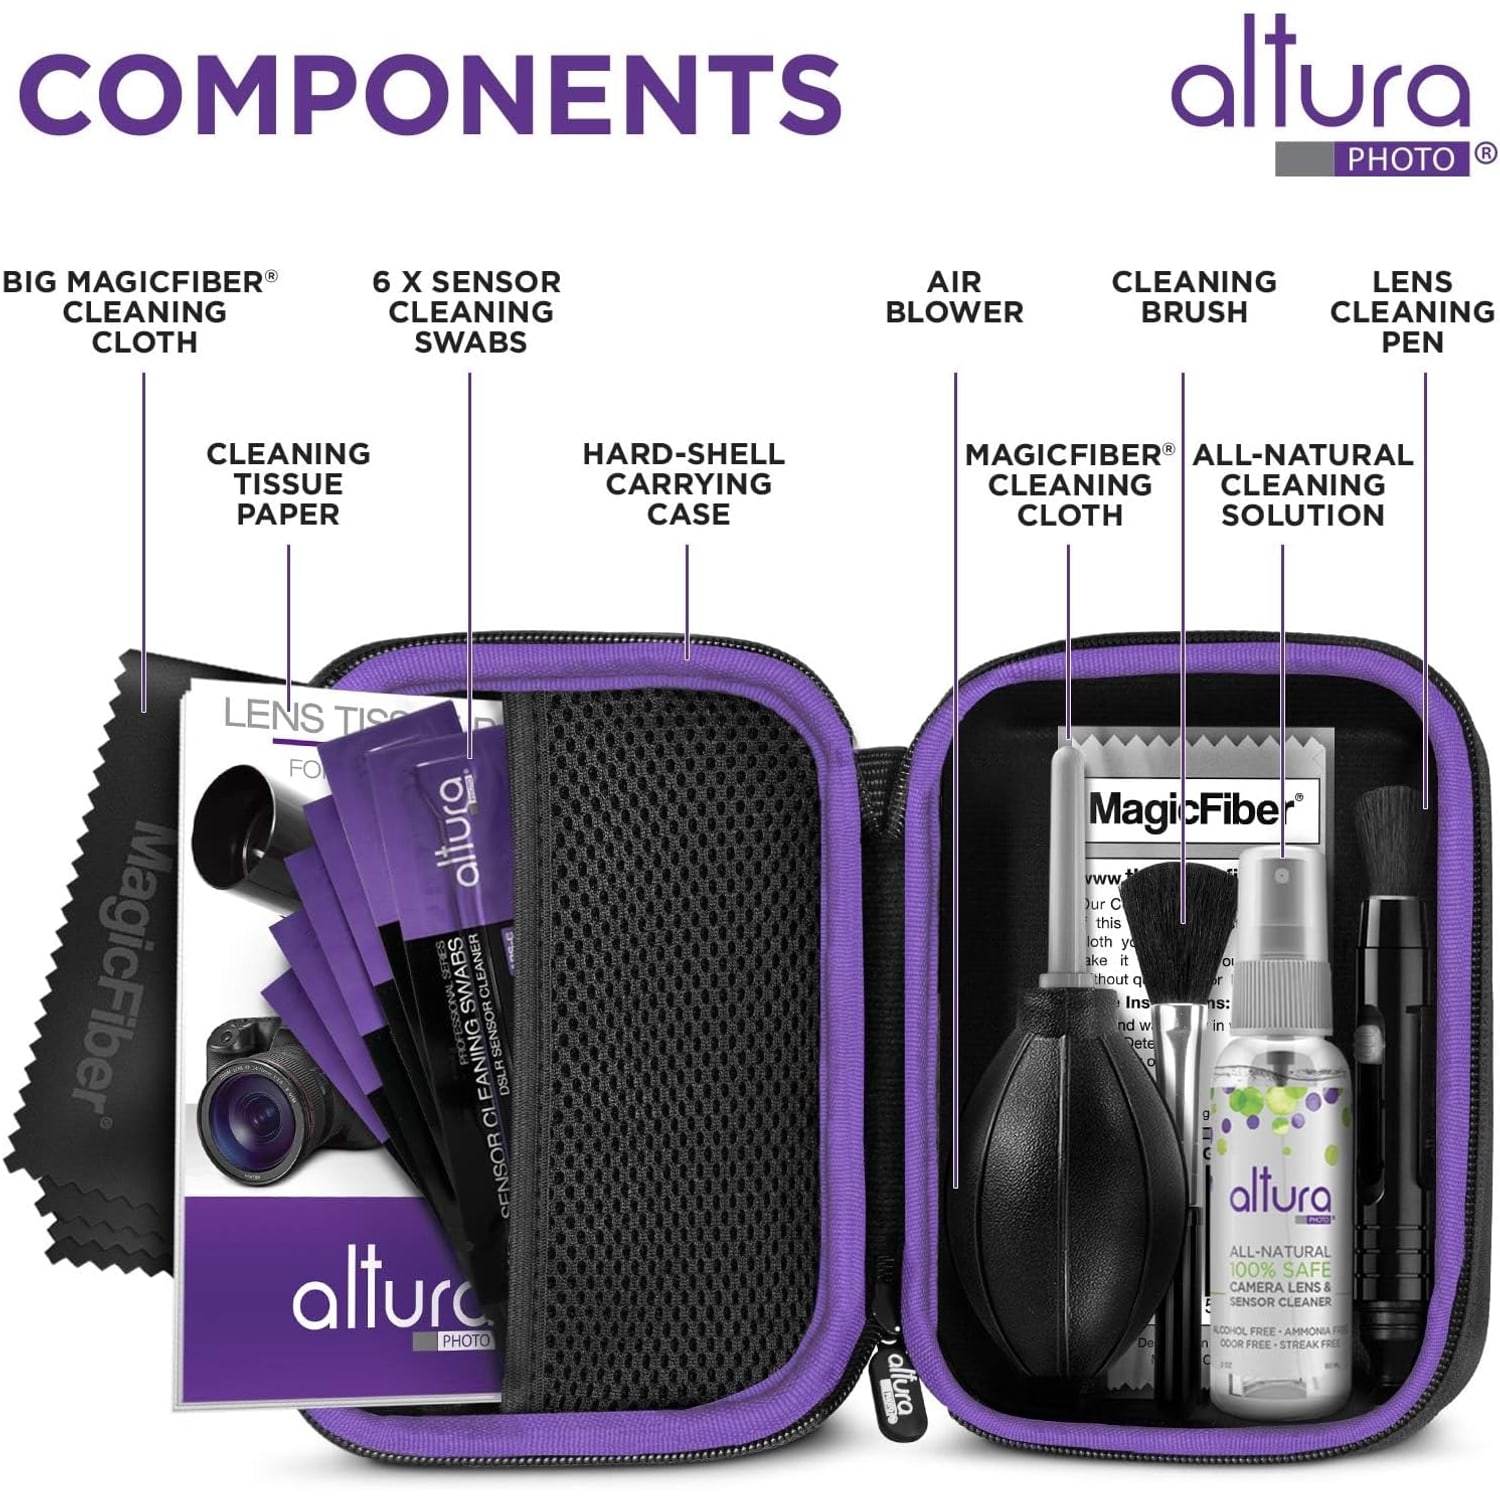
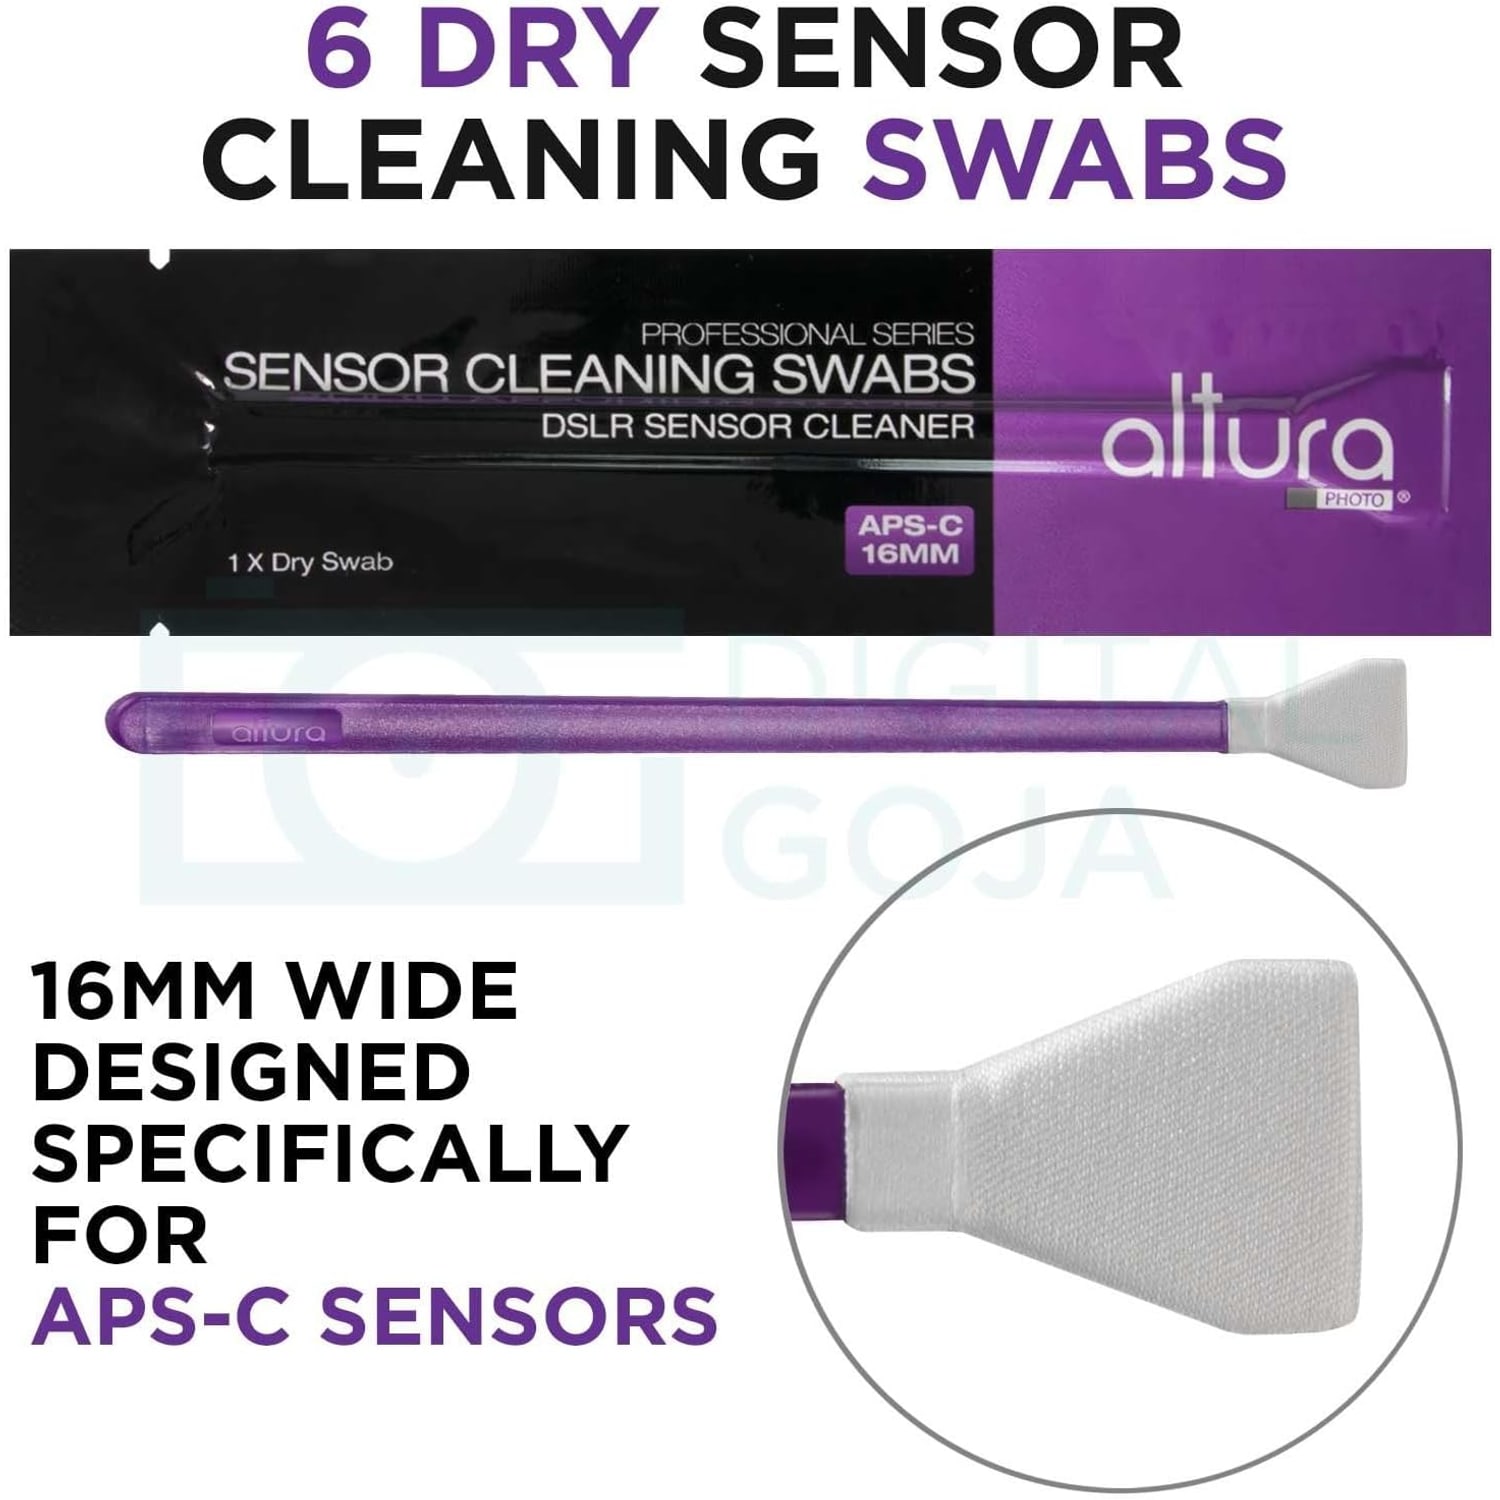
This set is built around six dry sensor swabs, each 16mm wide, individually wrapped and vacuum sealed. That width is chosen for APS-C sensors measuring 23.6mm x 15.6mm, so the swab covers the full sensor height in a single pass. The swab arrives dry, you spray the included solution onto it, and you use it once. Then it goes in the trash. That is not waste, it is the whole safety model.
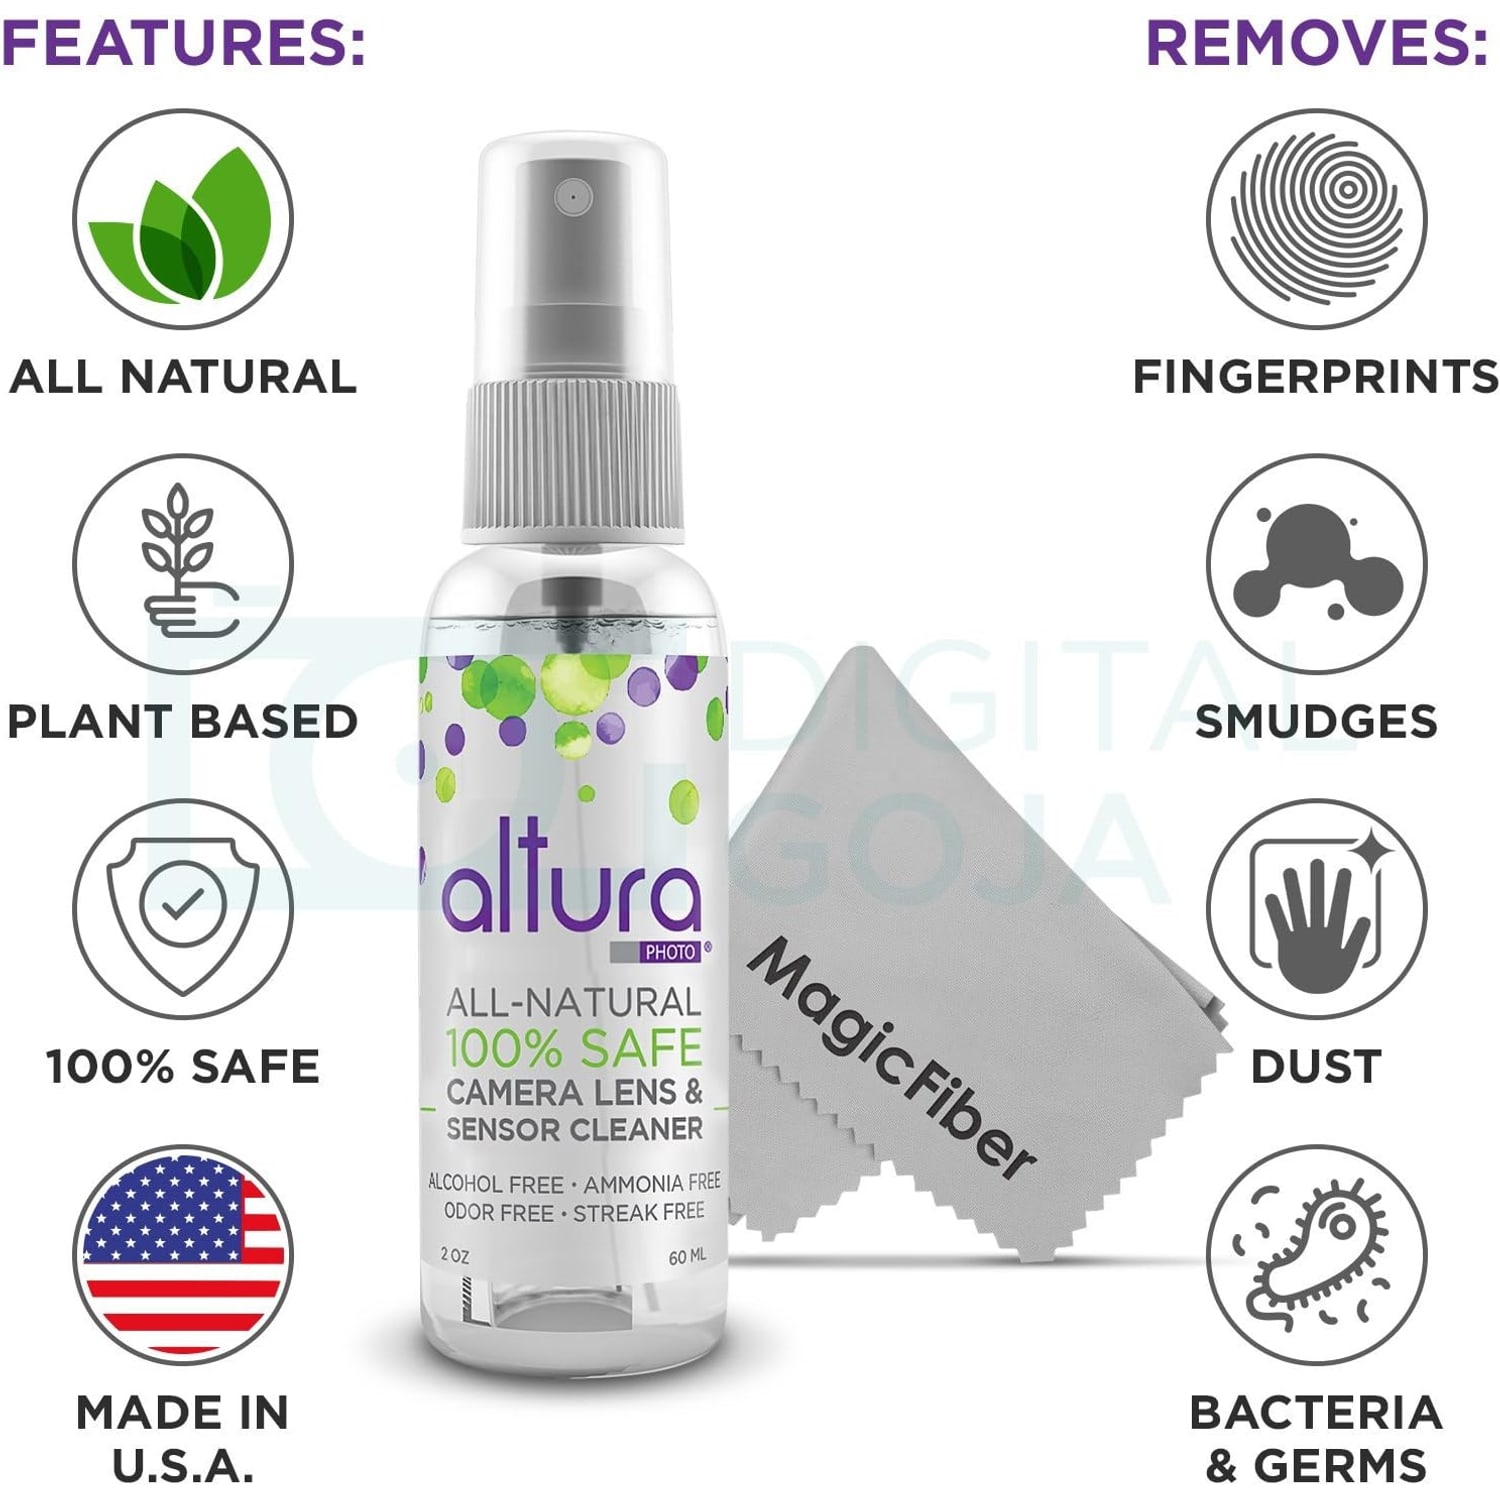
The 60 ml bottle is an all-natural, plant-based formula with no alcohol and no ammonia. Harsh solvents and coated optical glass are a bad combination over time. This one is also designed to neutralize static on glass, which matters more than people expect, since a statically charged surface pulls dust back the moment you finish.
Then there are the tools you will use far more often than the swabs. The air blower moves dust with nothing touching the camera, which makes it the safest tool in the bag and the first one you should reach for. The soft brush and the 50 sheets of lens tissue deal with grit and marks on lens barrels and glass. The lens cleaning pen handles fingerprints on a front element quickly. The microfiber cloth is for viewfinders, screens and a quick wipe before you shoot.
All of it lives in a zippered hard-shell case. The item weight is 12.8 ounces, and the maker says the case fits in any camera bag.
Who this suits
If you shoot an APS-C camera and change lenses, this is for you. That includes a long list of popular bodies: Canon EOS Rebel T7, T7i and T8i, the EOS 80D and 90D, Nikon D3300, D3500, D5500, D5600, D7500 and D500, and Sony A3500, A5100, A6300 and A6500, plus other cameras built around a 23.6mm x 15.6mm sensor.
Mirrorless shooters tend to need it sooner. With no mirror in the way, the sensor is exposed every time a lens comes off, so dust finds it faster. Landscape photographers also notice spots early, because shooting at f/11 and above against bright sky is the perfect way to reveal every particle.
If you shoot full-frame, this is not your kit. A 35mm sensor is wider than a 16mm swab, and trying to clean it in two overlapping passes is how streaks happen. You want a swab sized to your sensor, every time.
How to actually do it
Pick a calm indoor space with no fan running and no open window. Bathrooms are popular because the air is usually still and the room has fewer dust sources than a living room. Have a fully charged battery in the camera, since most bodies refuse to enter cleaning mode on a low battery.
Start without touching anything. Take the lens off, hold the body face down, and use the blower to puff air into the chamber. Keep the blower tip outside the lens mount. Never use canned compressed air, which can spit propellant onto the sensor and make a small problem into a big one.
Shoot a test frame. Point at a plain bright surface, set the lens to f/16 or f/22, defocus, and take the picture. Spots that show up in the same position every time are on the sensor. If the blower cleared them, stop there. You are done.
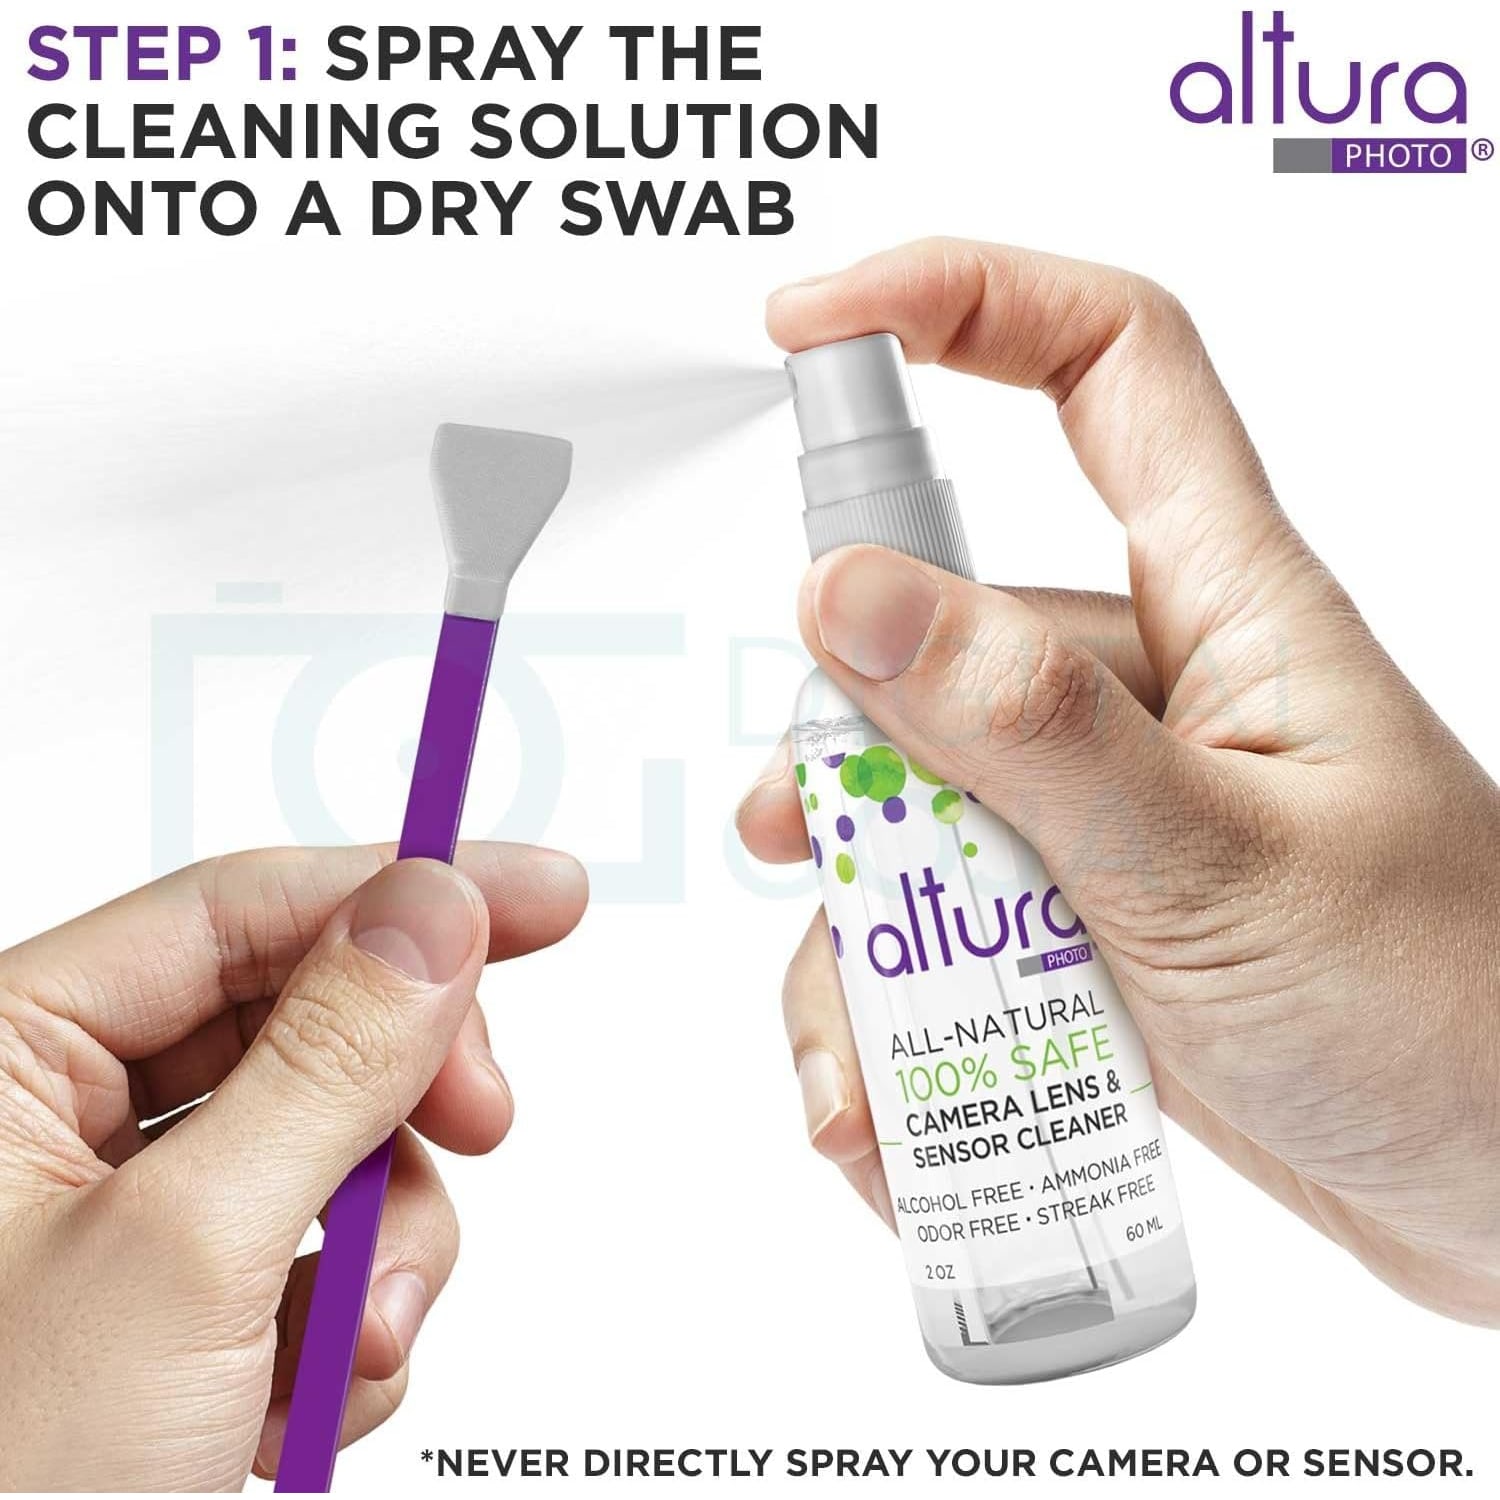
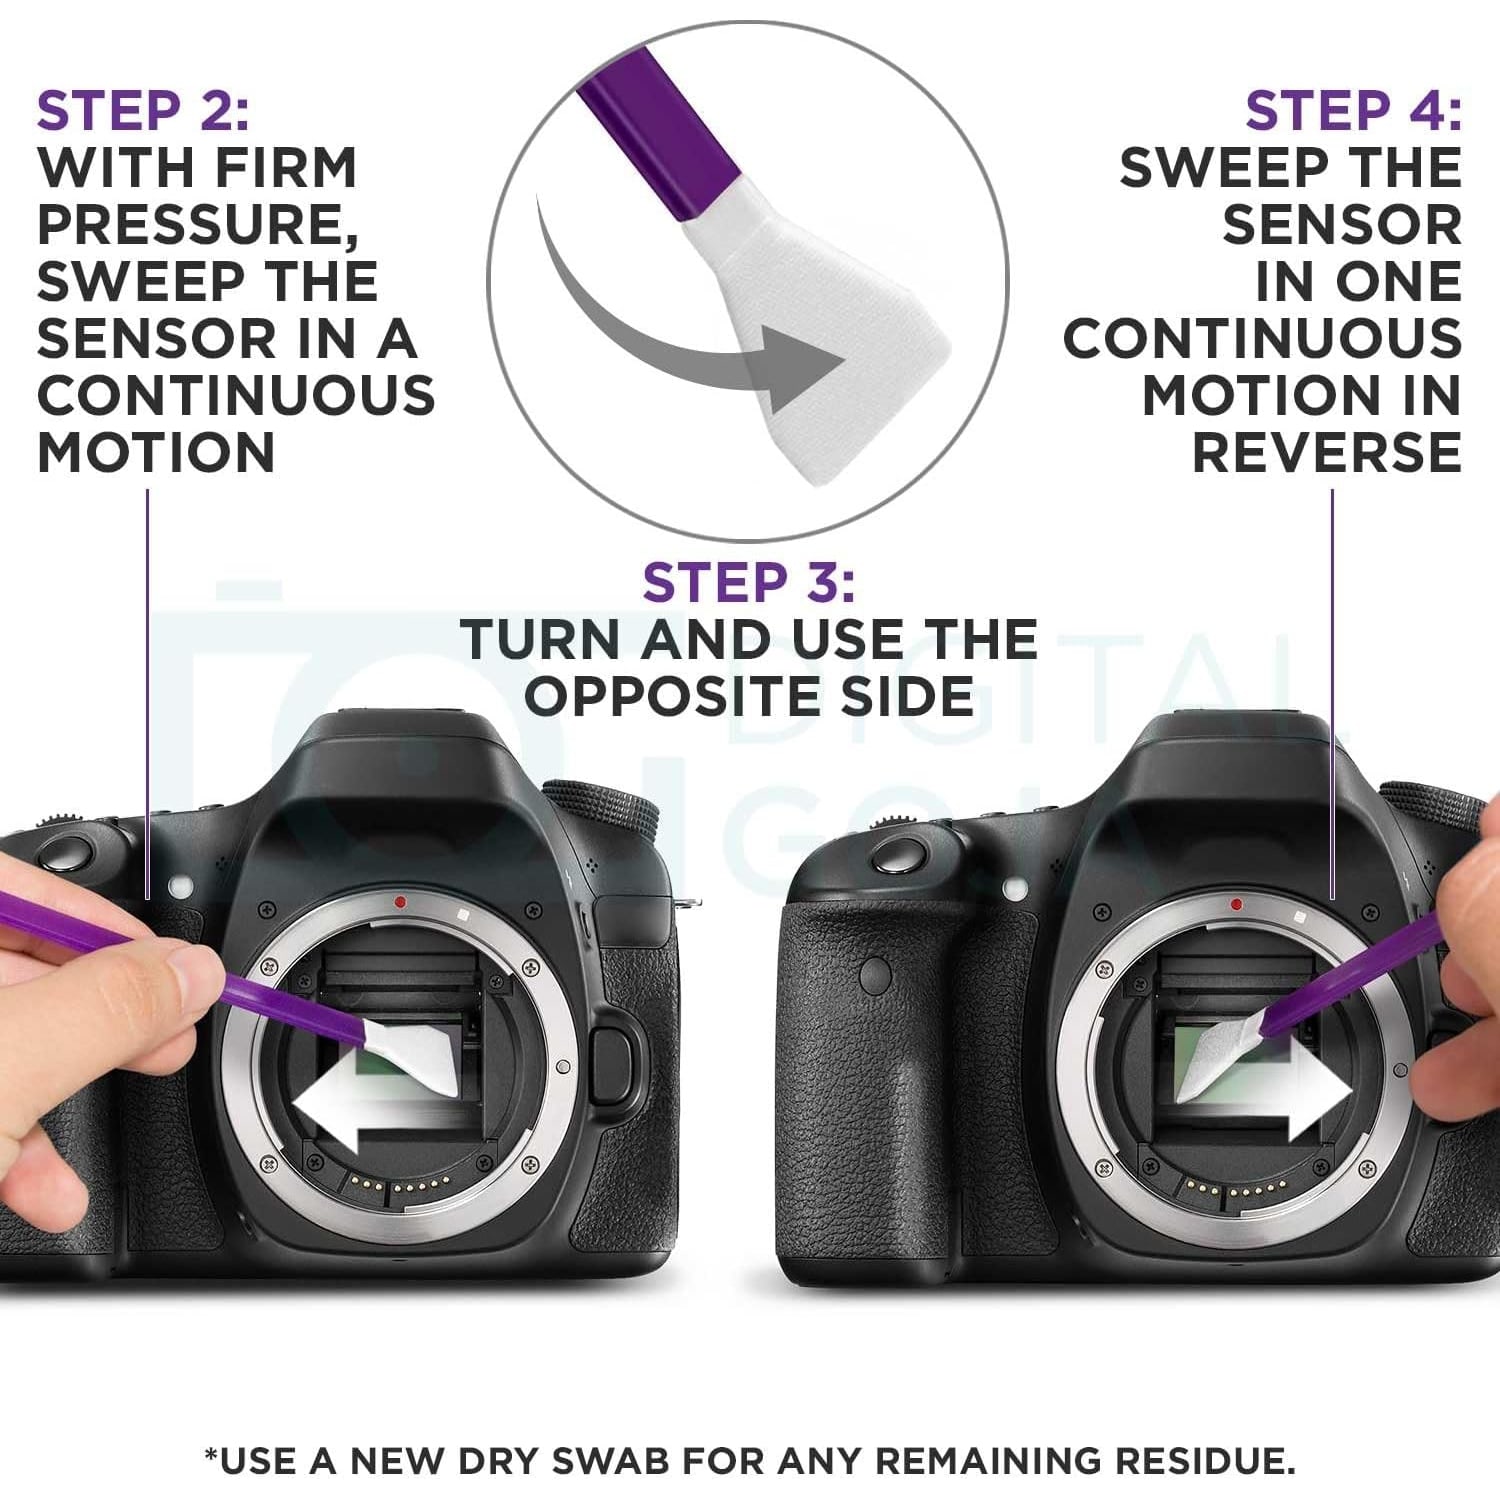
If spots remain, it is swab time. Open the camera's sensor cleaning mode so the shutter and mirror stay out of the way. Tear open one swab packet and spray the solution onto the dry swab, away from the camera. Never spray the camera or sensor directly. The maker's steps then say to sweep the sensor with firm pressure in one continuous motion, turn the swab to its opposite side, and sweep back in one continuous motion in reverse. Two passes, one swab, done.
Reinstall the lens and shoot another test frame. If residue remains, the maker says to use a new dry swab. Never reuse the one you just used, because it is now carrying the dust you lifted.
Everyday care that keeps the swabs in the box
The real trick is cleaning the sensor less often, and that comes down to habits. Change lenses with the camera body pointing down, so gravity works for you. Have the replacement lens uncapped and ready so the body is open for a second or two rather than half a minute. Avoid swapping glass on a windy beach or in a dusty parking lot, and if you must, turn your back to the wind and shield the camera with your body.
Caps matter more than people think. Put the rear cap back on the lens you just removed, and keep a body cap in the bag for when the camera sits without a lens. A zoom that racks in and out a lot will pull air through, which is simply how it works, so those bodies get checked more often.
Between shoots, use the blower and the microfiber cloth on the front element and the screen. Keep the lens tissue for anything that needs solution. These small habits are the difference between a sensor clean once a year and one every couple of months, and they are why a camera cleaning kit routine is mostly about the simple tools, not the swabs.
Store the kit somewhere dry, with the solution bottle capped and standing up. Keep the swabs sealed until the moment you use them. The note that the kit is not water resistant applies to the case as much as anything, so it is not something to leave in a wet tent overnight.
When to stop and hand it over
Some things are not cleaning problems. If a mark stays in exactly the same place after two careful swabs, it may be a scratch or a defect in the coating rather than dust. Oil spots that keep returning in the same spot can point to the shutter mechanism, which is a service job. If you are nervous about touching the sensor at all, you are allowed to be, and a technician can do it for you.
But for ordinary dust, which is the overwhelming majority of what lands on a sensor, this is a job you can do yourself at the kitchen table with good light.
The short version
Dust on an APS-C sensor shows up as fixed spots in every frame, worst at small apertures. This kit gives you six single-use 16mm swabs sized for 23.6mm x 15.6mm sensors, a 2oz (60 ml) alcohol-free and ammonia-free solution, a blower, a lens pen, a brush, 50 lens tissues and a microfiber cloth, all in a hard case that weighs 12.8 ounces.
Blow first, test, and only swab if spots remain. One swab, two passes, then toss it. Check your sensor size before you order, because 16mm swabs are for APS-C and full-frame needs a wider swab. Do the small daily stuff with the blower and cloth, and the swabs will last you a long time.