
The complete guide
How to Choose a Small Camera Backpack
The bag problem nobody warns you about
You buy a camera. Then you buy a bag. And within a month you figure out the thing nobody mentioned, which is that the bag decides how often the camera leaves the house.
Buy something huge and you end up only taking it on planned shoots. Buy something tiny and you find yourself choosing between a spare lens and a water bottle. Most people cycle through two or three bags before they land on the size that matches how they actually shoot, which is usually smaller than they first guessed.
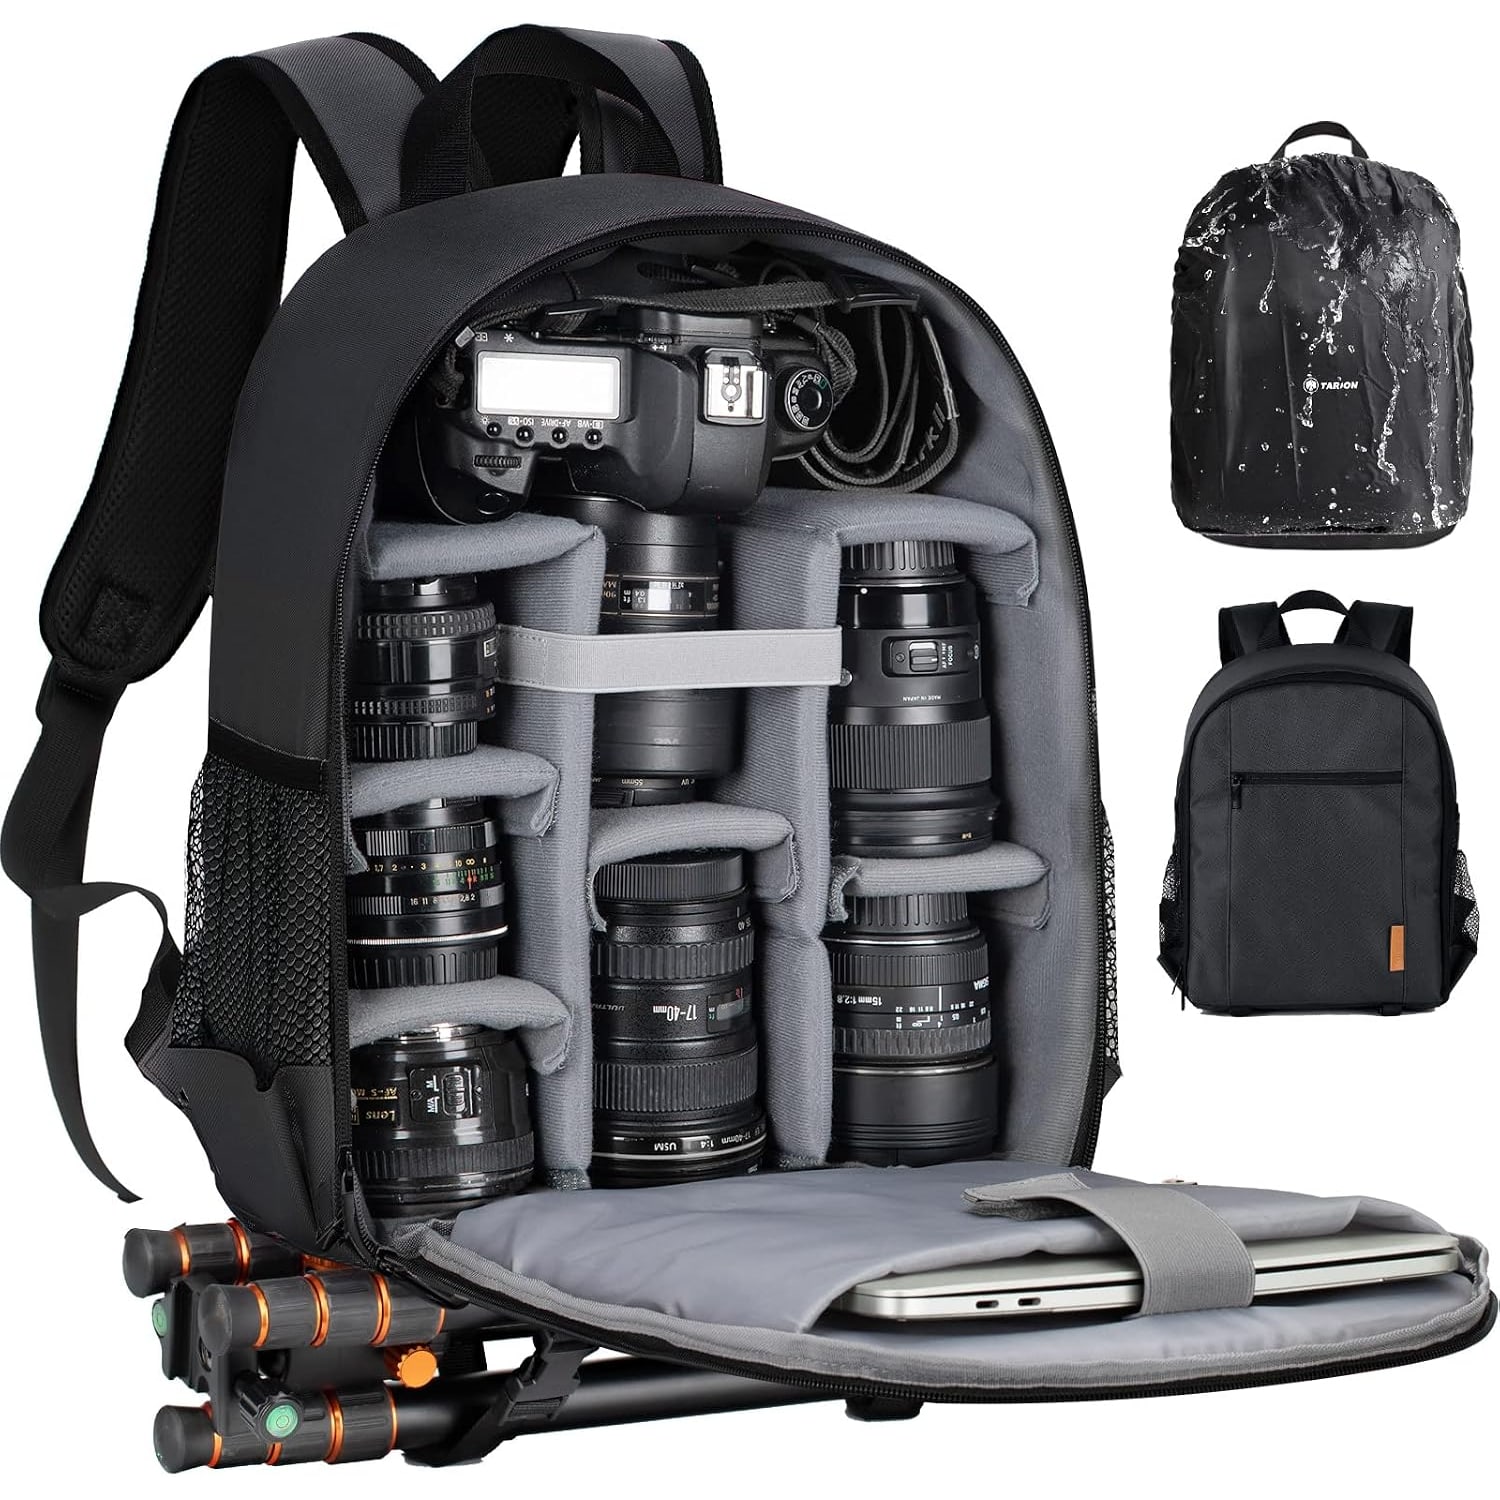
A small camera backpack at around 12 liters sits in a useful spot. It holds a body with a lens attached, a couple of spares, a flash and a laptop. That is the real-world kit for a huge number of photographers, hobbyists and working people alike. It is not the kit for a wedding shooter with two bodies and five lenses, and this guide is honest about that.
What 12 liters really holds
Numbers on a page are hard to picture, so here is the practical translation. Twelve liters, in a bag measuring 4.6 inches deep by 11.2 inches wide by 14.6 inches high, is roughly a shoebox and a half of usable space.
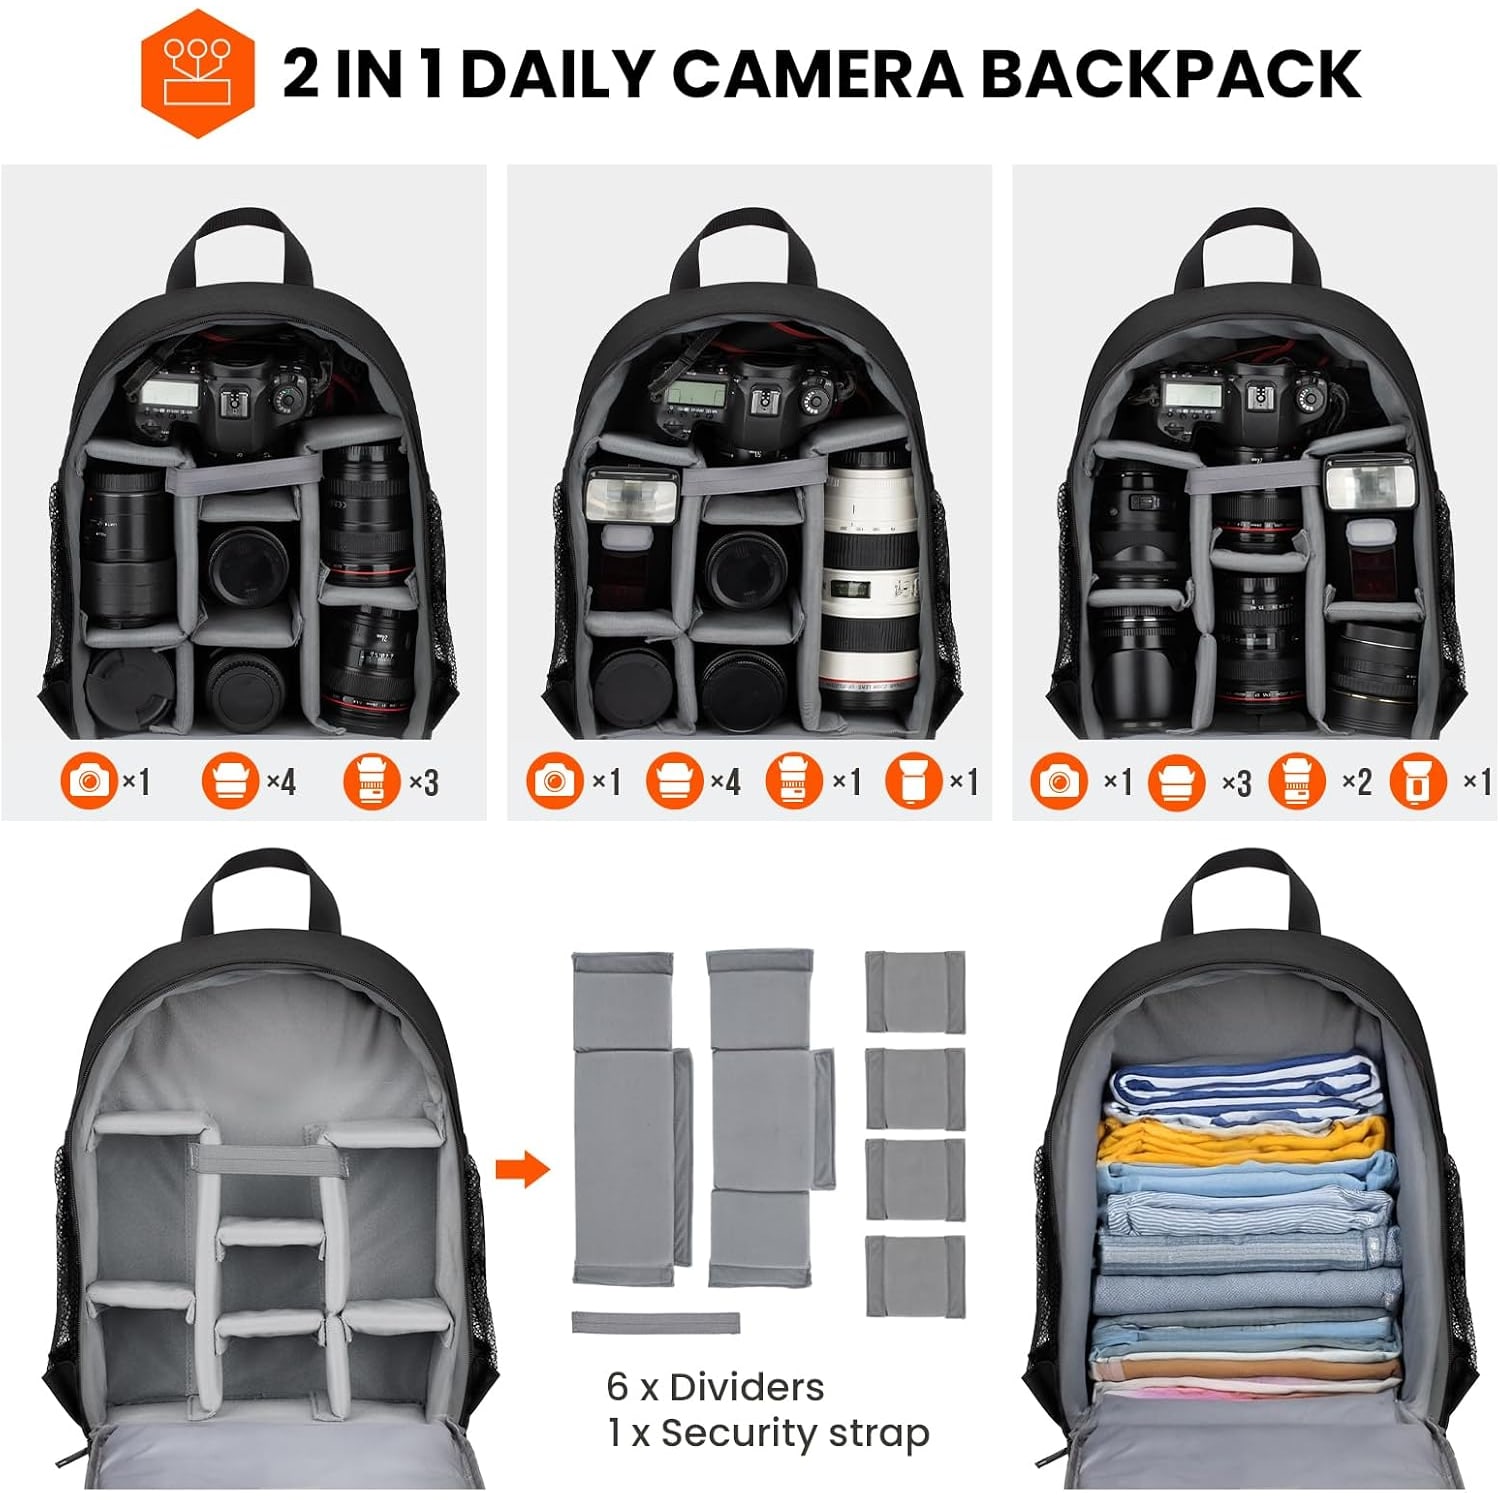
Inside that, with the dividers set up sensibly, you can expect a DSLR or mirrorless body standing upright with a mid-range zoom attached, one or two additional lenses laid flat beside it, and a flash unit. Add a 14-inch laptop in the dedicated sleeve, and your cables, batteries and memory cards in the mesh pockets, and the bag is full but not strained.
What does not fit is a long telephoto, a second body, or a hard-cased drone alongside everything else. If that is your load, you want a bigger pack and you should skip ahead to one.
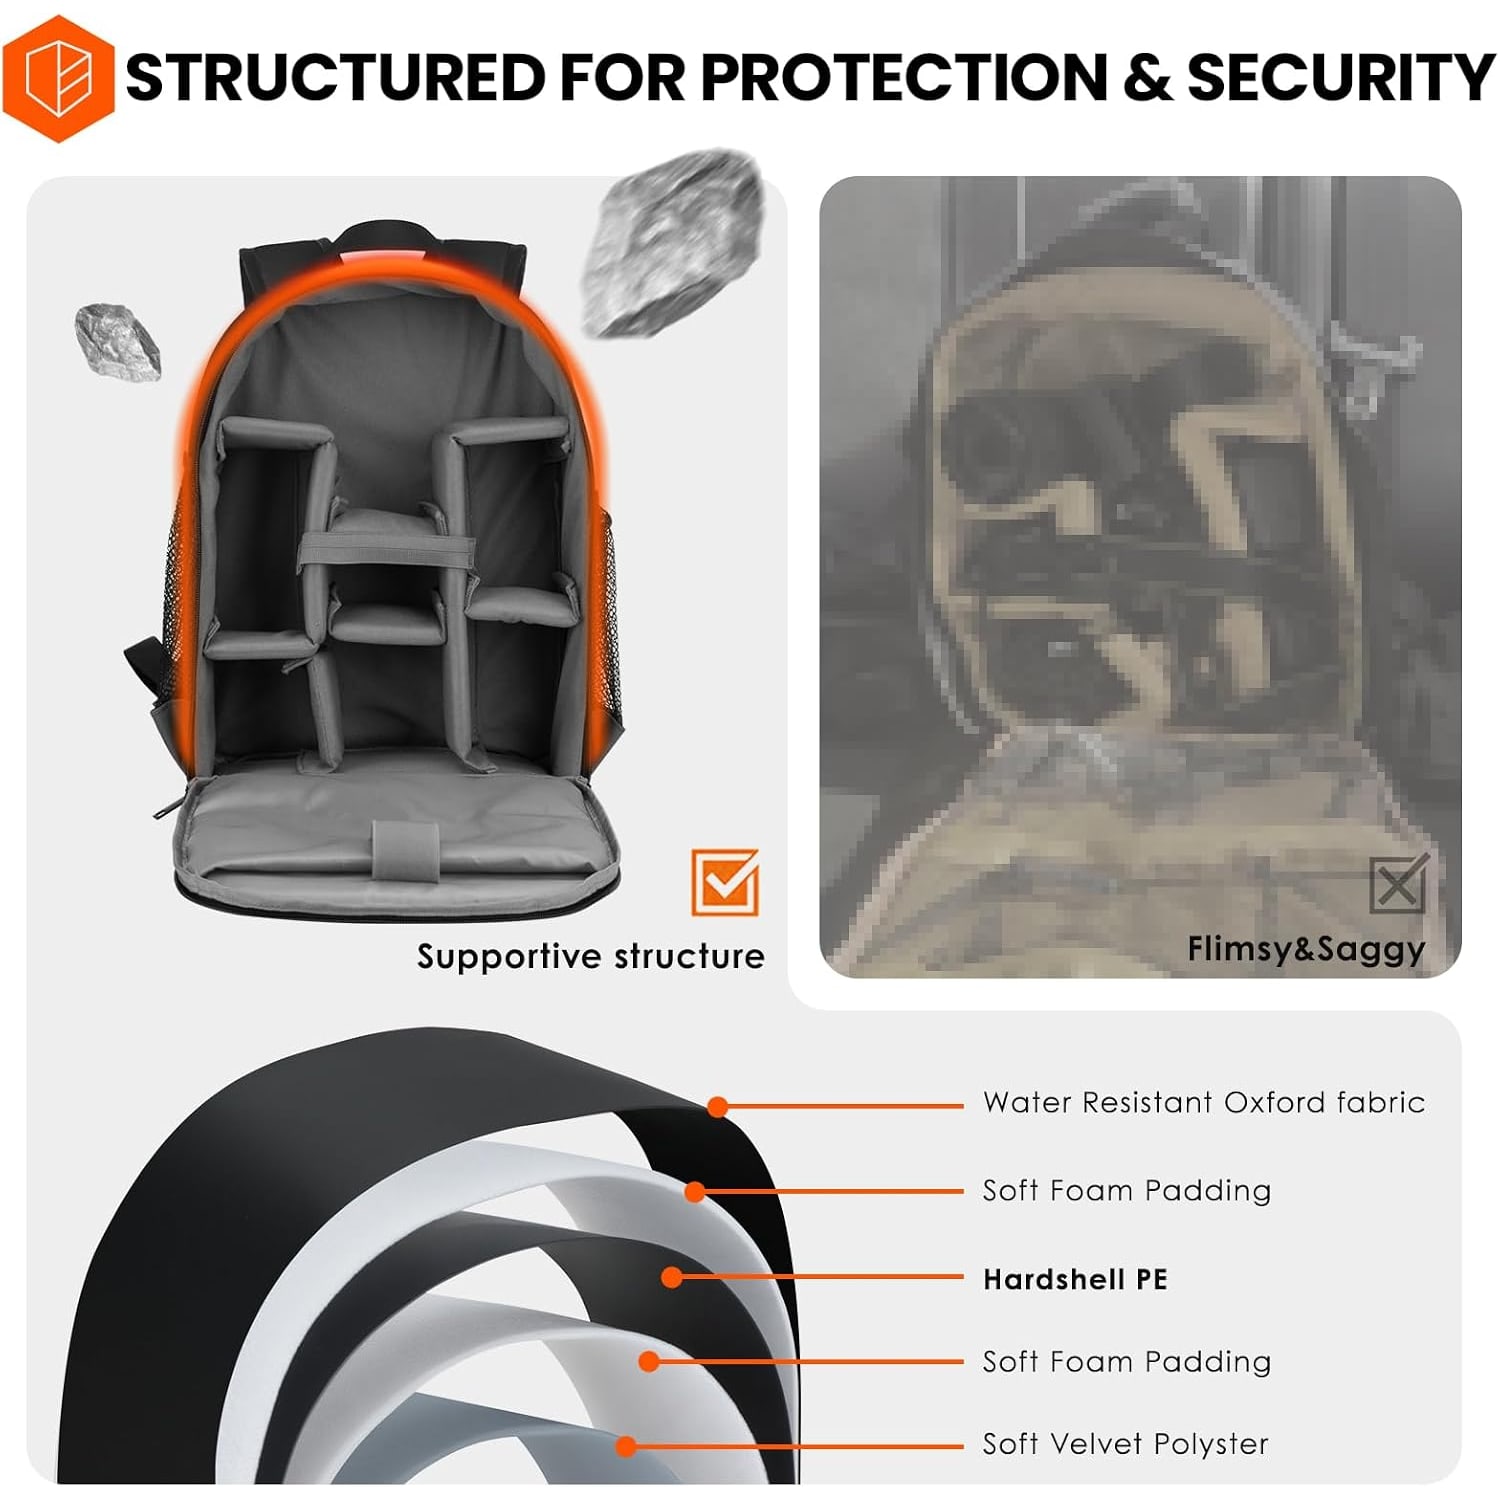
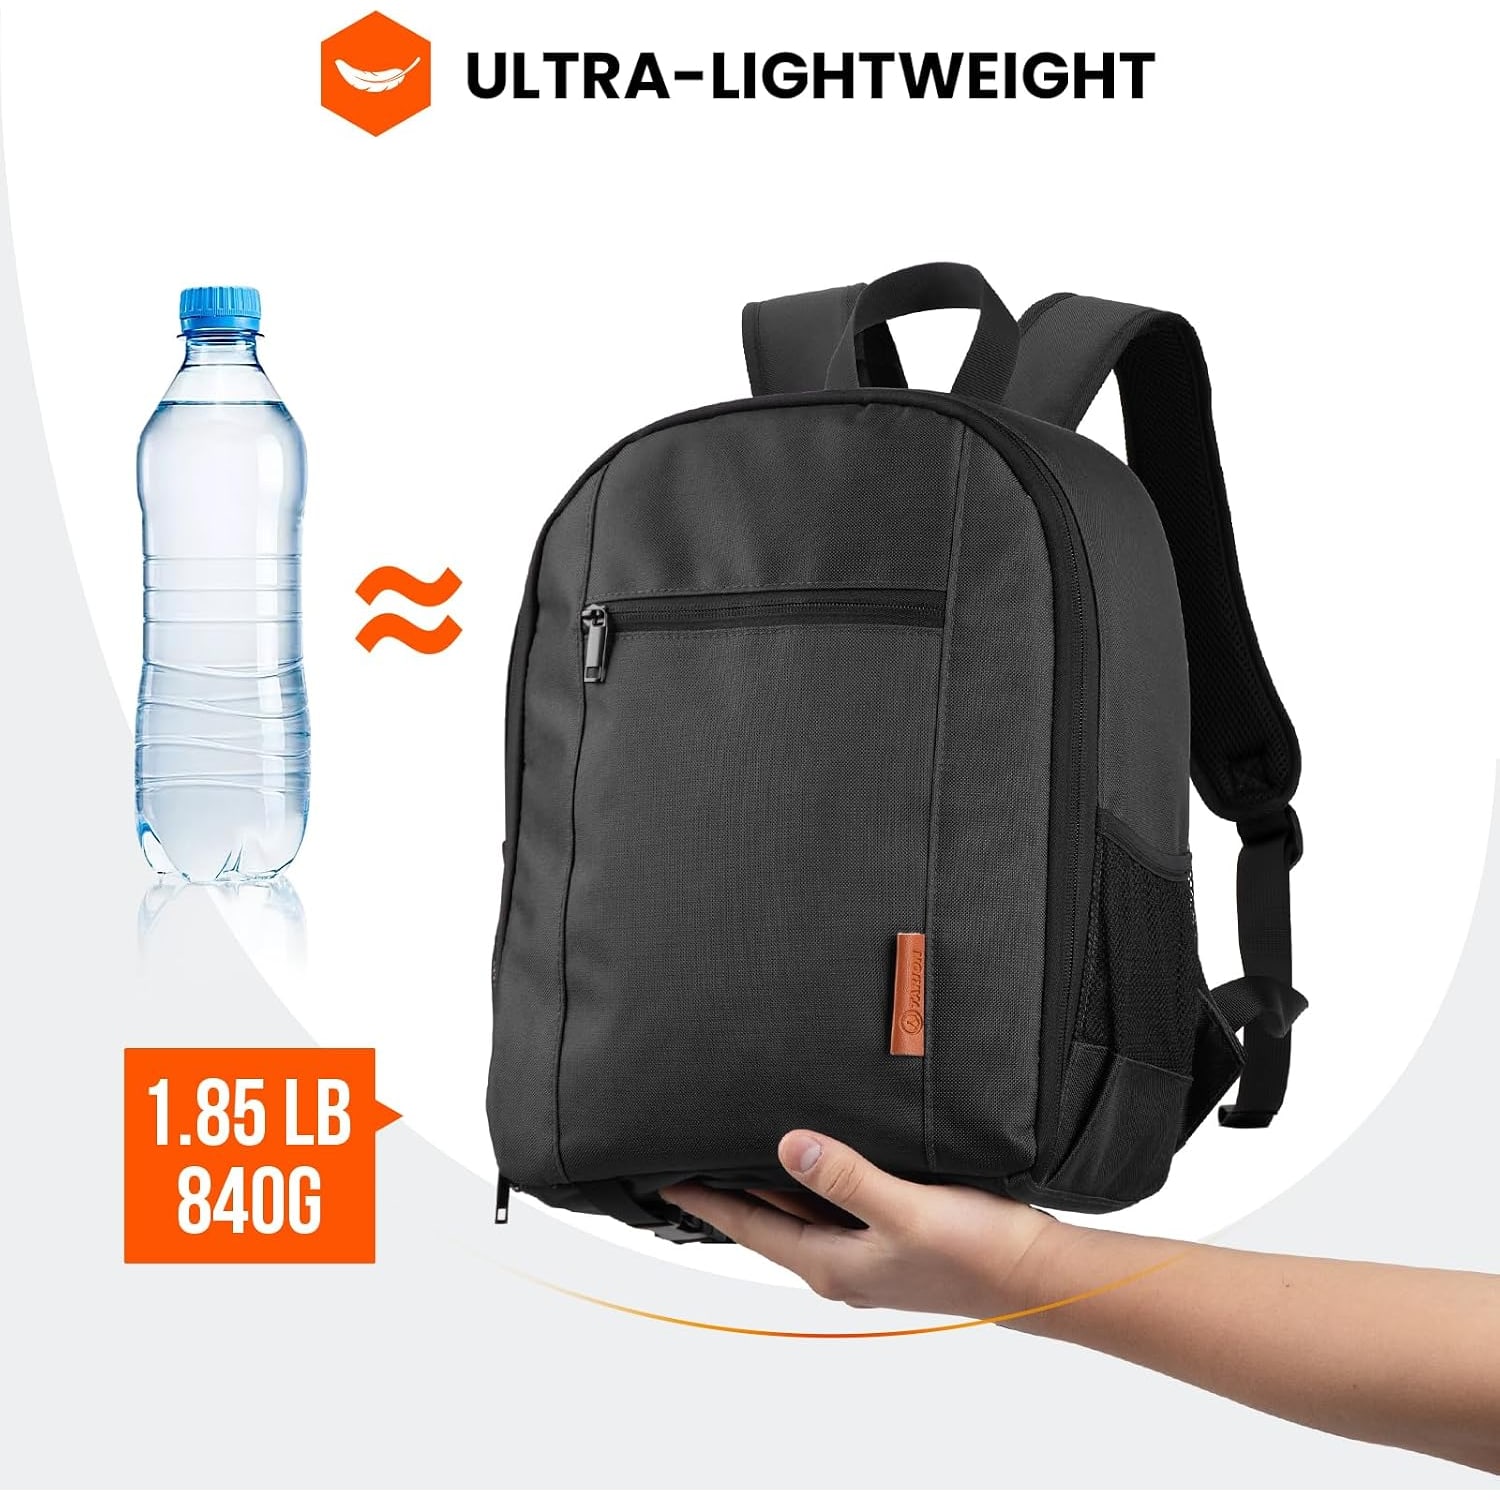
The empty weight matters more than people expect. At 1.8 pounds, this bag adds almost nothing before you load it. A heavier padded pack can eat two or three pounds of your carrying capacity just existing, which you feel at hour four of a city walk.
How the inside is organized
Seven compartments sounds like a lot for a small bag, and the trick is that most of them are made by movable dividers rather than being fixed. You decide where the walls go.
That is worth more than a clever factory layout. Your 50mm and your zoom are not the same shape as anyone else's, and a bag with hard-set slots always wastes space somewhere. Pull the dividers out, lay your gear on the table, and build the layout around what you own.
Three pockets handle the small stuff. A camera pocket, a front pocket and a utility pocket, plus mesh on the front and sides. The side mesh takes a water bottle, and there is a dedicated bottle holder as well. Two of the compartments zip closed, which is where you put anything you do not want falling out when the bag tips over on a train.
The laptop sleeve is separate and padded, described as taking a 14-inch laptop or tablet, with 13 inches given in the spec table as the maximum compatible device size. For anyone who shoots and then edits somewhere that is not home, that single feature removes a whole second bag from your day.
The tripod question
Most camera bags handle tripods badly. They give you a mesh pocket on one side, you shove a leg in, cinch a strap, and spend the next three miles walking with a tilt.
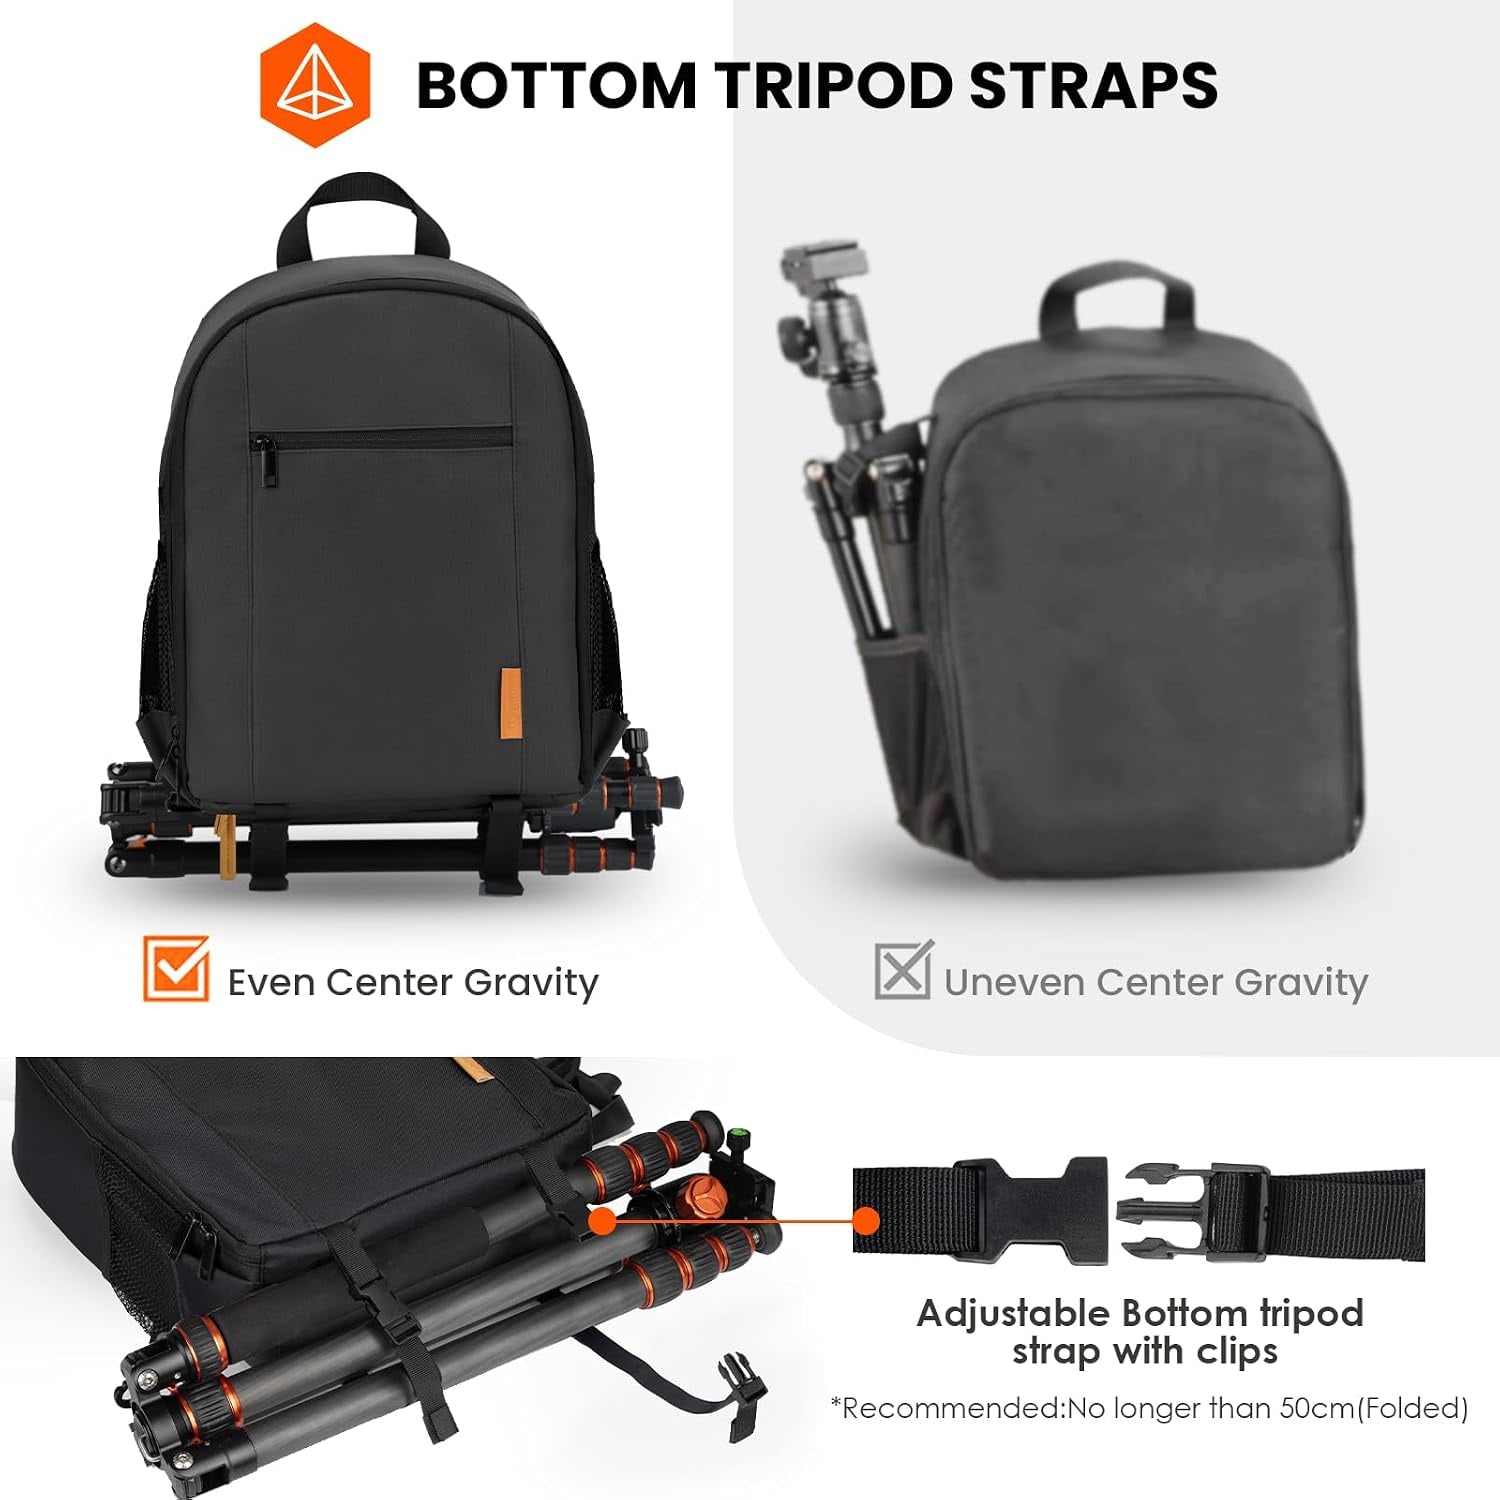
This pack puts the tripod on the bottom instead. Two adjustable straps with clips run around the folded legs so the tripod sits centered beneath the pack. The weight ends up over your spine rather than off to one side, which is the whole point.
It works best with compact and travel tripods, and the maker's photo recommends one no longer than 50 cm when folded. A full-size studio tripod will strap on, but it will hang well below the base and swing when you walk. If you own a big one and plan to walk far with it, consider a smaller travel model for trips rather than expecting any 12 liter pack to solve it.
Weather, and the cover that comes with it
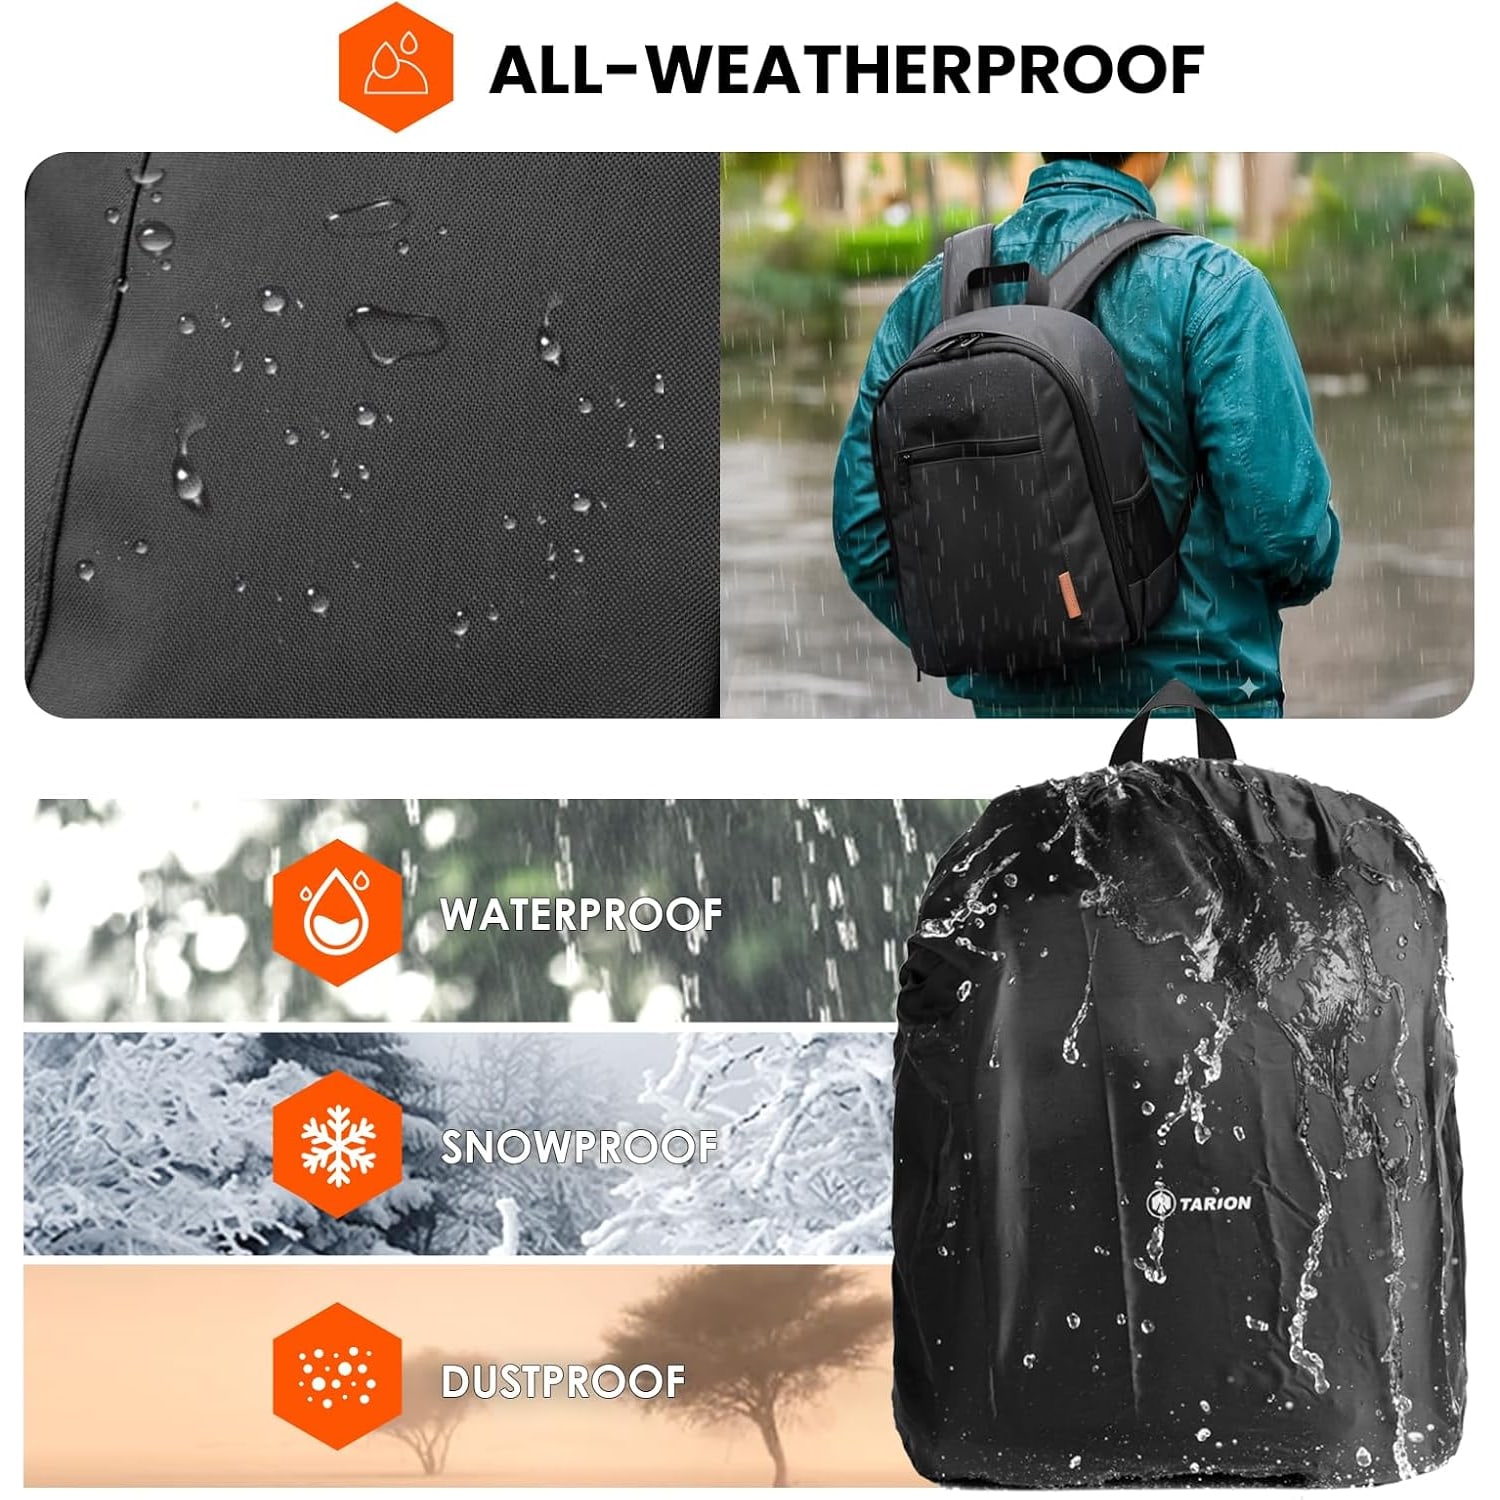
The shell is water resistant, which covers drizzle, a splash from a passing car, and setting the bag down on damp grass. For anything heavier there is a rain cover included.
Keep it in the bag, not in a drawer at home. That sounds obvious, and it is exactly the mistake everyone makes once. The cover goes over the whole pack. Practice at home so you are not fumbling with it in actual rain.
After a wet day, pull the cover off and let both it and the pack dry fully before packing up. Damp fabric pressed against foam padding is how bags start to smell.
Who this suits, and who it does not
It suits a hobbyist with one body and a few lenses who wants the camera with them most days. It suits a traveler who needs a bag that passes carry-on limits and holds a laptop. It suits someone walking a city or doing a day hike with a compact tripod. It is a reasonable candidate for the best lightweight camera backpack for hiking if your idea of hiking is a day out rather than a week in the backcountry.
It does not suit a professional carrying two bodies and a long lens. It does not suit multi-day camping where you need sleeping gear as well. And if your laptop is a thick 16-inch machine, look elsewhere, because the sleeve is not going to stretch.
The fit is slim, with a shoulder to bottom hem length of 14.6 inches and an adjustable strap. It is specifically noted as suitable for smaller frames and lighter loads, which is good news for anyone who has tried on packs designed around a six-foot torso.
Packing it well
Heavy things go low and close to your back. That means the body with the lens attached sits at the bottom of the main section, against the panel nearest your spine. Lighter lenses and the flash go above or in front.
Leave a little tension in the dividers so gear is held rather than floating. A bag packed loosely rattles, and rattling is what eventually loosens a lens mount or scratches a screen.
Put the things you grab most in the outer pockets. Spare battery, cleaning cloth, a card wallet. If you have to open the main compartment every time you want something small, you will stop bothering, and the bag gets messier from there.
Keeping it in good shape
Care is simple. The spec table gives a nylon outer and lining with polyester in the mix, and the care instruction is hand wash only.
In practice that means a damp cloth with a little mild soap for marks, then air drying away from radiators and direct sun. Empty every pocket first, because the forgotten lens cap in the bottom corner is a tradition at this point. Leave the zippers open while it dries.
Every few months, turn the bag upside down and shake out the grit. Sand and dust in the base of a camera bag eventually finds its way onto a sensor, and that is a much more annoying problem to solve.
The short version
Twelve liters, 1.8 pounds empty, seven divider-set compartments, a 14-inch laptop sleeve, a bottom tripod mount and a rain cover in the bag. Black, nylon, hand wash.
If your kit is one body, a few lenses, a flash and a laptop, this is sized right. If your kit is bigger than that, buy bigger. The best small camera backpack is the one you can fill properly and still want to carry at the end of the day, and for a lot of photographers that is a bag very close to this size.